Replacement Procedure For The Ignition Lock Cylinder In A Nissan 240sx
So, your Nissan 240SX is giving you trouble with the ignition? Can't turn the key, key stuck, or maybe the whole thing feels loose? Chances are, the ignition lock cylinder is the culprit. It's a common issue with these older vehicles, and fortunately, it's a repair you can tackle yourself with a bit of patience and the right tools. This article will guide you through the replacement procedure, step-by-step.
Understanding the Problem
Before we dive in, let's quickly understand why the ignition lock cylinder fails. Over time, the internal components, especially the wafers that read the key, can wear down or break. Dirt and debris can also accumulate inside, further hindering their function. This leads to the symptoms you're experiencing, like difficulty turning the key or the key getting stuck.
Ignoring this problem can lead to you getting stranded. The key might eventually get permanently stuck, or worse, the car could become impossible to start. So, replacing the ignition lock cylinder is a worthwhile investment in the reliability of your 240SX.
Tools and Materials Needed
To get this job done right, you'll need the following:
- New ignition lock cylinder (Make sure it's the correct one for your 240SX model year!)
- Steering wheel puller
- Phillips head screwdriver
- Flathead screwdriver
- Socket set with extensions
- Hammer
- Punch or awl
- Small pick set (helpful for removing small clips)
- Penetrating oil (like PB Blaster)
- New shear bolts (or replacement bolts with nuts)
- Torque wrench
- Anti-theft steering wheel lock removal tool (optional, but highly recommended)
Pro Tip: Before you start, disconnect the negative battery terminal. This is a crucial safety step to prevent accidental electrical shorts while you're working around the steering column.
Step-by-Step Replacement Procedure
Step 1: Removing the Steering Wheel
The first step is removing the steering wheel. This gives you access to the components beneath.
- Disconnect the negative battery terminal. Wait a few minutes to ensure any residual electricity dissipates.
- Locate and disconnect the horn wiring connector behind the steering wheel.
- If equipped with an airbag, consult your vehicle's repair manual for the proper airbag removal procedure. *Safety is paramount when dealing with airbags. If you are not comfortable with this step, have a professional handle it.*
- Using the steering wheel puller, attach it according to the manufacturer's instructions.
- Carefully tighten the puller's center bolt to gradually pull the steering wheel off the steering column. Avoid excessive force, as this could damage the steering column.
Step 2: Removing the Steering Column Covers
With the steering wheel out of the way, you can now remove the plastic covers surrounding the steering column.
- Locate and remove the screws securing the upper and lower steering column covers. Typically, these are Phillips head screws.
- Gently separate the upper and lower covers. They may be clipped together, so use a small flathead screwdriver to carefully pry them apart if necessary.
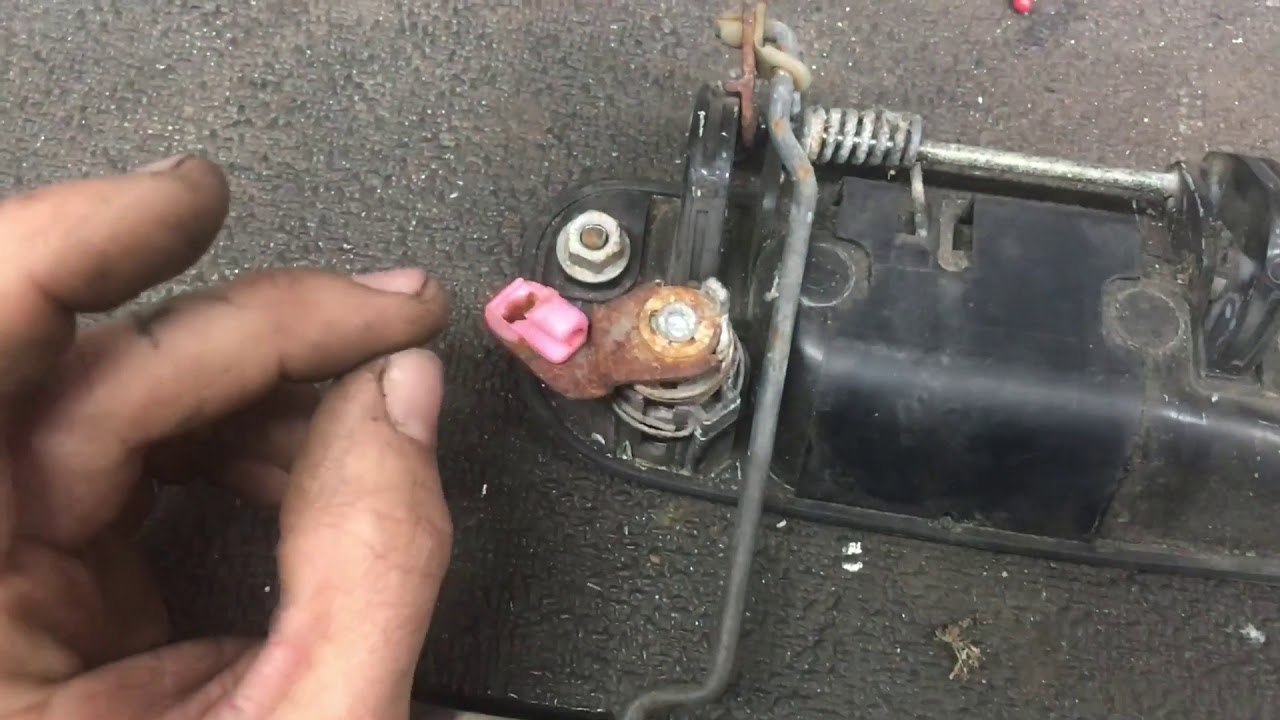
Step 3: Removing the Ignition Switch Assembly
Now you'll have access to the ignition switch assembly. This includes the ignition lock cylinder and the electrical switch.
- Locate the ignition switch assembly. It's usually held in place by two shear bolts (bolts with heads that snap off after being tightened to a specific torque).
- The shear bolts need to be removed. The best way to remove shear bolts is with an anti-theft steering wheel lock removal tool, which you can find online. You may also attempt to drill a small hole in the shear bolt and using an extractor tool to remove the bolt.
- Once the shear bolts are removed, carefully disconnect the electrical connector(s) from the ignition switch assembly.
- Slide the entire ignition switch assembly off the steering column.
Step 4: Removing the Old Ignition Lock Cylinder
With the ignition switch assembly removed, you can finally remove the old ignition lock cylinder.
- Locate the small release pin or button on the ignition switch assembly. This pin or button releases the ignition lock cylinder. It's often located on the side or bottom of the assembly.
- Insert the key into the ignition lock cylinder.
- Press the release pin or button while simultaneously wiggling and pulling the key and cylinder out of the assembly. Penetrating oil can be very helpful here if the cylinder is stuck.
Step 5: Installing the New Ignition Lock Cylinder
Now it's time to install the new ignition lock cylinder.
- Insert the key into the new ignition lock cylinder.
- Align the new ignition lock cylinder with the opening in the ignition switch assembly.
- Press the cylinder into the assembly until it clicks into place and the release pin or button engages. Make sure the cylinder is securely locked in.
Step 6: Reinstalling the Ignition Switch Assembly
Reinstall the ignition switch assembly back onto the steering column.
- Slide the ignition switch assembly back onto the steering column.
- Align the mounting holes for the shear bolts.
- Install the new shear bolts (or replacement bolts with nuts). *If using shear bolts, torque them to the manufacturer's specified torque. If using standard bolts, ensure they are tightened securely.*
- Reconnect the electrical connector(s) to the ignition switch assembly.
Step 7: Reinstalling the Steering Column Covers
Reinstall the steering column covers.
- Position the upper and lower steering column covers around the steering column.
- Secure the covers with the screws you removed earlier.
Step 8: Reinstalling the Steering Wheel
Reinstall the steering wheel.
- Align the steering wheel with the steering column splines.
- Push the steering wheel onto the steering column.
- Install the steering wheel retaining nut and torque it to the manufacturer's specified torque.
- Reconnect the horn wiring connector and any airbag connectors (if applicable).
Step 9: Final Steps
Reconnect the negative battery terminal and test the ignition. Ensure the key turns smoothly and the engine starts properly. Double-check all your connections and ensure everything is secure.
Troubleshooting Tips
- Key Won't Turn: Double-check that you've inserted the key all the way into the cylinder. Try wiggling the steering wheel while turning the key. Sometimes the steering wheel lock can bind.
- Ignition Switch Assembly Won't Slide Off: Ensure you've completely removed the shear bolts. Penetrating oil can also help loosen things up.
- Electrical Connector Won't Connect: Make sure the connector is oriented correctly. Don't force it; it should click into place easily.
Estimated Repair Costs
The cost of this repair can vary depending on whether you do it yourself or take it to a mechanic. A new ignition lock cylinder typically costs between $50 and $150. If you hire a mechanic, labor costs can add another $150 to $300 to the total cost.
By tackling this repair yourself, you can save a significant amount of money. However, if you're not comfortable working on your car's electrical system or steering column, it's best to consult a professional mechanic.
Final Thoughts
Replacing the ignition lock cylinder in your Nissan 240SX is a manageable DIY project for those with some mechanical aptitude. By following these steps carefully and taking your time, you can restore the reliability of your ignition system and get back on the road. Remember to prioritize safety and consult a professional if you're unsure about any step in the process. Good luck!