Retrofitting Projector Headlights Into Oem 240sx Housings
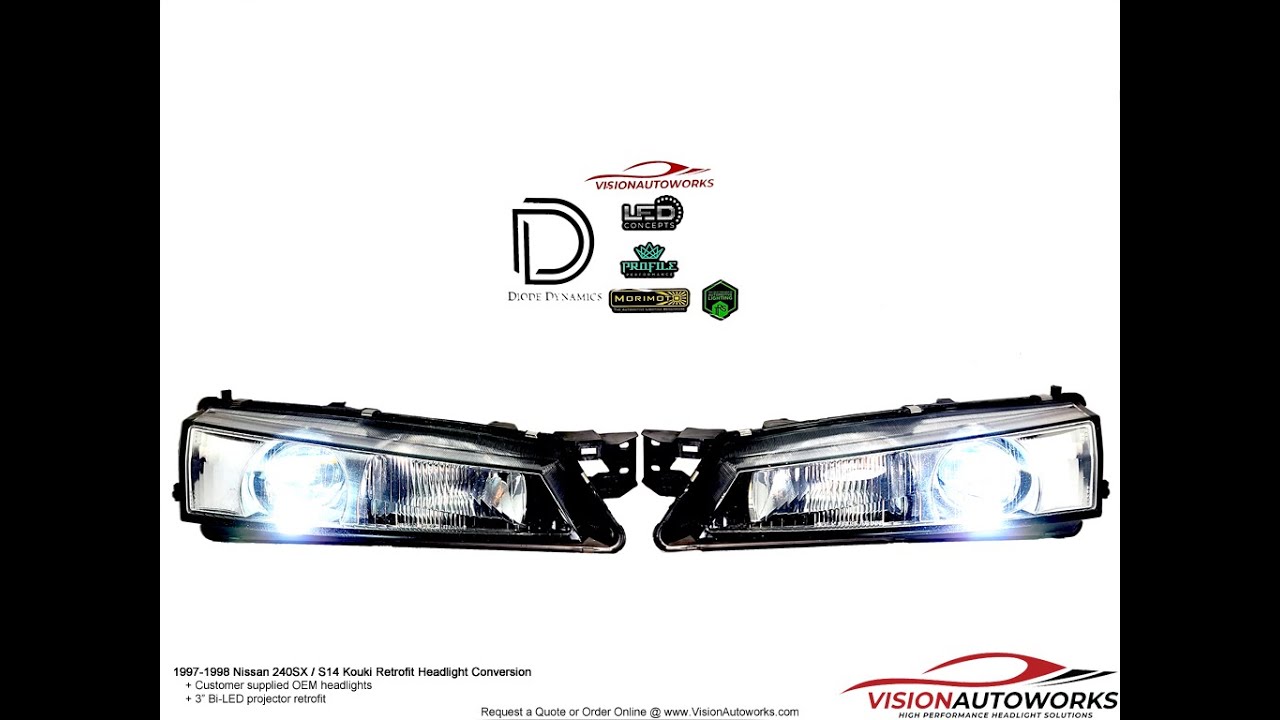
So, you're looking to upgrade the headlights on your 240SX. Excellent choice! The factory lighting on these cars, shall we say, leaves something to be desired. One of the most effective upgrades you can do is retrofitting projector headlights into the original OEM housings. It's a bit of a project, but the improved light output and modern look are well worth the effort. This guide will walk you through the process, assuming you've got a decent set of tools and a bit of DIY experience.
Understanding Projector Retrofits
First, let's define what we're talking about. A projector headlight uses a bulb and a precisely shaped reflector to focus and project light through a lens. This creates a much sharper, more controlled beam pattern compared to the older reflector-style headlights. This means more light where you need it on the road and less glare for oncoming drivers. A retrofit, in this context, means adapting components not originally designed for your car to fit and function properly.
When doing a projector retrofit, you'll generally be working with these key components:
- Projectors: The heart of the system. Choose projectors based on your desired light output, beam pattern, and budget. Common types include halogen, HID (High-Intensity Discharge, also known as xenon), and LED projectors.
- Bulbs: Obviously needed to create light. The type must match your projector (e.g., you can't put an HID bulb in a halogen projector).
- Ballasts (for HID): HID bulbs require a ballast to regulate the voltage and current needed to start and maintain the arc.
- Shrouds: These decorative pieces cover the projector and give the headlight a cleaner, more finished look. They also help with light cutoff.
- Adapters/Mounting Hardware: These are crucial for securely mounting the projectors inside your 240SX headlight housings. Universal adapters can be used, but might require modification. Vehicle-specific kits are available, which greatly simplify the process.
- Wiring Harnesses: You'll need to adapt your car's existing wiring to connect to the new bulbs and ballasts. Plug-and-play harnesses are available for some applications, but you might need to do some custom wiring.
- Sealant: Crucial for resealing the headlight housings to prevent moisture intrusion.
Choosing Your Projectors
This is a crucial step. Research is key. Here's a brief overview of the projector types:
- Halogen Projectors: These are generally the easiest and cheapest to retrofit. They use standard halogen bulbs. While an improvement over reflector housings, they don't offer the same light output as HID or LED.
- HID Projectors: These offer significantly brighter light output and a wider beam pattern than halogen. However, they require ballasts and can be more complex to install. They also require careful aiming to avoid blinding other drivers.
- LED Projectors: LED projectors are becoming increasingly popular due to their excellent light output, instant-on capabilities, and long lifespan. They also don't require ballasts, simplifying the wiring. They are generally the most expensive option.
When selecting projectors, consider the following factors:
- Light Output: Measured in lumens. Higher lumens mean brighter light.
- Beam Pattern: Look for a wide, even beam pattern with a sharp cutoff line to avoid glare.
- Projector Size: Ensure the projectors will physically fit inside your 240SX headlight housings. Measure the internal dimensions of your housings carefully.
- Reputation: Read reviews and choose projectors from reputable manufacturers.
Tools and Materials Needed
Before you begin, gather the following tools and materials:
- Projector Kit: Including projectors, bulbs, ballasts (if needed), shrouds, and mounting hardware.
- Heat Gun or Oven: To soften the headlight sealant and separate the lens from the housing.
- Screwdrivers: Various sizes, including Phillips and flathead.
- Pliers: Needle-nose and standard.
- Wire Cutters/Strippers: For modifying wiring.
- Multimeter: For testing electrical connections.
- Drill and Drill Bits: For modifying the headlight housings.
- Dremel Tool (Optional): For fine-tuning the fitment of the projectors.
- Sandpaper: Various grits, for smoothing surfaces.
- Sealant: Butyl rubber sealant is recommended for resealing the headlight housings.
- Gloves: To protect your hands.
- Safety Glasses: To protect your eyes.
- Heat-Resistant Gloves (for oven method): To protect hands from hot headlight parts.
Step-by-Step Installation Guide
Disclaimer: This is a general guide. Specific steps may vary depending on the projector kit you choose and the condition of your 240SX headlight housings. Always refer to the instructions provided with your projector kit.
1. Removing the Headlight Housings
Begin by removing the headlight housings from your 240SX. This usually involves removing a few screws and disconnecting the electrical connectors.
2. Separating the Lens from the Housing
This is the trickiest part. The headlight lens is sealed to the housing with a strong adhesive. You need to soften the adhesive to separate the two. There are two common methods:
- Heat Gun Method: Use a heat gun to carefully heat the perimeter of the lens, focusing on the sealant. Work in small sections, applying heat evenly. Use a flathead screwdriver or plastic pry tool to gently pry the lens away from the housing. Be patient and avoid forcing it, as you could crack the lens.
- Oven Method: Preheat your oven to a low temperature (around 200-250°F). Place the headlight housing (without the bulbs) on a baking sheet lined with cardboard. Bake for 10-15 minutes to soften the sealant. Carefully remove the housing from the oven (using heat-resistant gloves!) and pry the lens away from the housing.
Important: Regardless of the method you choose, work slowly and carefully. Applying too much heat or force can damage the lens or housing.
3. Preparing the Headlight Housings
Once the lens is removed, clean the inside of the housing and remove any old sealant. You may need to sand or Dremel the inside of the housing to create space for the projectors. Trial fit the projectors to determine where modifications are needed. Use the provided adapter rings or mounting hardware to center the projector in the housing. It's better to remove too little material than too much, so work incrementally. Make sure there is proper clearance for aiming adjustment screws. Consider using a light colored paint for the interior of the headlight housing to improve reflectiveness.
4. Mounting the Projectors
This is where the mounting hardware comes into play. Follow the instructions provided with your kit to attach the projectors to the headlight housings. Ensure the projectors are securely mounted and properly aligned. Double-check that the projector is level and oriented correctly.
5. Wiring the Projectors
Connect the wiring harness to the projectors, bulbs, and ballasts (if applicable). You may need to modify the existing wiring in your 240SX to connect to the new components. Use a multimeter to test the connections and ensure everything is wired correctly. Use heat shrink tubing or electrical tape to insulate the connections and prevent shorts.
6. Testing the Projectors
Before resealing the headlights, test the projectors to ensure they are working correctly. Connect the headlights to your car's electrical system and turn them on. Check that the bulbs light up and that the beam pattern is correct. Adjust the projector aiming as needed.
7. Sealing the Headlight Housings
Apply a bead of butyl rubber sealant to the channel on the headlight housing where the lens will sit. Press the lens firmly onto the housing, ensuring a tight seal. Use clamps or tape to hold the lens in place while the sealant cures. Allow the sealant to cure for at least 24 hours before using the headlights.
8. Reinstalling the Headlight Housings
Reinstall the headlight housings on your 240SX. Connect the electrical connectors and secure the housings with the screws. Aim the headlights according to your local regulations. This is crucial for safety and to avoid blinding other drivers.
Troubleshooting
Here are some common issues you might encounter and how to resolve them:
- Projectors not lighting up: Check the wiring connections, fuses, and ballasts (if applicable). Use a multimeter to test for voltage at the bulb socket.
- Flickering bulbs: This is often caused by a faulty ballast or loose wiring connection.
- Moisture inside the headlight housings: This indicates a leak in the seal. Remove the headlights, separate the lens from the housing, and reseal them.
- Poor beam pattern: Adjust the projector aiming. Ensure the projectors are properly mounted and aligned.
Retrofitting projector headlights is a challenging but rewarding project. By following these steps and taking your time, you can significantly improve the lighting performance and appearance of your 240SX. Remember to research thoroughly, plan carefully, and always prioritize safety.
Good luck with your retrofit!