Rocket Bunny 240sx Cuda Widebody Kit Installation Specifications
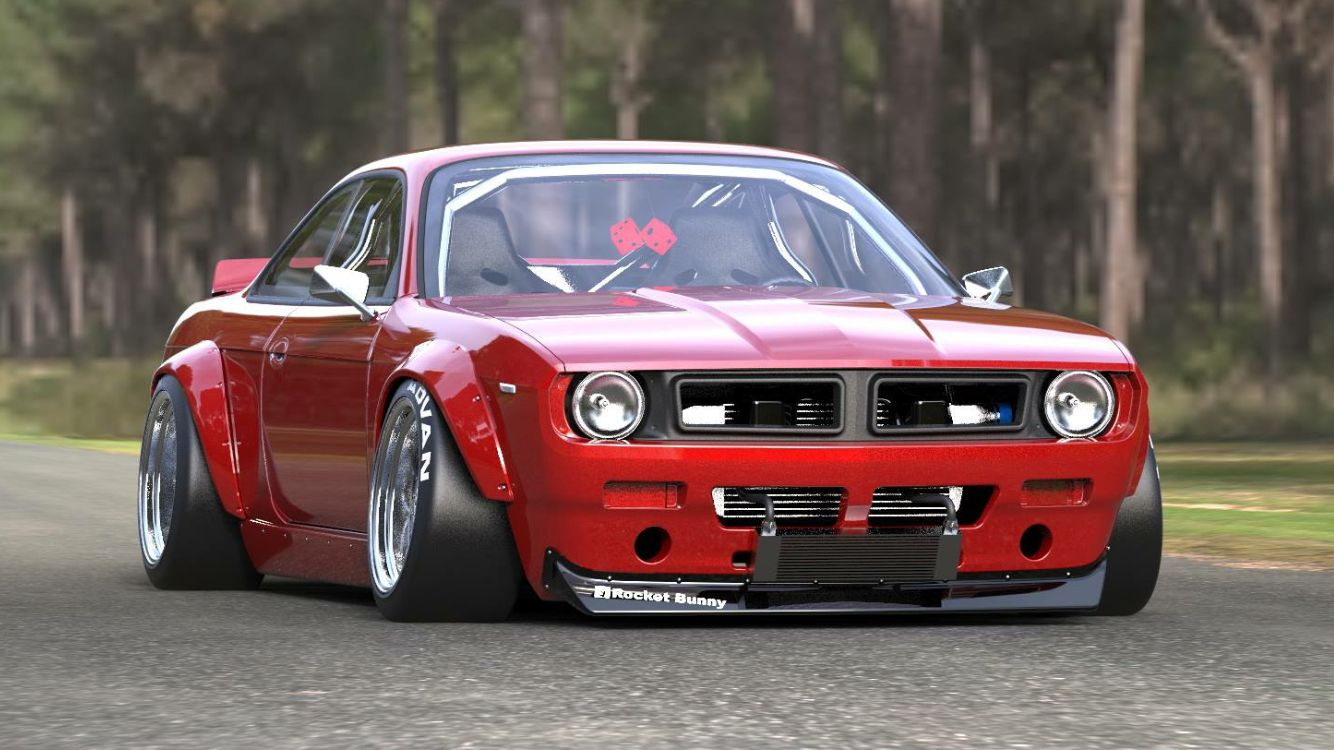
The Rocket Bunny 240SX Cuda widebody kit is a popular choice for enthusiasts looking to transform their Nissan 240SX into a head-turning, aggressively styled machine. This comprehensive guide provides installation specifications and considerations to help you navigate the process, ensuring a proper fit and finish.
Understanding the Rocket Bunny 240SX Cuda Widebody Kit
Before diving into the installation, it's crucial to understand what the Rocket Bunny Cuda kit entails. Typically, a complete kit includes:
- Front Bumper: Replaces the factory bumper with a more aggressive, aerodynamic design.
- Front Over-Fenders: Adds significant width to the front, accommodating wider wheels and tires.
- Rear Over-Fenders: Mirrors the front, widening the rear of the car.
- Side Skirts: Connects the front and rear over-fenders, creating a cohesive widebody look.
- Ducktail Spoiler (Optional): A signature Rocket Bunny element, adding a distinct rear spoiler.
Note: Individual kits may vary, so always verify the contents upon arrival.
Prerequisites for Installation
Successfully installing a Rocket Bunny Cuda kit requires careful planning and preparation. Consider the following prerequisites:
Skill Level
Installing a widebody kit is not a beginner-level project. It typically requires experience with bodywork, cutting, drilling, and potentially welding. If you're not comfortable with these tasks, it's highly recommended to seek professional installation.
Tools and Equipment
You'll need a comprehensive set of tools, including:
- Cutting Tools: Angle grinder with cutting discs, reciprocating saw, or similar tools for cutting sheet metal.
- Drilling Tools: Drill and various drill bits for creating mounting holes.
- Measuring Tools: Tape measure, ruler, and potentially a laser level to ensure accurate alignment.
- Welding Equipment (Potentially): If any modifications require welding, a suitable welder and related safety gear are essential.
- Bodywork Tools: Body filler, sanding blocks, sandpaper (various grits), and primer for preparing surfaces.
- Fasteners: Rivets, screws, nuts, and bolts for securing the kit to the car. Consider using stainless steel hardware for durability.
- Safety Gear: Safety glasses, gloves, and a respirator are crucial for protecting yourself during cutting, grinding, and sanding.
Vehicle Preparation
Before starting the installation, thoroughly clean the vehicle's exterior. Remove any existing body panels that will be replaced by the kit, such as the front bumper and potentially the side skirts. Protect any areas you don't want to be damaged with masking tape and drop cloths.
Installation Steps: A General Overview
The following steps provide a general overview of the Rocket Bunny Cuda widebody kit installation process. Always consult the specific instructions provided by Rocket Bunny, as variations may exist depending on the kit version.
1. Test Fitting
Before making any permanent modifications, test fit each piece of the kit to the vehicle. This step is crucial for identifying any potential fitment issues and making necessary adjustments. Pay close attention to panel gaps and alignment. Use clamps and temporary fasteners to hold the pieces in place during the test fit.
2. Cutting the Fenders
This is perhaps the most critical and potentially daunting step. You'll need to cut away portions of the existing fenders to create clearance for the wider over-fenders. Carefully mark the cutting lines based on the Rocket Bunny instructions and the test fit. Accuracy is paramount here; measure twice, cut once. Use your chosen cutting tool to carefully remove the excess material. Deburr the cut edges to prevent sharp edges.
3. Mounting the Over-Fenders
Once the fenders are cut, you can begin mounting the over-fenders. Typically, this involves drilling holes through both the over-fenders and the existing bodywork and then securing them with rivets, screws, or bolts. Ensure the over-fenders are properly aligned before drilling the final mounting holes. Consider using washers to distribute the load and prevent damage to the fiberglass.
4. Installing the Front Bumper and Side Skirts
The front bumper and side skirts are usually attached using a combination of screws, bolts, and potentially adhesive. Again, test fit these pieces before making any permanent attachments. Pay attention to alignment with the over-fenders and the rest of the vehicle. You may need to fabricate custom brackets or modify existing mounting points to achieve a secure and aesthetically pleasing fit.
5. Bodywork and Finishing
After all the pieces are mounted, you'll likely need to perform some bodywork to blend the over-fenders seamlessly with the existing bodywork. This may involve filling gaps with body filler, sanding the surfaces smooth, and applying primer. Take your time with this step; a well-executed bodywork job is essential for a professional-looking finish.
6. Painting
Once the bodywork is complete, the kit needs to be painted to match the vehicle's color. This is best left to a professional painter, as it requires specialized equipment and skills. Ensure the painter is aware of the material composition of the kit (typically fiberglass) and uses appropriate paints and techniques.
Important Considerations
- Fitment Issues: Widebody kits, especially those made of fiberglass, can sometimes have fitment issues. Be prepared to make minor modifications to ensure a proper fit.
- Wheel and Tire Fitment: One of the main reasons for installing a widebody kit is to accommodate wider wheels and tires. Carefully plan your wheel and tire setup to ensure they fill the fenders properly without rubbing. Consider using wheel spacers if necessary.
- Suspension Adjustments: Wider wheels and tires may require suspension adjustments to maintain proper handling and prevent rubbing. Consider installing coilovers or adjustable springs to fine-tune the ride height and damping.
- Professional Installation: If you're not comfortable with any of the steps involved in the installation process, it's highly recommended to seek professional installation from a reputable body shop.
- Legality: Check your local laws and regulations regarding widebody kits and fender modifications. Some jurisdictions may have restrictions on vehicle width or require fender flares to be covered by mud flaps.
Troubleshooting Common Problems
Here are some common problems encountered during Rocket Bunny Cuda kit installation and how to address them:
- Poor Panel Gaps: If the panel gaps are excessive, try adjusting the mounting points or using shims to improve the alignment. Body filler can also be used to fill small gaps.
- Rubbing Issues: If the wheels or tires are rubbing against the fenders, try adjusting the suspension, rolling the fenders, or using smaller tires.
- Difficulty Aligning the Bumper: The front bumper can be challenging to align properly. Try adjusting the mounting brackets or fabricating custom brackets if necessary.
- Cracking Fiberglass: Fiberglass can be prone to cracking if it's not handled carefully. Avoid over-tightening fasteners and use caution when drilling holes. If a crack does occur, it can be repaired with fiberglass repair kits.
Conclusion
Installing a Rocket Bunny 240SX Cuda widebody kit is a significant undertaking that requires careful planning, patience, and attention to detail. By following these installation specifications and considerations, you can increase your chances of a successful outcome and transform your 240SX into a truly unique and eye-catching vehicle. Remember to prioritize safety and consult with professionals if needed. Good luck with your build!