Rocket Bunny Flare Installation And Body Modification
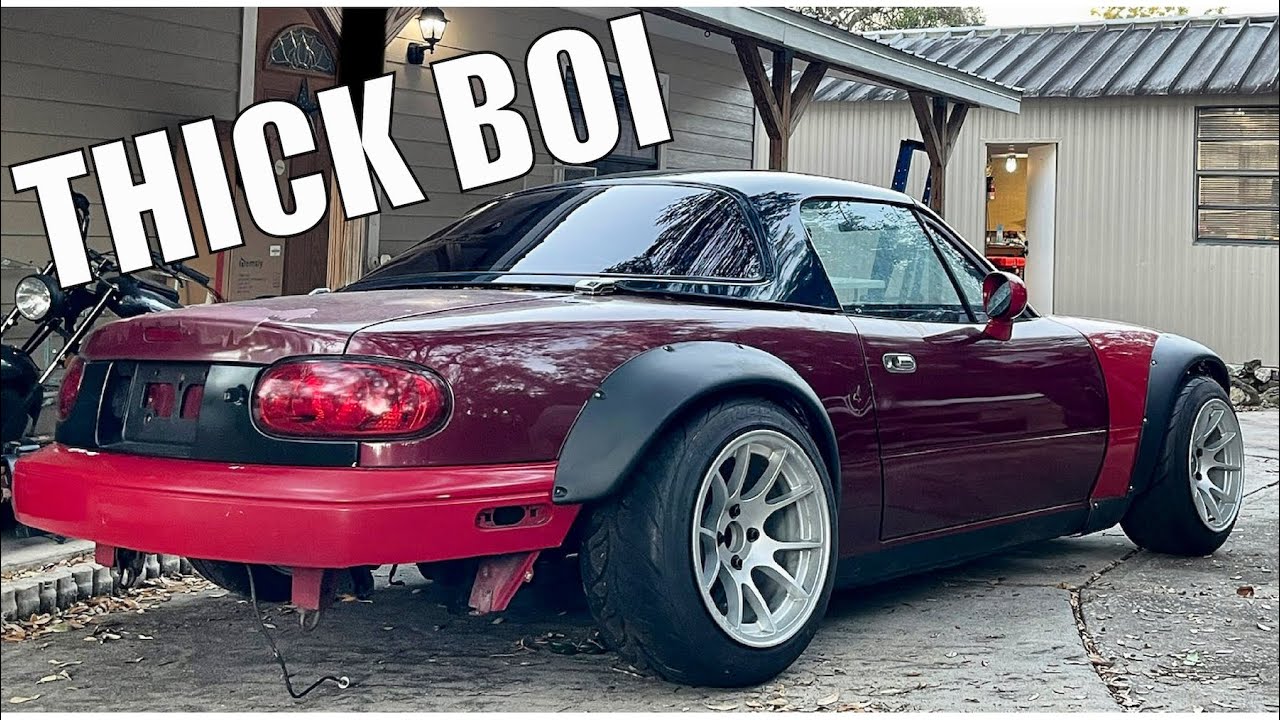
Alright, you're ready to tackle a Rocket Bunny flare install. Let's be clear upfront: this isn't a weekend wash-and-wax. This is a serious body modification project involving cutting, drilling, and fiberglass work. But with the right tools, a solid understanding of the process, and plenty of patience, you can achieve that aggressive, widebody look. This guide assumes you have experience with basic automotive tools and bodywork techniques. If you're a complete beginner, consider practicing on scrap metal or plastic first.
Understanding the Rocket Bunny Kit
First, let's talk about what you're getting yourself into. Rocket Bunny, or Pandem, kits are known for their aggressive styling, but they aren't always a perfect bolt-on fit. Expect to do some tweaking and adjusting. The kits typically include:
- Fender flares (front and rear)
- Sometimes a front lip, side skirts, and rear diffuser
- Mounting hardware (though you'll likely need to supplement this)
The flares are usually made of FRP (Fiber Reinforced Polymer), more commonly known as fiberglass. This material is strong but can be brittle, especially around edges. Quality can vary between kits, so inspect everything carefully upon arrival. Look for any cracks, bubbles, or imperfections in the fiberglass. Addressing these *before* installation will save you headaches later.
Essential Tools and Materials
Before you even think about picking up a cutting wheel, gather your supplies. Here’s a comprehensive list:
- Safety Gear: Eye protection (crucial!), dust mask or respirator (for fiberglass dust), gloves, and hearing protection.
- Cutting Tools: Angle grinder with cutting discs (various thicknesses), reciprocating saw (Sawzall) with metal-cutting blades, Dremel tool with cutting and sanding attachments.
- Measuring Tools: Measuring tape, ruler, straight edge, level, marker (Sharpie or paint pen).
- Drilling Tools: Drill with various sized drill bits, step drill bit.
- Fastening Hardware: Self-tapping screws, bolts, nuts, washers. Consider using rivet nuts (also known as nutserts) for a more secure and cleaner installation.
- Bodywork Supplies: Body filler (Bondo or similar), fiberglass resin and hardener, fiberglass mat, sandpaper (various grits, from coarse to fine), masking tape, plastic sheeting.
- Finishing Supplies: Primer, paint (matching your car's color), clear coat, polishing compound.
- Miscellaneous: Jack and jack stands, wheel chocks, cleaning solvents (degreaser, wax and grease remover), cardboard or poster board (for templates).
Preparation is Key
Rushing this process is a recipe for disaster. Take your time and do it right. This starts with thorough preparation.
- Vehicle Preparation: Safely lift and secure your vehicle on jack stands. Remove the wheels. Thoroughly clean the areas where the flares will be installed, removing any dirt, wax, or grease.
- Flare Test Fitting: This is *the* most important step. Hold the flares up to the fenders to get a sense of how they will fit. Identify any areas where they need to be trimmed or modified. Rocket Bunny kits are notorious for requiring adjustments to properly align with the body lines.
- Marking the Cut Lines: This is where your measuring tools come into play. Use the flares as a guide to mark the areas of the fenders that need to be cut away. Be conservative with your cuts! It's always easier to remove more material than to add it back. A common technique is to mark about 1/2 inch inside the edge of the flare. Remember to account for the thickness of the flare itself. Use a straight edge or flexible ruler to ensure your lines are consistent and follow the contours of the car.
- Protecting Surrounding Areas: Mask off the areas around your cut lines with masking tape and plastic sheeting. This will protect the paint from sparks and debris.
Cutting the Fenders
Now comes the nerve-wracking part: cutting into your car's sheet metal. Double-check your measurements and markings before proceeding. Remember, measure twice, cut once!
- Making the Initial Cuts: Use your angle grinder with a thin cutting disc to carefully cut along your marked lines. Start with small, shallow cuts to avoid overheating the metal. Work slowly and methodically. Alternatively, a reciprocating saw can be used, but it can be more difficult to control.
- Removing Excess Material: Once you've made the initial cuts, use the angle grinder or reciprocating saw to remove the excess fender material. Be careful not to cut too deep and damage any underlying structures.
- Trimming and Refining: After removing the bulk of the material, use a Dremel tool with a sanding drum to refine the edges of the cut. Remove any sharp edges or burrs. You want a smooth, clean surface for the flares to sit against.
- Rust Prevention: Any time you cut metal, you expose it to the elements and create an opportunity for rust to form. Apply a rust preventative primer to all exposed metal surfaces.
Flare Mounting
With the fenders cut and prepped, it's time to mount the flares. Again, test-fitting is crucial before permanently attaching anything.
- Flare Placement: Hold the flares in place and adjust them until they are perfectly aligned with the body lines. Use clamps or tape to hold them in position.
- Drilling Mounting Holes: With the flares in place, use a drill to create mounting holes through the flares and into the fenders. Use a drill bit that is slightly larger than the diameter of your chosen fasteners. A step drill bit can be helpful for creating clean, consistent holes.
- Fastening the Flares: There are several options for fastening the flares to the fenders:
- Self-Tapping Screws: This is the simplest option, but it's also the least secure. Self-tapping screws can strip out easily, especially in thin sheet metal.
- Bolts, Nuts, and Washers: This is a more secure option than self-tapping screws. However, it requires access to the back side of the fenders to install the nuts.
- Rivet Nuts (Nutserts): This is the most professional-looking and secure option. Rivet nuts are installed into the fenders using a special tool, creating a threaded insert that you can then bolt the flares to. This provides a strong and clean attachment point.
Bodywork and Finishing
Even with the most careful installation, there will likely be some gaps or imperfections between the flares and the fenders. This is where bodywork comes in.
- Gap Filling: Use body filler (Bondo or similar) to fill any gaps between the flares and the fenders. Apply the filler in thin layers, allowing each layer to dry completely before applying the next.
- Sanding: Once the filler is dry, sand it smooth using progressively finer grits of sandpaper. Start with a coarse grit (e.g., 80 grit) to remove the bulk of the material, then move to a finer grit (e.g., 180 grit) to refine the shape, and finally finish with a very fine grit (e.g., 320 grit) to smooth the surface.
- Fiberglass Reinforcement (Optional): For added strength, you can reinforce the inside of the flares with fiberglass mat and resin. This is especially important in areas that are prone to stress or impact.
- Priming: Apply several coats of primer to the flares and the surrounding areas. This will provide a smooth, even surface for the paint to adhere to. Sand the primer lightly between coats.
- Painting: Apply several coats of paint, matching your car's color. Allow each coat to dry completely before applying the next.
- Clear Coat: Apply several coats of clear coat to protect the paint and give it a glossy finish. Allow the clear coat to dry completely.
- Polishing: Use polishing compound to remove any imperfections in the clear coat and bring out the shine.
Final Touches
Once the paint is dry and polished, you can reinstall the wheels and lower the car. Step back and admire your work! You've just transformed your car's appearance with a Rocket Bunny flare install. Remember that this is a complex project, and there will likely be some challenges along the way. Don't get discouraged. Take your time, be patient, and don't be afraid to ask for help if you need it. And always prioritize safety!
Important Note: Always consult with a qualified professional if you are unsure about any aspect of this installation. Improper installation can compromise the safety and structural integrity of your vehicle.