Rocket Bunny Widebody Kit Installation And Body Modification Guide
Thinking about transforming your car into a head-turning masterpiece? The Rocket Bunny widebody kit is a popular choice for automotive enthusiasts looking to drastically alter their vehicle's appearance. However, installing one isn't just slapping on some new parts. It involves serious body modification and requires careful planning and execution. This guide provides a comprehensive overview of the Rocket Bunny widebody kit installation process, covering everything from preparation to finishing touches.
Understanding the Rocket Bunny Appeal
Rocket Bunny, designed by Kei Miura of TRA Kyoto, is renowned for its aggressive and distinctive designs. These kits typically feature bolt-on fender flares, a front lip spoiler, side skirts, and a rear diffuser. The 'bolt-on' designation can be misleading. While the flares are attached with bolts, the original fenders need to be cut to accommodate the wider stance. This is what makes the process challenging, but also what gives the car its unique, aggressive look.
Is a Rocket Bunny Kit Right for You?
Before jumping in, consider these factors:
- Cost: Rocket Bunny kits themselves can be expensive, and that's before accounting for installation, paint, and potentially new wheels and tires.
- Skill Level: This project requires advanced automotive skills, including cutting, welding, and bodywork. If you're not comfortable with these tasks, professional installation is strongly recommended.
- Time Commitment: Installing a Rocket Bunny kit is not a weekend project. It can take several days or even weeks, depending on your skill level and the complexity of the kit.
- Vehicle Modification Laws: Check your local laws and regulations regarding vehicle modifications. Some areas have restrictions on fender flares or overall vehicle width.
- Permanent Modifications: Remember that this is a permanent modification. There's no going back to the original fenders once they've been cut.
Tools and Materials Required
Having the right tools and materials is crucial for a successful installation. Here's a list of essential items:
- Rocket Bunny Widebody Kit: Obviously! Ensure you've ordered the correct kit for your specific vehicle model.
- Cutting Tools: Angle grinder with cutting wheels, reciprocating saw (optional), metal shears.
- Welding Equipment (if needed): A MIG welder is recommended for any necessary welding repairs or modifications.
- Safety Gear: Safety glasses, gloves, hearing protection, and a respirator are essential when cutting and grinding metal.
- Measuring Tools: Tape measure, level, straight edge.
- Marking Tools: Marker, grease pencil.
- Bodywork Tools: Body filler, sanding blocks, sandpaper (various grits), spreader.
- Primer and Paint: Matching primer and paint for your vehicle, along with clear coat.
- Rivets or Bolts: Depending on the kit, you'll need rivets or bolts to attach the fender flares.
- Drill and Drill Bits: For drilling holes for rivets or bolts.
- Seam Sealer: To seal any gaps and prevent rust.
- Rust Prevention: Rust converter or primer to protect exposed metal.
- Wheel Spacers (optional): To achieve the desired wheel fitment.
- New Wheels and Tires (recommended): Wider wheels and tires are usually necessary to fill out the wider fenders.
Step-by-Step Installation Guide
This is a general guide, and the specific steps may vary depending on the Rocket Bunny kit you're installing. Always refer to the manufacturer's instructions.
1. Preparation
Before you start cutting metal, thorough preparation is key:
- Inspect the Kit: Carefully inspect all the components of the Rocket Bunny kit for any damage or defects.
- Test Fit: Test fit all the parts to your vehicle to ensure proper alignment and fitment. This will help you identify any potential issues before you start cutting.
- Mark the Cutting Lines: Use a marker or grease pencil to carefully mark the cutting lines on your fenders. Follow the instructions provided with the kit. Accuracy is crucial at this stage. Double-check your measurements before cutting.
- Protect the Surrounding Area: Cover the surrounding areas of your vehicle with masking tape or plastic sheeting to protect them from sparks and debris.
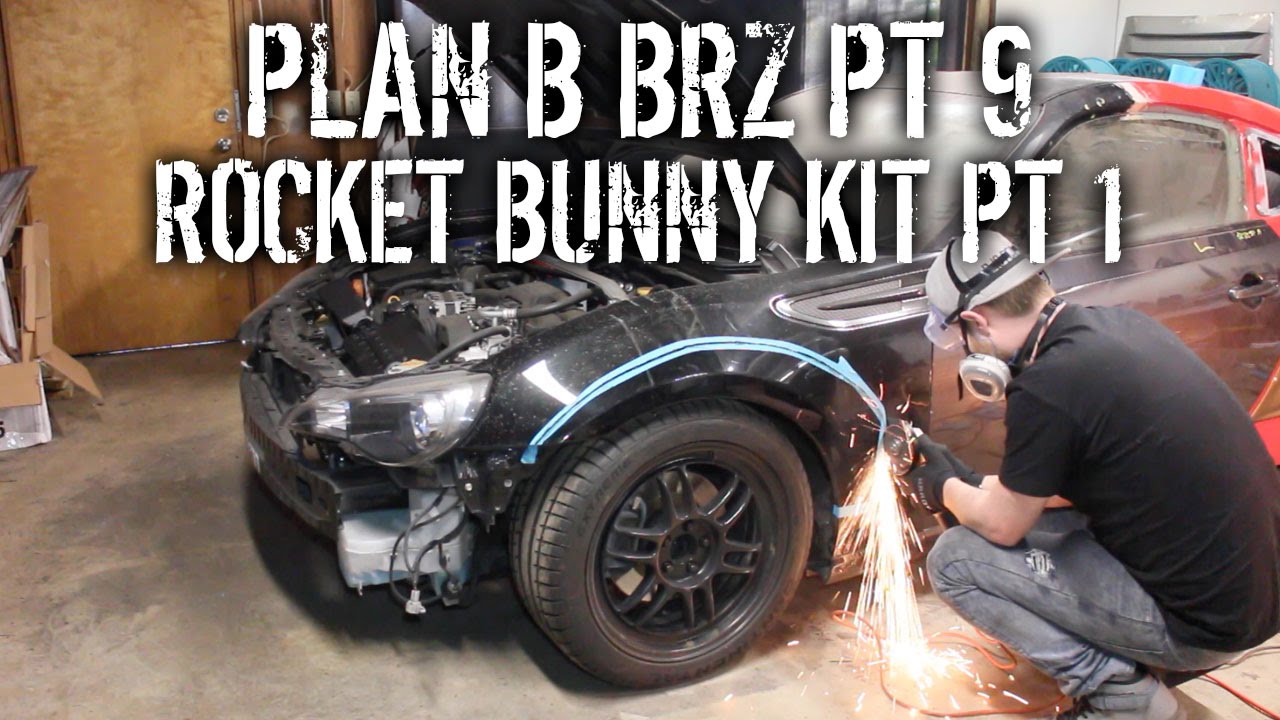
2. Cutting the Fenders
This is the most critical and irreversible step. Take your time and be precise.
- Start Small: Begin by cutting a small section of the fender along the marked line. Use an angle grinder with a cutting wheel or a reciprocating saw.
- Gradually Increase the Cut: Gradually increase the cut, following the marked line. Be careful not to cut too much material at once.
- Smooth the Edges: Use a grinder with a sanding disc to smooth the edges of the cut fenders. Remove any sharp edges or burrs.
- Apply Rust Prevention: Apply rust converter or primer to the exposed metal edges to prevent rust.
3. Fitting the Fender Flares
Now it's time to attach the Rocket Bunny fender flares.
- Align the Flares: Carefully align the fender flares with the cut fenders. Ensure they are properly positioned and that the gaps are even.
- Drill Holes: Use a drill and drill bit to drill holes through the fender flares and the fenders. Follow the spacing recommendations provided with the kit.
- Attach the Flares: Attach the fender flares using rivets or bolts. Securely fasten each rivet or bolt.
4. Bodywork and Finishing
Even with careful cutting and fitting, there may be gaps or imperfections. This is where bodywork comes in.
- Apply Body Filler: Use body filler to fill any gaps or imperfections between the fender flares and the fenders.
- Sand the Body Filler: Sand the body filler using various grits of sandpaper to create a smooth and seamless transition.
- Prime the Surface: Apply primer to the entire surface of the fender flares and the surrounding areas.
- Paint the Surface: Paint the fender flares and the surrounding areas with matching paint. Apply multiple coats for even coverage.
- Apply Clear Coat: Apply clear coat to protect the paint and give it a glossy finish.
- Seam Seal: Apply seam sealer to any areas where water or debris could potentially enter, such as the inside of the fender flares where they meet the body.
5. Wheels and Tires
To complete the look, you'll likely need new wheels and tires that fit the wider fenders.
- Measure for Offset: Carefully measure the distance between the fender flares and the suspension components to determine the correct wheel offset.
- Choose Wheels and Tires: Choose wheels and tires that are the correct size and offset for your vehicle.
- Install Wheels and Tires: Install the new wheels and tires.
Tips for a Professional-Looking Installation
Achieving a professional-quality finish requires attention to detail and patience. Here are some additional tips:
- Take Your Time: Don't rush the process. Take your time and pay attention to detail.
- Double-Check Everything: Double-check all measurements and alignments before cutting or drilling.
- Use High-Quality Materials: Use high-quality body filler, primer, and paint for a durable and long-lasting finish.
- Practice Your Welding: If welding is required, practice on scrap metal before welding on your vehicle.
- Sand Properly: Proper sanding is crucial for a smooth and seamless finish. Use the correct grit sandpaper and take your time.
- Cleanliness is Key: Keep your work area clean to prevent contamination and ensure a professional finish.
- Consider Professional Help: If you're not comfortable with any of these steps, don't hesitate to seek professional help from a body shop.
Common Mistakes to Avoid
Installing a Rocket Bunny kit can be challenging, and it's easy to make mistakes. Here are some common pitfalls to avoid:
- Incorrect Measurements: Double-check all measurements before cutting.
- Cutting Too Much Material: Start small and gradually increase the cut.
- Poor Welding: Poor welding can weaken the structure of the vehicle.
- Incorrect Body Filler Application: Apply body filler in thin layers and allow it to dry completely before sanding.
- Rushing the Sanding Process: Take your time and use the correct grit sandpaper.
- Ignoring Rust Prevention: Apply rust converter or primer to all exposed metal to prevent rust.
- Improper Wheel Fitment: Ensure that the wheels and tires are the correct size and offset for your vehicle.
Conclusion
Installing a Rocket Bunny widebody kit is a significant undertaking that requires skill, patience, and attention to detail. By following this guide and taking the necessary precautions, you can transform your car into a truly unique and eye-catching machine. Remember to prioritize safety, take your time, and seek professional help if needed. Good luck, and enjoy the journey of creating your dream car!
Ultimately, installing a widebody kit is a major commitment.
Consider all aspects of the project before you begin. With proper planning and execution, you can achieve a stunning result that will turn heads wherever you go.