Rocket Bunny Widebody Kit Structural Modification Guide
Rocket Bunny Widebody Kit Structural Modification Guide
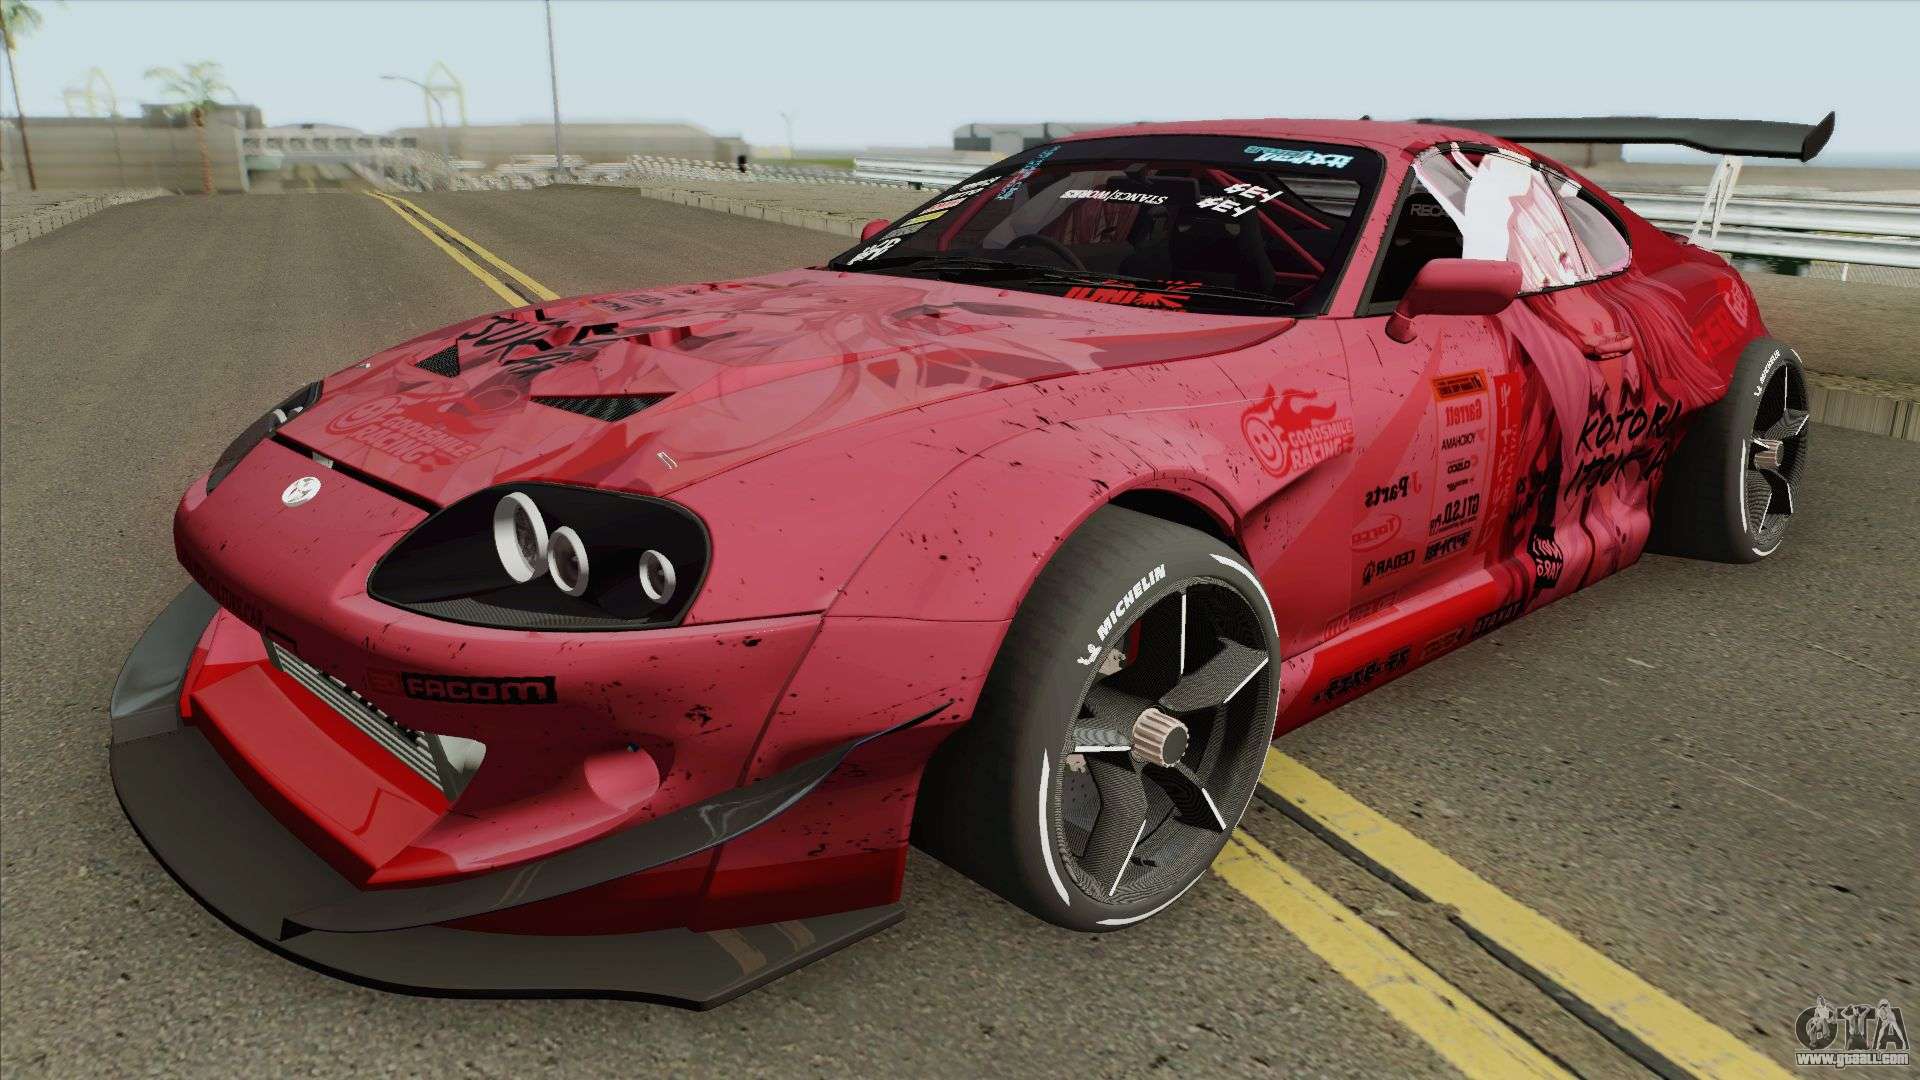
Thinking about installing a Rocket Bunny (Pandem) widebody kit on your car? These kits are undeniably stylish, transforming the look of almost any vehicle into an aggressive, head-turning machine. However, it's crucial to understand that installing a Rocket Bunny kit is far more involved than just bolting on some fiberglass. It requires significant structural modifications to your car's body, and understanding these modifications is vital for a safe and aesthetically pleasing result.
This guide provides a comprehensive overview of the structural modifications typically required for a Rocket Bunny widebody kit installation. We aim to provide clear, neutral, and helpful information to empower you to make informed decisions, whether you're tackling the project yourself or entrusting it to a professional.
Understanding the Need for Structural Modifications
Rocket Bunny widebody kits aren't designed to simply overlay your existing body panels. They are considerably wider, necessitating significant alterations to the car's sheet metal to properly integrate and function. Ignoring these modifications can lead to a host of problems, including:
- Poor fitment: The kit will likely not sit flush, creating unsightly gaps and uneven lines.
- Tire rubbing: The wider body requires increased wheel clearance, which often involves cutting and reshaping the wheel wells.
- Compromised structural integrity: Improperly executed modifications can weaken the car's chassis, affecting handling and safety.
- Rust and corrosion: Exposing bare metal without proper sealing and protection can lead to rust and corrosion, severely damaging your car over time.
Essential Structural Modifications for a Rocket Bunny Kit
The specific modifications required will vary slightly depending on the car model and the specific Rocket Bunny kit. However, the following are the most common and crucial steps:
1. Cutting the Existing Fenders and Quarter Panels
This is the most dramatic and irreversible part of the process. The original fenders and quarter panels need to be trimmed to accommodate the wider arches of the Rocket Bunny kit. This typically involves cutting away a significant portion of the metal. It's crucial to plan carefully and mark the cut lines precisely. Measure twice, cut once! Using a rotary cutting tool, such as an angle grinder with a cutting disc or a specialized metal cutting tool, carefully remove the excess metal.
Safety is paramount during this stage. Wear appropriate safety gear, including eye protection, hearing protection, and gloves. Ensure proper ventilation to avoid inhaling metal dust and fumes.
2. Wheel Well Modification and Widening
After cutting the outer body panels, you'll likely need to modify the inner wheel wells to provide sufficient clearance for the wider wheels and tires that the Rocket Bunny kit necessitates. This may involve:
- Hammering and reshaping: Using a hammer and dolly, carefully reshape the inner wheel well to create more space. This requires patience and skill to avoid damaging the metal.
- Cutting and welding: In some cases, you may need to cut sections of the inner wheel well and weld in new metal to create a wider opening. This is a more advanced technique that requires welding expertise.
- Rolling fenders: A fender roller can be used to roll the inner lip of the fender upwards, creating more clearance. However, this may not be sufficient for all Rocket Bunny kits.
Regardless of the method used, ensure that the modifications provide adequate clearance throughout the suspension's range of motion. Test fitting the wheels and tires after each modification is crucial.
3. Reinforcement and Bracing
Cutting away sections of the car's body can weaken its structural integrity. Therefore, it's essential to reinforce the modified areas. This can be achieved through:
- Welding in reinforcement plates: Welding steel plates to the inner surfaces of the modified panels can add strength and rigidity.
- Creating a roll cage or adding chassis bracing: While not always necessary for purely aesthetic builds, a roll cage or additional chassis bracing can significantly improve the car's overall strength and handling, particularly for track-focused builds.
- Seam welding: Seam welding existing seams can reinforce the body and improve rigidity.
Consult with a qualified professional to determine the appropriate reinforcement methods for your specific vehicle and intended use.
4. Rust Prevention and Sealing
Exposing bare metal during the cutting and welding process makes it susceptible to rust and corrosion. It's crucial to thoroughly treat all exposed metal to prevent rust formation. This involves:
- Cleaning the metal: Remove any dirt, grease, or rust with a wire brush or chemical cleaner.
- Applying a rust converter: Rust converters chemically convert existing rust into a stable, paintable surface.
- Applying a rust inhibitor primer: This provides a protective barrier against moisture and oxygen.
- Sealing seams and joints: Use seam sealer to prevent water and moisture from entering the modified areas.
- Applying undercoating: Apply undercoating to the underside of the car to protect against road debris and corrosion.
Proper rust prevention is essential for ensuring the longevity of your car's bodywork. Neglecting this step can lead to costly repairs down the line.
5. Proper Welding Techniques
Welding is a critical skill required for many of the structural modifications involved in a Rocket Bunny kit installation. If you're not experienced in welding, it's highly recommended to entrust this task to a qualified professional.
Poor welding can lead to weak joints, which can compromise the car's structural integrity. Ensure that the welds are strong, clean, and properly penetrated. Use the appropriate welding process (MIG, TIG, or stick) for the type of metal being welded.
"Welding is not just about joining two pieces of metal; it's about creating a strong, durable, and safe connection."
DIY vs. Professional Installation
Installing a Rocket Bunny widebody kit is a complex and time-consuming project. It requires specialized tools, skills, and knowledge. The decision of whether to tackle it yourself or hire a professional depends on your:
- Skill level: Are you comfortable with cutting, welding, and bodywork?
- Tools and equipment: Do you have access to the necessary tools, such as a welder, cutting tools, and bodywork tools?
- Time commitment: Do you have the time and patience to dedicate to this project?
- Budget: Can you afford the cost of professional installation?
If you're confident in your abilities and have the necessary resources, a DIY installation can be a rewarding experience. However, if you're unsure or lack the necessary skills, it's best to hire a professional. A reputable body shop with experience in widebody kit installations can ensure that the job is done correctly and safely.
Choosing a Professional Installer
If you decide to hire a professional installer, take the time to research and choose a reputable shop. Consider the following factors:
- Experience: Does the shop have experience installing Rocket Bunny widebody kits or similar modifications?
- Reputation: Check online reviews and ask for referrals.
- Quality of work: Inspect examples of the shop's previous work.
- Pricing: Get quotes from multiple shops and compare prices.
- Communication: Does the shop communicate clearly and answer your questions thoroughly?
A qualified installer will be able to assess your car's condition, advise you on the necessary modifications, and perform the installation to a high standard. They will also be able to address any potential issues that may arise during the process.
Conclusion
Installing a Rocket Bunny widebody kit can dramatically transform the appearance of your car. However, it's essential to understand the structural modifications required and to execute them properly. Whether you choose to tackle the project yourself or hire a professional, prioritize safety, quality, and attention to detail. By following the guidelines outlined in this article, you can ensure a successful Rocket Bunny installation that enhances both the aesthetics and the structural integrity of your vehicle. Remember that proper planning and execution are key to achieving the desired result. Good luck!