S13 Center Console Disassembly And Modification Guide
So, you're looking to tear into the S13's center console? Whether you're chasing a rattle, installing a short shifter, rewiring for a new audio system, or prepping for a whole new gauge setup, this guide will walk you through the disassembly and modification process. We'll cover everything from basic removal to common modifications and potential pitfalls.
Disassembly: From Stock to Stripped
Before we start, remember to disconnect the negative battery terminal. We'll be working around electrical components, and safety first!
Tools You'll Need:
- Phillips head screwdriver (various sizes)
- Flathead screwdriver (small and medium sizes)
- Socket set with extensions (8mm, 10mm, 12mm are common)
- Panel removal tool (or a wide, flat plastic pry tool)
- Needle-nose pliers
- Multimeter (optional, but highly recommended for electrical work)
- Pen and paper (for labeling wires – trust me, you'll thank yourself later)
Step 1: Removing the Shift Knob and Boot
The first and easiest step is removing the shift knob. Most aftermarket knobs simply unscrew. Factory knobs can be tighter, so use a bit of elbow grease. Next, gently pry up the shift boot surround. Use your panel removal tool or a flathead screwdriver very carefully to avoid scratching the surrounding plastic. There may be clips or screws holding it in place, so take your time and inspect before forcing anything.
Step 2: Removing the Ashtray and Cigarette Lighter
Open the ashtray and you'll usually find two Phillips head screws holding it in place. Remove these screws. Disconnect the wiring connector for the cigarette lighter. The connector usually has a small tab you need to press to release it. This is where your needle-nose pliers might come in handy. Remember that pen and paper? Now's a good time to label the connector – "Cig Lighter" will do.
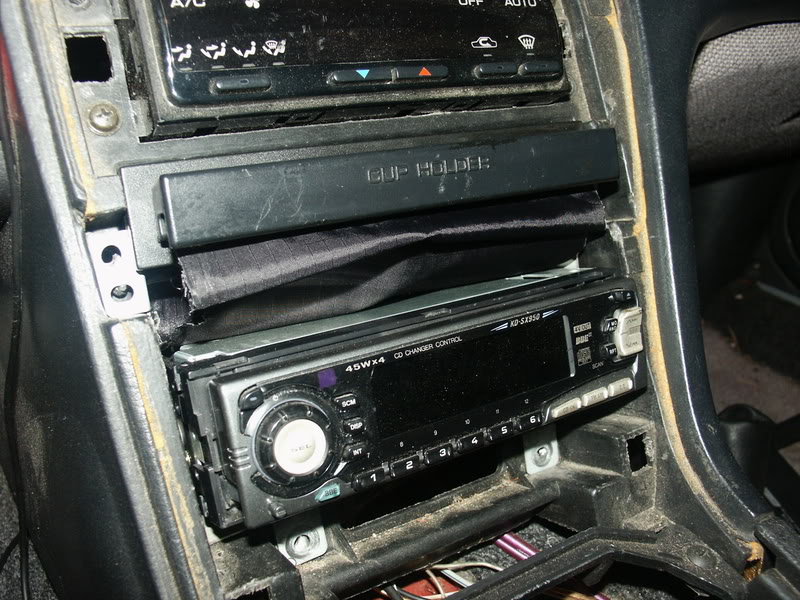
Step 3: Detaching the Radio Surround
The radio surround is typically held in place by clips. Use your panel removal tool to gently pry around the edges. Start from the bottom and work your way up. Be careful not to apply too much force, as the plastic can be brittle, especially on older cars. Once the clips are disengaged, you should be able to pull the surround away. Disconnect any wiring connectors attached to the back of the surround, such as the hazard light switch and rear window defogger. Label these connectors!
Step 4: Unbolting the Center Console
Now we get to the main event. Look for bolts securing the center console to the chassis. These are usually located in the footwells (both driver and passenger side) and possibly under the ashtray area. Use your socket set to remove these bolts. The size is usually 10mm or 12mm.
Step 5: Disconnecting the E-Brake Boot
The e-brake boot usually has a plastic surround that's either clipped or screwed to the center console. Similar to the shift boot, carefully pry or unscrew the surround to release it. You might need to lift the e-brake lever to get enough slack to maneuver the console.
Step 6: Removing the Entire Center Console
With all the bolts and connections removed, you should now be able to lift the entire center console out of the car. You might need to wiggle it a bit to clear the e-brake lever and shifter assembly. Take your time and avoid forcing it. Once removed, place the console on a clean, protected surface for further inspection or modification.
Common Modifications: Making it Your Own
Now that the console is out, let's explore some popular modifications:
Short Shifter Installation
A short shifter reduces the throw distance required to change gears, resulting in a sportier feel. This usually involves removing the stock shifter assembly and replacing it with the aftermarket unit. Follow the instructions that come with your specific short shifter kit. Pay close attention to aligning the shifter correctly and ensuring proper lubrication of the moving parts.
Gauge Pod Integration
Many S13 owners add auxiliary gauges (boost, oil pressure, water temperature, etc.) to monitor engine performance. The center console is a popular location for mounting gauge pods. This usually involves cutting holes in the console and securing the pods. Use a hole saw of the appropriate size and take precise measurements to ensure a clean and professional look. Consider using a template for accurate hole placement. Remember to run wiring for the gauges neatly and safely.
Stereo System Upgrades
Upgrading the stereo is another common modification. This may involve replacing the head unit, adding amplifiers, or installing new speakers. When running wiring for amplifiers, ensure you use the correct gauge wire and fuse it appropriately. Grounding is crucial for audio quality, so choose a clean, bare metal surface for your ground connection. The existing radio harness will likely need an adapter to work with your new head unit; these are readily available online.
Custom Switch Panels
Adding custom switches for accessories like auxiliary lights, nitrous systems, or cooling fans is another popular modification. You can create a custom switch panel to replace the ashtray or cigarette lighter area. Use high-quality switches and wire them properly, using relays where necessary. Never overload the existing wiring circuits. Consult wiring diagrams and fuse ratings to ensure you're not exceeding the circuit's capacity.
Console Re-Upholstery or Painting
If your console is faded, cracked, or you just want a different look, consider re-upholstering or painting it. For upholstery, remove the old material and use contact cement to adhere the new fabric. For painting, thoroughly clean and sand the console before applying primer and paint. Use automotive-grade paint for durability and UV resistance.
Potential Pitfalls and Solutions
Modifying the S13's center console can be rewarding, but it's not without its challenges. Here are some common pitfalls and how to avoid them:
- Breaking Plastic Clips: Old plastic can become brittle. Use gentle pressure and a panel removal tool to minimize the risk of breaking clips. If a clip does break, you can often find replacements online or at an auto parts store.
- Stripped Screws: Apply firm, even pressure when unscrewing screws. If a screw is stripped, try using a rubber band or steel wool between the screwdriver and the screw head for better grip. As a last resort, you can use a screw extractor.
- Forgetting Wiring Connections: Always label wiring connectors before disconnecting them. Take photos for reference. If you forget where a wire goes, consult a wiring diagram.
- Short Circuits: Ensure all wiring connections are secure and insulated to prevent short circuits. Use heat shrink tubing or electrical tape to protect exposed wires.
- Overloading Circuits: Never overload existing wiring circuits by adding too many accessories. Use relays to control high-current devices and fuse your circuits appropriately.
- Damaging the Wiring Harness: Be careful not to cut or damage the wiring harness when cutting holes for gauges or switches. Use a sharp knife or a rotary tool with a cutting disc.
Reassembly: Putting it All Back Together
Once you've completed your modifications, it's time to reassemble the center console. Follow the disassembly steps in reverse order. Pay close attention to wiring connections and ensure all bolts are tightened securely. Before you completely finish, test all your modifications (lights, switches, stereo, etc.) to make sure everything is working correctly. If something isn't working, double-check your wiring and connections before assuming the worst.
Modifying your S13's center console is a great way to personalize your car and improve its functionality. With careful planning, patience, and the right tools, you can achieve professional-looking results. Happy modding!