S13 Headlight Mechanism Repair And Adjustment Procedure
So, your S13's headlights are acting up? Don't worry, you're not alone. Those pop-up headlights, while undeniably cool, can be a bit finicky after all these years. Whether one isn't popping up, they're uneven, or they're just plain slow, this guide will walk you through diagnosing and fixing the most common S13 headlight mechanism issues and properly adjusting them.
Understanding the S13 Headlight System
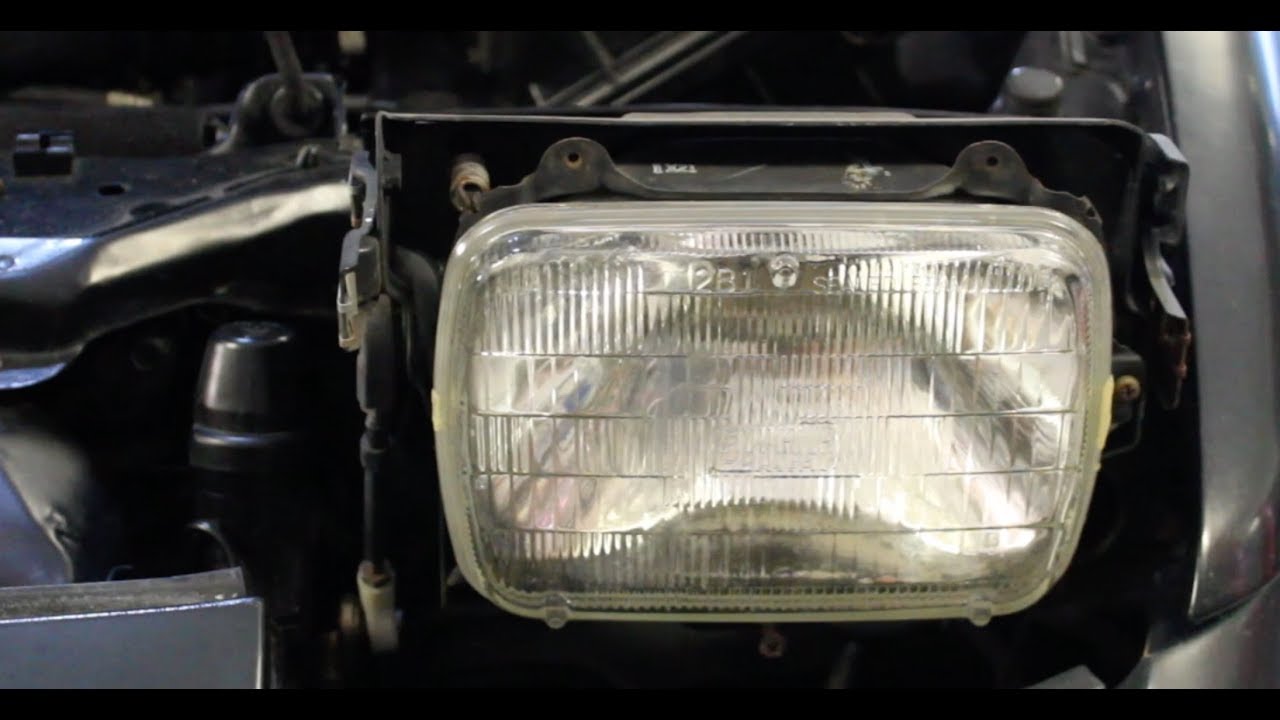
Before we dive in, let's understand the basics. The S13's headlights are controlled by an electric motor that drives a linkage system. This linkage raises and lowers the headlight buckets. The system relies on relays, switches, and limit switches to function correctly. Common problems arise from worn-out motors, sticky linkages, faulty relays, or misadjusted limit switches.
Common Problems and Solutions
1. Headlight Doesn't Pop Up At All
This is often the most frustrating scenario. Here's a step-by-step troubleshooting approach:
- Check the Fuses: This is the simplest and often overlooked step. Locate the headlight fuse in the fuse box (usually under the dash) and check for a blown fuse. Replace it if necessary. Don't just replace it and forget it! If it blows again, there's a short circuit somewhere.
- Listen for the Motor: When you activate the headlights, can you hear the headlight motor attempting to run?
- If you hear the motor: The problem likely lies within the linkage or the headlight bucket itself. The linkage might be binding, the motor gear might be stripped (less likely, but possible), or the headlight bucket might be physically stuck.
- If you don't hear the motor: The problem is electrical. It could be a bad relay, a faulty headlight switch, a bad ground connection, or a dead motor.
- Test the Headlight Relay: The headlight relay is responsible for providing power to the headlight motor. You can usually find it in the engine bay near the fuse box. You can test the relay by swapping it with a known good relay (like the horn relay, which is often the same type). If the headlight now works, the relay is the culprit. Replacement relays are relatively inexpensive (around $10-$20).
- Check the Headlight Switch: A faulty headlight switch can prevent power from reaching the headlight relay. Use a multimeter to test the switch for continuity when activated. If there's no continuity, the switch needs to be replaced.
- Inspect Wiring and Connections: Check for loose, corroded, or damaged wiring, especially around the headlight motor, relay, and switch. Clean any corroded connections with a wire brush and electrical contact cleaner.
- Test the Headlight Motor: If all else fails, the headlight motor itself might be dead. You can test the motor by applying 12V directly to its terminals. If it doesn't run, the motor needs to be replaced. New or rebuilt headlight motors can range from $50 to $150 depending on the source.
2. Headlight Pops Up Slowly or Jerkily
This usually indicates a binding linkage or a weak motor.
- Lubricate the Linkage: The first step is to thoroughly lubricate all the pivot points and moving parts of the headlight linkage with a good quality penetrating lubricant like WD-40 (for cleaning) and then a heavier grease. Work the linkage back and forth to distribute the lubricant. Often, this alone will solve the problem.
- Inspect for Obstructions: Check for any debris or obstructions that might be hindering the movement of the linkage or the headlight bucket. Remove any obstructions.
- Check Motor Condition: After lubrication, if it's still slow, the motor could be getting weak. Over time, the motor's brushes wear down. Replacing the motor is the best long-term solution.
3. Headlights Are Uneven
This is usually caused by misadjusted limit switches or a problem with the linkage on one side.
- Inspect the Linkage: Compare the linkage on both sides. Look for any bent or damaged parts. If you find anything, try to straighten it carefully, or replace the damaged part.
- Adjust the Limit Switches: The limit switches tell the motor when to stop raising or lowering the headlights. They are usually located near the headlight motor. There are two: Up Limit Switch and Down Limit Switch. The position of these switches determines the final height of the headlight.
- Locate the Limit Switches: These are usually small adjustable switches. The exact location can vary, consult your S13 service manual for specifics.
- Loosen the Adjustment Screws: Loosen the screws that hold the limit switches in place.
- Adjust the Switch Positions: Carefully adjust the position of the switches until both headlights are level when fully raised. You'll likely need to experiment a bit. Adjust the Up Limit switch for each side to get the proper and even height.
- Tighten the Adjustment Screws: Once the headlights are level, tighten the adjustment screws.
Headlight Adjustment Procedure
Once you've addressed any mechanical issues, it's crucial to properly adjust the headlights to ensure optimal visibility and avoid blinding other drivers. Here's how to do it:
- Preparation:
- Park your S13 on a level surface, facing a wall or garage door.
- Ensure your tires are properly inflated.
- Remove any weight from the trunk or seats.
- Measure the height from the ground to the center of your headlights. This is your headlight height.
- Mark the Wall:
- On the wall, mark two points that correspond to the height of your headlights. These marks should be the same distance apart as the center of your headlights.
- Draw a horizontal line connecting these two points. This is your headlight aim line.
- Draw a vertical line in the center of the two points you marked.
- Position the Vehicle:
- Position your S13 25 feet (7.6 meters) away from the wall.
- Adjust the Headlights:
- Locate the headlight adjustment screws on the back of the headlight assembly. There are usually two screws: one for vertical adjustment and one for horizontal adjustment.
- Using a screwdriver, adjust the vertical screw until the brightest part of the headlight beam is aimed slightly below the headlight aim line.
- Adjust the horizontal screw until the brightest part of the headlight beam is centered on the vertical line.
- Verify Alignment:
- After making adjustments, drive your S13 at night to ensure proper visibility and that you are not blinding oncoming drivers. If necessary, fine-tune the adjustments.
Tools and Materials Needed
- Socket set
- Screwdrivers (Phillips and flathead)
- Multimeter
- Penetrating lubricant (WD-40 or similar)
- Grease
- Electrical contact cleaner
- Replacement fuses
- Replacement relay (if needed)
- Replacement headlight motor (if needed)
Estimated Repair Costs
Here's a rough estimate of potential repair costs:
- Fuse replacement: $5-$10
- Relay replacement: $10-$20
- Headlight motor replacement: $50-$150 (depending on new, rebuilt, or used)
- Professional headlight adjustment: $30-$50
Important Note: These are just estimates. The actual cost will vary depending on the specific problem, the parts used, and the labor rate of your mechanic. If you're not comfortable performing these repairs yourself, it's always best to take your S13 to a qualified mechanic.
With a little patience and these instructions, you can get those S13 headlights popping up properly and ensure a safer driving experience. Good luck!