S13 Shift Boot Retainer Clip Design And Replacement
The Nissan S13, a darling of the drift and tuning scene, is renowned for its responsive handling and iconic silhouette. Yet, behind the exhilarating driving experience lies a network of seemingly mundane components, each playing a critical role. Among these, the shift boot retainer clip – a small, often overlooked piece – secures the shift boot to the transmission tunnel, preventing drafts, noise, and debris from entering the cabin. While simple in function, understanding its design and replacement offers valuable insight into automotive engineering principles and practical repair techniques.
Design and Functionality
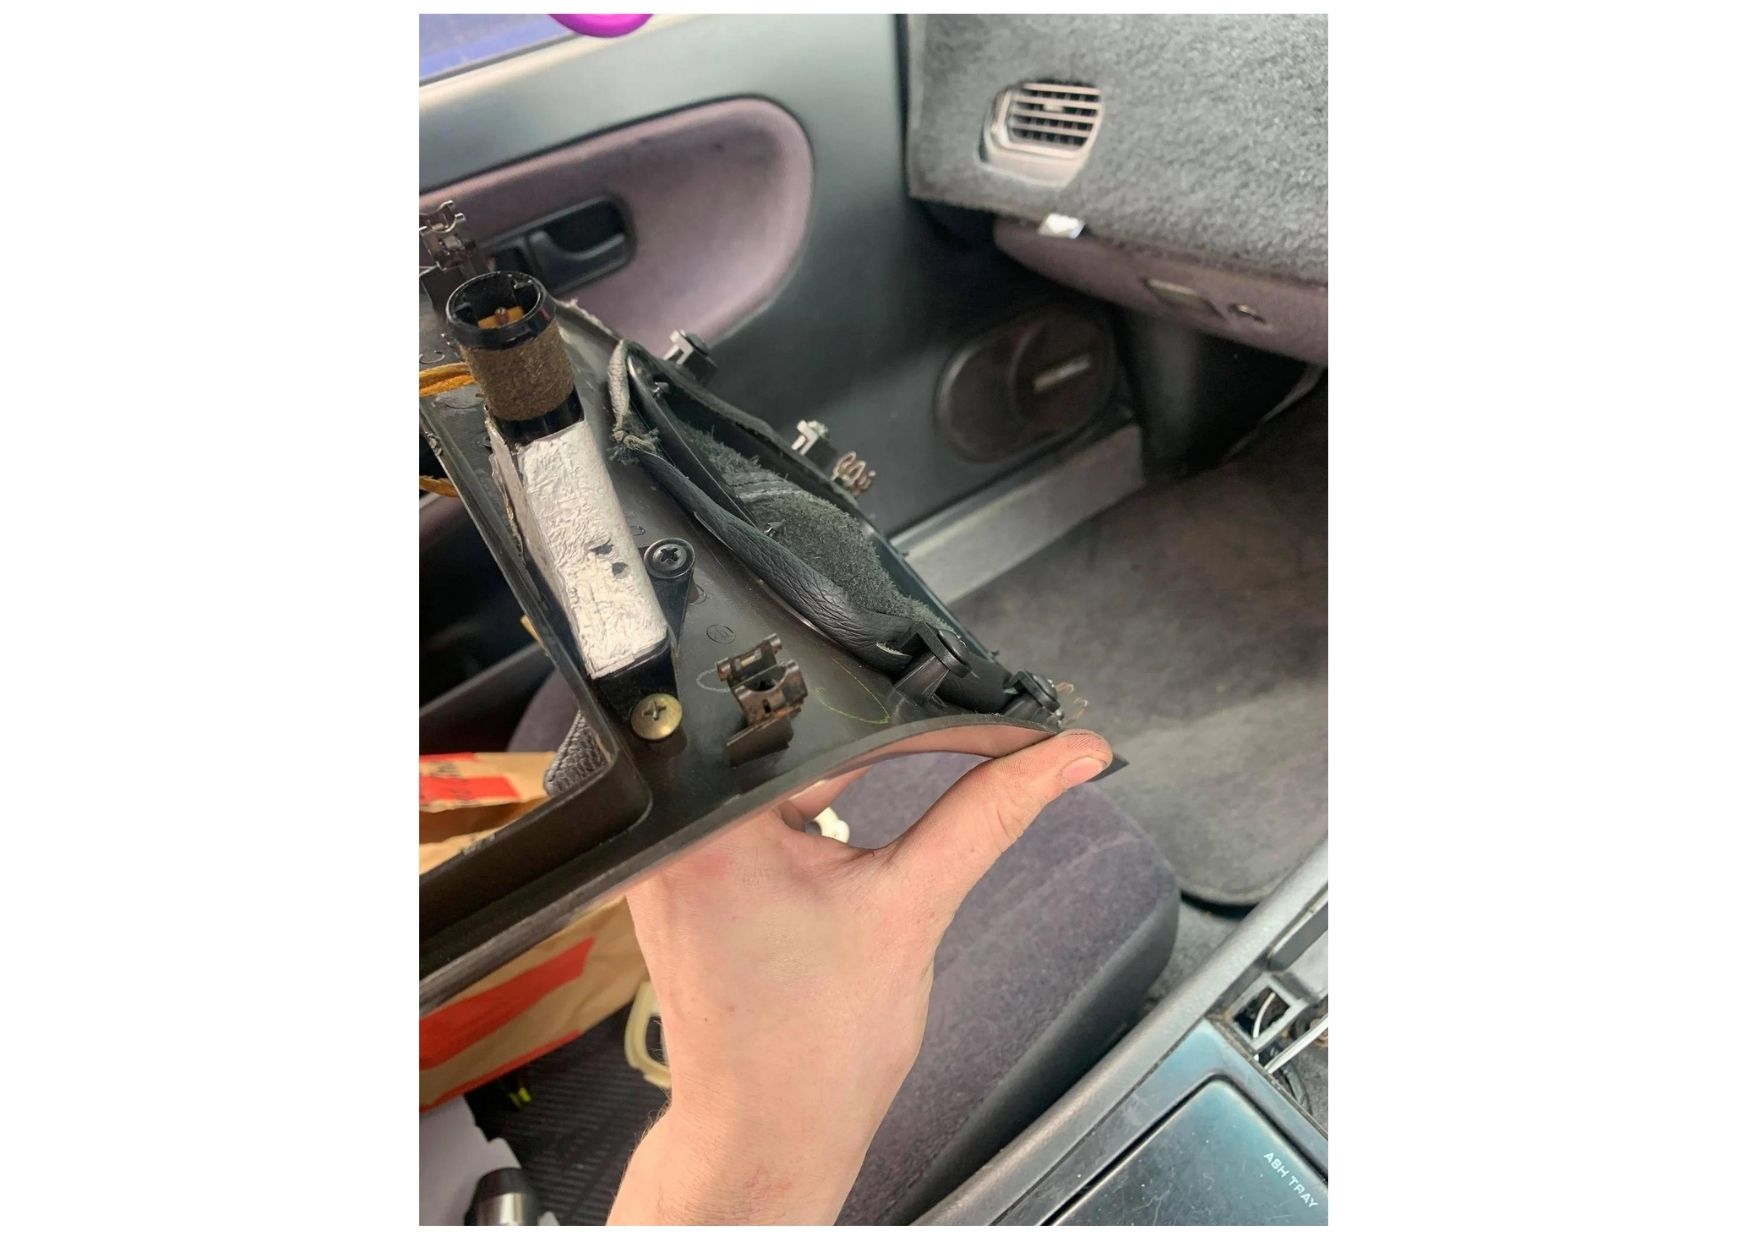
The S13 shift boot retainer clip is typically a stamped metal or plastic component designed for a press-fit or snap-fit connection. Its primary function is threefold:
- Securing the Shift Boot: The most obvious function is to rigidly attach the shift boot to the car's body. This ensures the boot remains in place during gear changes, preventing it from bunching up or slipping down the shifter.
- Sealing the Cabin: A properly installed shift boot, secured by the retainer clip, creates a seal around the shifter opening. This seal minimizes the intrusion of engine and exhaust fumes, road noise, and unwanted airflow into the cabin, improving the driving environment.
- Aesthetic Integration: Beyond its practical purpose, the retainer clip also contributes to the overall interior aesthetic. By holding the shift boot taut and in place, it presents a clean and finished appearance.
Material Selection
The material choice for the retainer clip often balances cost, durability, and ease of manufacturing. Metal clips, typically stamped steel with a protective coating (such as zinc plating), offer robust strength and resistance to deformation. However, they can be prone to corrosion over time, especially in regions with harsh weather conditions. Plastic clips, usually molded from durable polymers like ABS or polypropylene, are lighter, corrosion-resistant, and less expensive to produce. However, they might be more susceptible to breakage, especially if exposed to extreme temperatures or repeated stress.
Clip Geometry and Retention Mechanisms
The clip's geometry is crucial for achieving a secure and reliable connection. The design typically involves a circular or oval flange that interfaces with the shift boot, and a series of tangs, barbs, or spring arms that engage with the corresponding aperture in the transmission tunnel. These features create a mechanical interlock, resisting the pull-out force generated during gear changes and normal driving conditions. Some designs incorporate a locking mechanism, requiring a specific action (such as pressing a release tab) to disengage the clip. This adds an extra layer of security and prevents accidental dislodging.
The success of the retention mechanism hinges on several factors:
- Material Elasticity: The tangs or spring arms must possess sufficient elasticity to deform during installation and then spring back to their original shape, creating the clamping force necessary for a secure grip.
- Surface Friction: The friction between the clip's contact surfaces and the transmission tunnel contributes to the overall retention force. Some clips feature textured surfaces or specialized coatings to enhance friction.
- Interference Fit: The dimensions of the clip and the aperture in the transmission tunnel are carefully matched to create an interference fit. This means the clip is slightly larger than the aperture, requiring it to be compressed during installation, further increasing the clamping force.
Replacement Procedure: A Step-by-Step Guide
Replacing a damaged or missing shift boot retainer clip is a relatively straightforward task, but requires careful attention to detail to avoid damaging the shift boot, interior trim, or the clip itself.
Tools Required
- Flat-head screwdriver or trim removal tool
- Needle-nose pliers (optional)
- New shift boot retainer clip (correct model for S13)
- Clean cloth
Procedure
- Preparation: Park the vehicle on a level surface and engage the parking brake. Place the transmission in neutral.
- Accessing the Shift Boot: The method for accessing the shift boot varies depending on the S13 model and any aftermarket modifications. In most cases, you'll need to carefully pry up the center console trim surrounding the shifter. Use a flat-head screwdriver or a dedicated trim removal tool to avoid scratching the plastic. Start at one edge and gently work your way around, releasing the retaining clips or screws that hold the trim in place. Take your time and apply even pressure to avoid breaking the trim pieces.
- Removing the Old Clip (If Present): If the old clip is still in place, carefully inspect how it's attached. Some clips can be removed by simply pulling them straight out, while others require you to depress a release tab or rotate the clip slightly. Use a flat-head screwdriver or needle-nose pliers to manipulate the clip as needed. If the clip is broken or severely corroded, you might need to use more force, but be mindful of the surrounding components.
- Cleaning the Area: Once the old clip is removed, thoroughly clean the area around the shifter opening. Remove any dirt, debris, or remnants of the old clip. A clean surface will ensure a proper fit for the new clip.
- Installing the New Clip: Align the new shift boot retainer clip with the corresponding aperture in the transmission tunnel. Ensure the clip is oriented correctly – the tangs or spring arms should be facing in the direction that will allow them to engage with the aperture. Gently press the clip into place. You should hear or feel a distinct "click" as the clip engages. If the clip is difficult to install, double-check the alignment and ensure there are no obstructions. Do not force the clip, as this could damage it or the surrounding components.
- Securing the Shift Boot: Once the clip is securely in place, carefully tuck the shift boot over the clip's flange. Ensure the boot is evenly distributed and properly seated.
- Reassembling the Center Console: Carefully reattach the center console trim, aligning it with the corresponding mounting points. Press down firmly to engage the retaining clips or screws. Ensure all the trim pieces are securely fastened to prevent rattles or vibrations.
- Testing: Shift through all the gears to ensure the shift boot remains securely in place and does not interfere with the shifter's movement. Check for any unusual noises or vibrations.
Troubleshooting and Common Issues
While the replacement procedure is generally straightforward, several issues can arise:
- Broken Clip: Old or brittle clips are prone to breaking during removal or installation. If a clip breaks, ensure all fragments are removed from the transmission tunnel to prevent interference with the new clip.
- Incorrect Clip Size: Using the wrong clip size can lead to a loose or insecure fit. Always verify the clip's compatibility with your specific S13 model.
- Damaged Transmission Tunnel: In rare cases, the aperture in the transmission tunnel can become damaged or deformed, preventing the clip from seating properly. If this occurs, you might need to repair the damage or fabricate a custom clip.
- Rattling or Vibrations: If the shift boot is not securely attached, it can rattle or vibrate during driving. Double-check the clip's installation and ensure the shift boot is properly seated.
- Difficulty Removing the Center Console: If you encounter difficulty removing the center console trim, consult a repair manual or online forum for specific instructions for your S13 model. Applying excessive force can damage the trim pieces.
Conclusion
The humble shift boot retainer clip, though seemingly insignificant, plays a vital role in the overall driving experience of the S13. Understanding its design and function, along with the proper replacement procedure, empowers enthusiasts to maintain and improve their vehicles. By paying attention to even the smallest details, we can ensure that our beloved S13s continue to provide years of driving pleasure.