Shift Boot Bracket Mounting And Retention Solutions
The shift boot in your vehicle, often overlooked, plays a crucial role in both the aesthetics and functionality of your car's interior. It seals the gear lever opening, preventing dust, debris, and unwanted noise from entering the cabin. A properly mounted and retained shift boot contributes to a cleaner, quieter, and more comfortable driving experience. But what happens when the shift boot bracket fails, or the boot itself starts to detach? This article explores various shift boot bracket mounting and retention solutions, ensuring your shift boot stays firmly in place and performs its intended function.
Understanding the Shift Boot Assembly
Before diving into specific solutions, it's essential to understand the anatomy of a typical shift boot assembly. While designs vary slightly between manufacturers and vehicle models, the core components usually include:
- Shift Boot: The flexible covering, typically made of leather, vinyl, or a synthetic material, that encloses the gear lever.
- Shift Knob: The handle at the top of the gear lever, used to select gears.
- Retaining Ring or Collar: Often located at the top of the shift boot, securing it to the shift knob or gear lever.
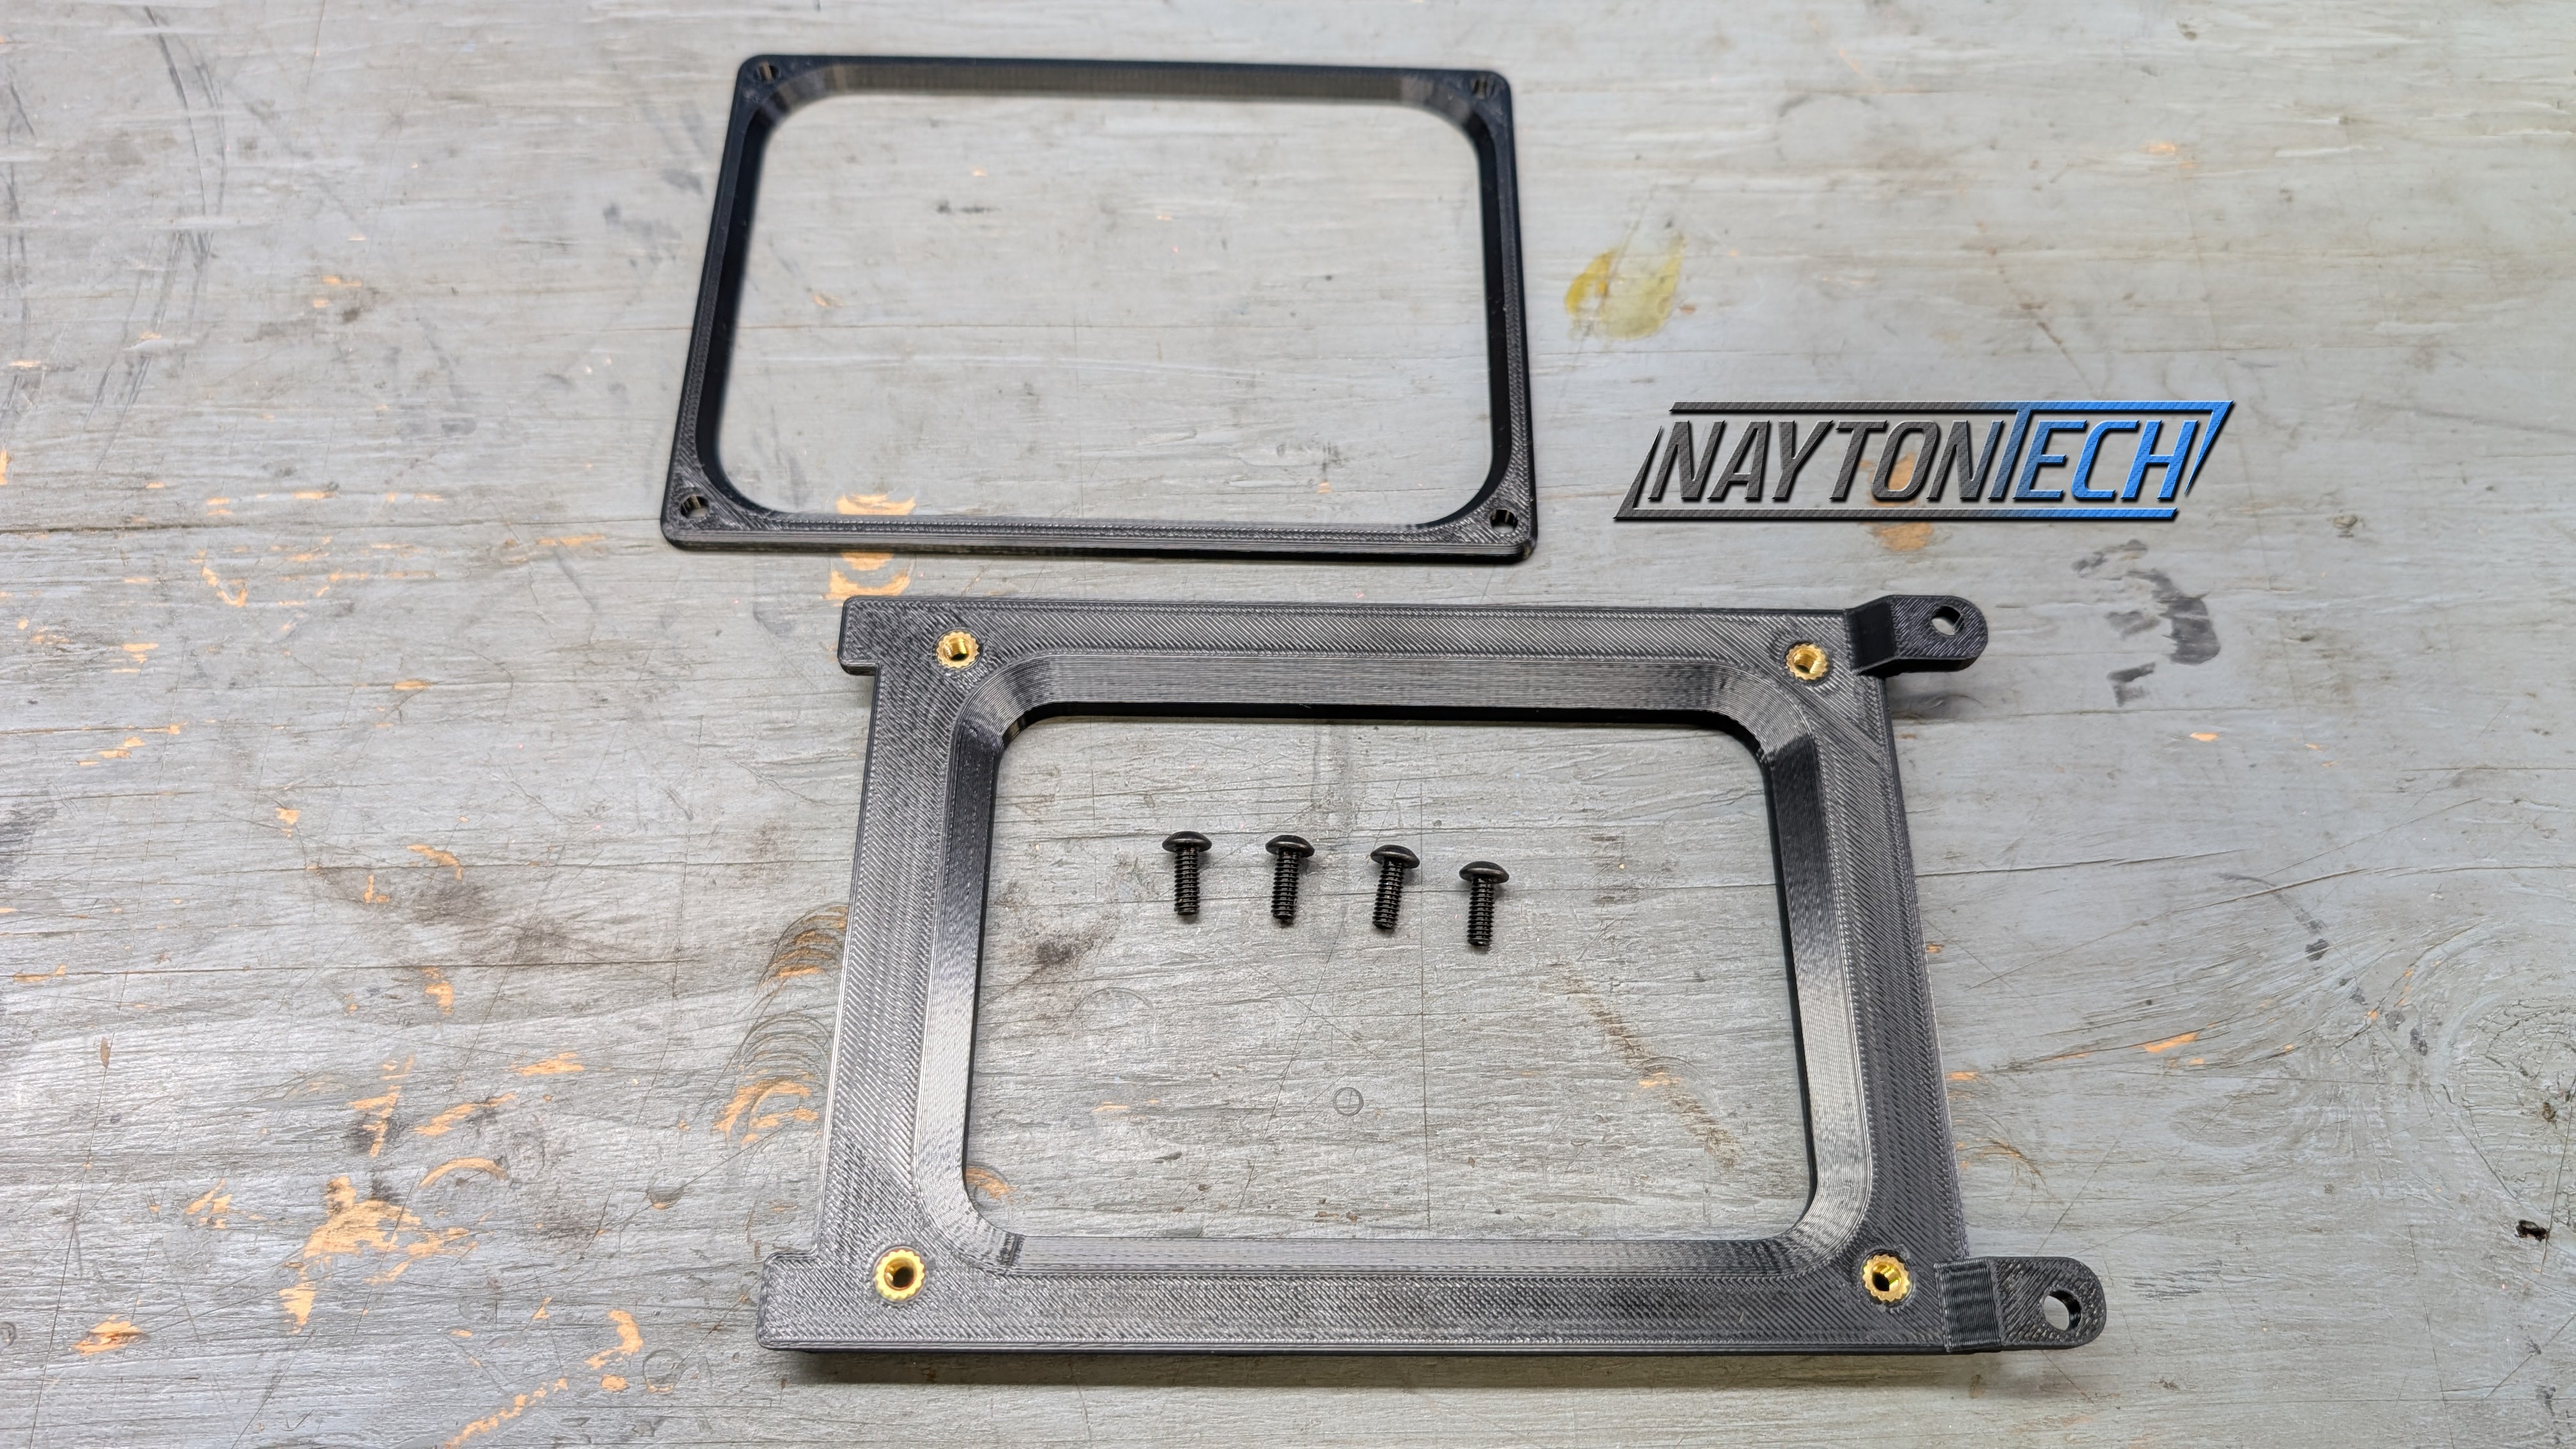
- Shift Boot Bracket (or Base): The rigid frame that attaches the shift boot to the vehicle's interior, typically the center console or transmission tunnel. This is the crucial mounting point we'll focus on.
- Fasteners: Screws, clips, or other hardware used to secure the bracket to the vehicle.
Common Shift Boot Mounting Problems
Several issues can arise with the shift boot bracket mounting, leading to a loose or detached shift boot:
- Broken or Cracked Bracket: Plastic brackets, common in many vehicles, can become brittle with age and exposure to heat, leading to cracks and eventual breakage.
- Stripped Screw Holes: Repeated removal and reinstallation of the bracket, or simply over-tightening screws, can strip the threads in the mounting holes, preventing a secure attachment.
- Lost or Damaged Fasteners: Screws or clips can become lost during maintenance or repairs, or become damaged over time.
- Deteriorated Adhesive (if applicable): Some boots are partially secured with adhesive that can dry out and lose its effectiveness.
- Vibration and Wear: Constant vibration from the engine and transmission can loosen the bracket over time.
- Aftermarket Modifications: Installing a new shift knob or modifying the shifter can sometimes disrupt the original mounting points.
Solutions for Shift Boot Bracket Mounting and Retention
The best solution for a loose or detached shift boot depends on the specific problem. Here are several options to consider:
1. Replacing the Shift Boot Bracket
If the bracket is broken or severely damaged, replacement is often the most effective solution. Here's how to approach this:
- Identify the Correct Part: Determine the exact part number for your vehicle's shift boot bracket. You can find this in your owner's manual, by contacting a dealership with your VIN, or by searching online using your vehicle's year, make, and model.
- Source the Replacement: Purchase a new bracket from a dealership, aftermarket parts supplier, or online retailer. Consider the material. While OEM brackets are often plastic, aftermarket options may be available in more durable materials like metal.
- Remove the Old Bracket: Carefully remove the old bracket by unscrewing or unclipping it from the center console or transmission tunnel. Take note of the orientation and the location of any wires or other components that may be attached.
- Install the New Bracket: Install the new bracket in the same orientation as the old one. Secure it with the original screws or clips, or with new fasteners if necessary. Do not overtighten.
- Test the Fit: Ensure the shift boot fits snugly onto the new bracket and that the gear lever moves freely.
2. Repairing a Cracked or Damaged Bracket
If the bracket is only slightly cracked, you may be able to repair it instead of replacing it. This can save you money and time. Here are a few repair options:
- Epoxy Resin: Use a strong epoxy resin specifically designed for plastics. Clean the area around the crack thoroughly, apply the epoxy according to the manufacturer's instructions, and allow it to cure completely. Reinforce the repair with fiberglass cloth for added strength.
- Plastic Welding: If you have access to a plastic welder, you can melt the plastic together to create a strong bond. This requires some skill and practice but can be a very effective repair method.
- Reinforcement Plates: Fabricate small metal or plastic plates to reinforce the cracked area. Attach the plates with epoxy or screws.
Note: Repairing a bracket is a temporary solution in many cases. If the bracket is severely damaged, replacement is recommended.
3. Addressing Stripped Screw Holes
Stripped screw holes are a common problem. Here are a few ways to fix them:
- Oversized Screws: Use slightly larger screws with a coarser thread. This can often provide a secure grip in the damaged hole. Be careful not to use screws that are too long, as they could damage underlying components.
- Thread Repair Inserts (Helicoil): Helicoil inserts are metal coils that are inserted into the stripped hole to create new, stronger threads. This requires drilling out the old hole and tapping it with a special tap, but it provides a very durable repair.
- Plastic Anchors: Use plastic anchors designed for screws. These anchors expand when the screw is inserted, providing a tight grip in the stripped hole.
- Epoxy and Toothpicks/Matchsticks: A simple but surprisingly effective method involves filling the stripped hole with epoxy and inserting small pieces of wood (toothpicks or matchsticks) into the epoxy. Allow the epoxy to cure completely before drilling a pilot hole and installing the screw.
4. Replacing Lost or Damaged Fasteners
If you've lost or damaged the screws or clips that secure the shift boot bracket, replacing them is essential. Ensure you use the correct type and size of fastener. Consult your vehicle's service manual or an online parts catalog to determine the correct specifications. Consider using stainless steel fasteners to prevent corrosion.
5. Improving Retention with Additional Hardware
In some cases, you may want to add additional hardware to improve the retention of the shift boot, even if the original mounting system is intact. Here are a few options:
- Cable Ties: Use cable ties to secure the shift boot to the bracket or to other nearby components. This can provide extra support and prevent the boot from becoming loose.
- Adhesive Strips: Apply double-sided adhesive strips to the underside of the shift boot to help it adhere to the bracket or center console. Ensure the surfaces are clean and dry before applying the adhesive.
- Custom Brackets: If you're looking for a more permanent and robust solution, you can fabricate a custom bracket from metal or plastic. This allows you to tailor the mounting system to your specific needs and preferences.
6. Addressing Shift Knob and Retaining Ring Issues
Sometimes, the problem isn't the shift boot bracket mounting itself, but rather the connection between the shift boot and the shift knob. A loose or damaged retaining ring can cause the shift boot to slide down the gear lever. Make sure the retaining ring is properly secured and that the shift knob is tightly fastened. Consider replacing the retaining ring or shift knob if they are damaged.
Preventative Maintenance
Preventing problems with your shift boot mounting is easier than fixing them. Here are some preventative maintenance tips:
- Regular Inspections: Periodically inspect the shift boot and bracket for signs of wear, cracks, or loose fasteners.
- Gentle Handling: Avoid pulling or tugging on the shift boot unnecessarily.
- Proper Cleaning: Clean the shift boot regularly to prevent dirt and grime from accumulating and damaging the material. Use a cleaner specifically designed for the type of material your shift boot is made of.
- Lubrication: Apply a small amount of lubricant to the gear lever and shift boot occasionally to prevent friction and wear.
- Tighten Fasteners: Periodically check and tighten the fasteners that secure the shift boot bracket.
Conclusion
A properly mounted and retained shift boot is essential for maintaining the aesthetics and functionality of your vehicle's interior. By understanding the components of the shift boot assembly, identifying common problems, and implementing the appropriate solutions, you can ensure your shift boot stays firmly in place and performs its intended function. Whether you need to replace a broken bracket, repair stripped screw holes, or simply tighten some loose fasteners, this guide provides the information you need to tackle shift boot bracket mounting and retention issues effectively.