Side Marker Socket Replacement And Wiring Diagnostics
Side marker lights, those small but crucial beacons mounted on the sides of your vehicle, play a vital role in visibility, particularly during low-light conditions. They alert other drivers to your presence and intentions, especially when changing lanes or turning. While often overlooked, a malfunctioning side marker light can compromise safety and even lead to a traffic violation. This guide delves into the process of side marker socket replacement and wiring diagnostics, offering a technical understanding for the curious reader and aspiring amateur engineer.
Understanding the Circuit: A Foundation for Troubleshooting
Before diving into the physical replacement, it's crucial to grasp the underlying electrical circuit. Side marker lights are typically integrated into the vehicle's lighting system, often sharing a circuit with the parking lights or headlights. A simplified circuit consists of:
- Power Source: The vehicle's battery, providing the necessary electrical energy.
- Switch: A switch, usually integrated with the headlight or parking light switch, to control the flow of electricity to the side marker lights.
- Fuse/Circuit Breaker: A protective device designed to interrupt the circuit in case of a short circuit or overload, preventing damage to the wiring and components.
- Wiring: Conductors (wires) that carry the electrical current from the power source, through the switch, to the side marker light socket.
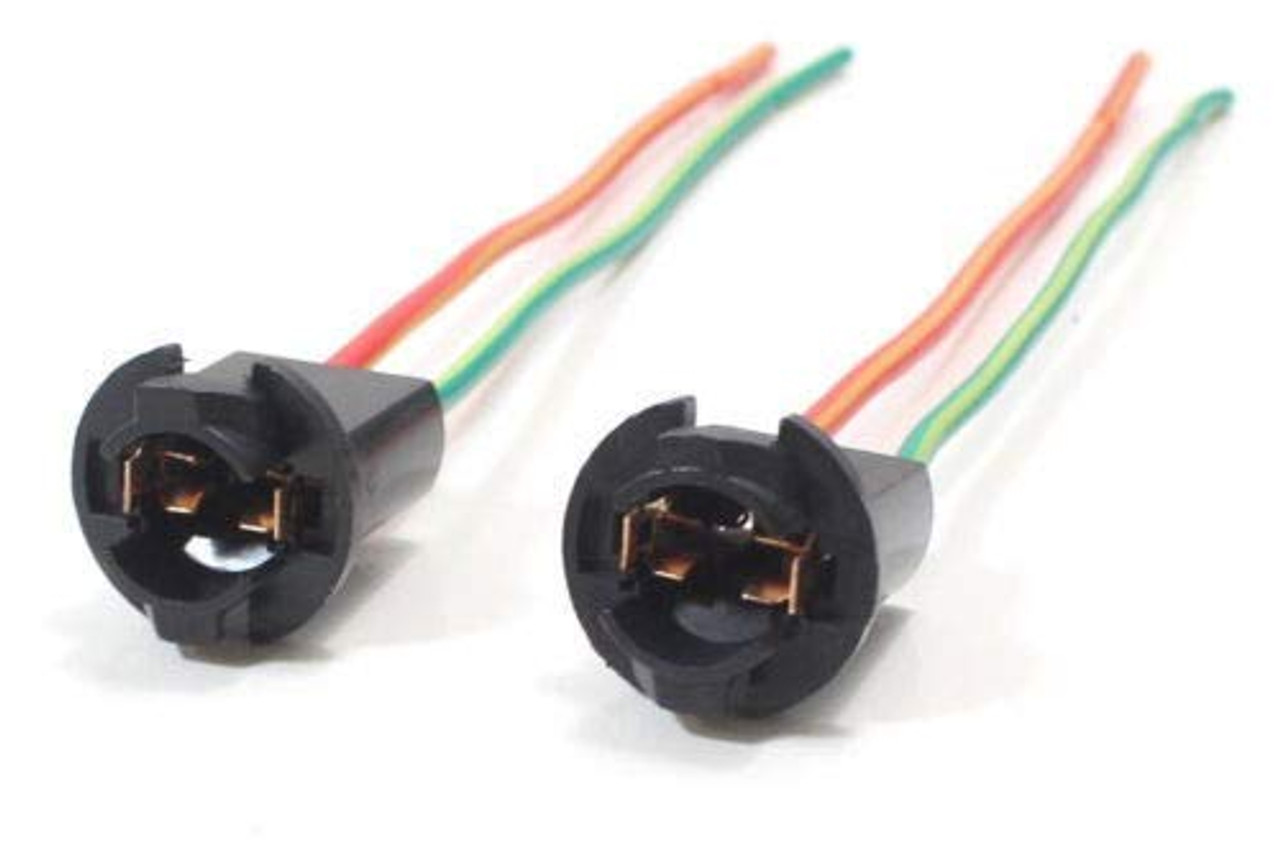
- Socket: A housing that provides a secure mechanical and electrical connection for the bulb.
- Bulb: The light-emitting component, converting electrical energy into light.
- Ground: A connection to the vehicle's chassis, providing a return path for the electrical current, completing the circuit.
A fault in any of these components can lead to a malfunctioning side marker light. Understanding this basic circuit is essential for effective troubleshooting.
Identifying the Problem: Diagnostic Techniques
Before replacing the socket, a thorough diagnostic process is essential to pinpoint the root cause of the issue. Here are some common diagnostic techniques:
1. Visual Inspection:
Start with a careful visual inspection of the side marker light assembly. Look for:
- Cracked or Damaged Lens: A damaged lens can allow moisture to enter the socket, leading to corrosion and electrical problems.
- Corroded Terminals: Inspect the terminals inside the socket for signs of corrosion, which can impede electrical conductivity.
- Damaged Wiring: Check the wiring connected to the socket for cuts, abrasions, or loose connections. Pay particular attention to areas where the wiring is exposed to the elements or subjected to vibration.
- Burned or Melted Socket: This indicates excessive heat, possibly due to a short circuit or incorrect bulb wattage.
2. Bulb Check:
The most common culprit is a burnt-out bulb. Remove the bulb and visually inspect the filament. If the filament is broken or blackened, the bulb needs replacement. Even if the filament appears intact, it's a good idea to test the bulb with a multimeter set to the continuity setting. A lack of continuity indicates a faulty bulb.
3. Voltage Testing:
Using a multimeter, check for voltage at the socket terminals with the lights switched on. A reading close to the vehicle's battery voltage (typically 12-14 volts) indicates that power is reaching the socket. If no voltage is present, the problem lies upstream, possibly in the switch, fuse, or wiring.
4. Ground Check:
Ensure that the socket has a good ground connection. Use a multimeter to check for continuity between the socket's ground terminal and a known good ground point on the vehicle's chassis. A lack of continuity indicates a faulty ground connection.
Pro Tip: A common cause of ground problems is corrosion where the ground wire is attached to the chassis. Clean the contact point thoroughly with a wire brush to ensure a good connection.
5. Continuity Testing (Wiring):
If voltage is present at the socket but the light still doesn't work, or if there is no voltage at all, use a multimeter to test the continuity of the wiring between the switch and the socket, and between the socket and ground. Disconnect the battery before performing continuity testing to prevent damage to the multimeter or the vehicle's electrical system. A lack of continuity indicates a break in the wiring.
6. Fuse Check:
Locate the fuse associated with the side marker lights in the fuse box (consult your vehicle's owner's manual for the fuse location). Visually inspect the fuse for a broken filament. Even if the fuse looks intact, test it with a multimeter set to the continuity setting to ensure it is conducting electricity.
Side Marker Socket Replacement: A Step-by-Step Guide
Once you've determined that the socket itself is the problem (e.g., corroded terminals, melted housing), replacement is necessary. Here's a detailed guide:
1. Safety First:
Disconnect the negative terminal of the battery to prevent electrical shocks and accidental short circuits.
2. Accessing the Socket:
The method for accessing the side marker light socket varies depending on the vehicle model. Some sockets are accessible from behind the fender liner, while others require removing the entire side marker light assembly from the vehicle. Consult your vehicle's repair manual for specific instructions.
3. Removing the Old Socket:
Carefully disconnect the wiring harness from the old socket. If the socket is held in place by clips or fasteners, gently release them. In some cases, the socket may be glued or adhered to the housing. Use a plastic trim tool to carefully pry it loose, being careful not to damage the surrounding plastic.
4. Preparing the New Socket:
Before installing the new socket, inspect it for any defects or damage. Ensure that the terminals are clean and free of corrosion. If the new socket doesn't come with wiring connectors, you may need to splice the existing wiring onto the new socket's terminals. Use appropriate wiring connectors (e.g., butt connectors, solder and heat shrink tubing) to ensure a secure and weatherproof connection.
Important: Ensure the correct wire gauge is used when splicing. Using too thin of a wire can create a fire hazard.
5. Wiring the New Socket:
Connect the wiring harness to the new socket, ensuring that the wires are connected to the correct terminals. Refer to the wiring diagram for your vehicle to ensure proper polarity. If you are splicing the wires, use a crimping tool to securely crimp the connectors onto the wires. After crimping, tug gently on the wires to ensure that they are securely attached to the connectors. If soldering, ensure a clean solder joint, and use heat shrink tubing for insulation.
6. Installing the New Socket:
Insert the new socket into the side marker light housing, ensuring that it is securely held in place by the clips or fasteners. If necessary, apply a small amount of adhesive to the socket to help secure it in place. Be careful not to use too much adhesive, as this could make it difficult to remove the socket in the future.
7. Testing the New Socket:
Reconnect the negative terminal of the battery. Turn on the headlights or parking lights to test the new side marker light. If the light doesn't work, double-check the wiring connections and the bulb. If the light still doesn't work, you may have a problem with the wiring harness or the switch.
8. Reassembly:
Reinstall the side marker light assembly onto the vehicle, following the reverse of the disassembly procedure. Ensure that all screws and fasteners are securely tightened.
Advanced Troubleshooting: When to Seek Professional Help
While the steps outlined above can address many common side marker light problems, complex electrical issues may require professional diagnosis and repair. Consider seeking professional help if:
- You are uncomfortable working with electrical systems.
- You are unable to identify the source of the problem after performing the diagnostic steps outlined above.
- The problem involves multiple lighting circuits or other electrical components.
- You suspect a problem with the vehicle's computer system (e.g., body control module).
By understanding the basics of side marker light circuits and employing careful diagnostic techniques, you can often resolve common problems and restore proper functionality to your vehicle's lighting system. However, always prioritize safety and seek professional help when necessary.