Specifications For Oem Rear Speaker Dimensions In The Nissan 240sx
Alright, let's talk about rear speaker dimensions for your Nissan 240SX. Specifically, we're focusing on the OEM (Original Equipment Manufacturer) sizes, because knowing these is crucial whether you're doing a straightforward replacement or planning a more elaborate audio upgrade. A lot of folks just assume they know, then end up with speakers that don’t fit properly. So, let’s get the facts straight.
Understanding the Factory Setup (S13 & S14)
The rear speaker configuration in the 240SX, spanning both the S13 (1989-1994) and S14 (1995-1998) chassis, is pretty consistent, but there are a couple of nuances depending on the trim level and body style. It's important to clarify which model you own before purchasing any aftermarket speakers.
S13 Hatchback and Coupe
For both the hatchback and coupe versions of the S13, the factory rear speakers are typically 6.5-inch (165mm) speakers. Now, that's the nominal size, meaning the generally accepted size. However, digging into the details reveals some crucial specifications that affect fitment.
Here's what you need to know:
- Mounting Depth: This is critical. The mounting depth is the distance from the mounting surface of the speaker to the back of the speaker basket. In the S13, you're generally limited to around 2.5 inches (63.5mm). Anything deeper, and you'll likely run into interference with the rear deck or other components. A speaker with a larger magnet structure often leads to a larger mounting depth.
- Mounting Hole Diameter: This refers to the diameter of the opening in the rear deck where the speaker sits. This should be approximately 5.6 inches (142mm) for the 6.5-inch speaker.
- Bolt Pattern: The S13 uses a four-hole bolt pattern, meaning four screws secure the speaker to the rear deck. The bolt circle diameter (BCD), the diameter of the circle passing through the center of each bolt hole, is around 6.2 inches (157.5mm). This is usually not a huge issue, as many aftermarket speakers have slightly slotted mounting holes to accommodate minor variations, but it's still good to know.
- Speaker Grille Clearance: Don't forget to account for the height of the speaker grille, if you're using the original or a replacement. Aftermarket speakers often have larger or differently shaped tweeters that might interfere with the grille.
S14 (All Body Styles)
The S14 is generally the same as the S13 in terms of rear speaker size. You're looking at 6.5-inch (165mm) speakers in the rear deck. However, it's *always* best to measure to confirm.
The key specifications remain largely the same:
- Mounting Depth: Around 2.5 inches (63.5mm) remains a safe bet. Again, double-check before buying.
- Mounting Hole Diameter: Approximately 5.6 inches (142mm).
- Bolt Pattern: Four-hole pattern, with a BCD around 6.2 inches (157.5mm).
- Speaker Grille Clearance: Same as the S13 – ensure the new speakers don’t protrude too much, or you’ll have trouble re-installing the grilles.
Important Considerations for Aftermarket Speakers
When upgrading your rear speakers, here are some essential things to keep in mind:
- Impedance: The OEM speakers are typically 4 ohms. While you *can* sometimes get away with using 2-ohm speakers (especially if you have an aftermarket amplifier designed for it), using speakers with a higher impedance (like 8 ohms) will significantly reduce the volume output from your factory head unit. Mismatched impedance can also strain the head unit's amplifier.
- Sensitivity: Speaker sensitivity is a measure of how loud a speaker will play with a given amount of power. It's measured in decibels (dB) at 1 watt at 1 meter (dB/W/m). A higher sensitivity rating (e.g., 90dB) means the speaker will be louder with the same power compared to a speaker with a lower rating (e.g., 87dB). If you're sticking with the factory head unit, look for speakers with a relatively high sensitivity (88dB or higher) to maximize volume.
- Speaker Type: You have a few options here. Coaxial speakers (also known as full-range speakers) have the tweeter mounted in the center of the woofer, making them a simple, all-in-one solution. Component speakers separate the tweeter and woofer, offering potentially better sound quality but requiring more complex installation (separate wiring and crossover). For a straightforward upgrade, coaxial speakers are often the best choice.
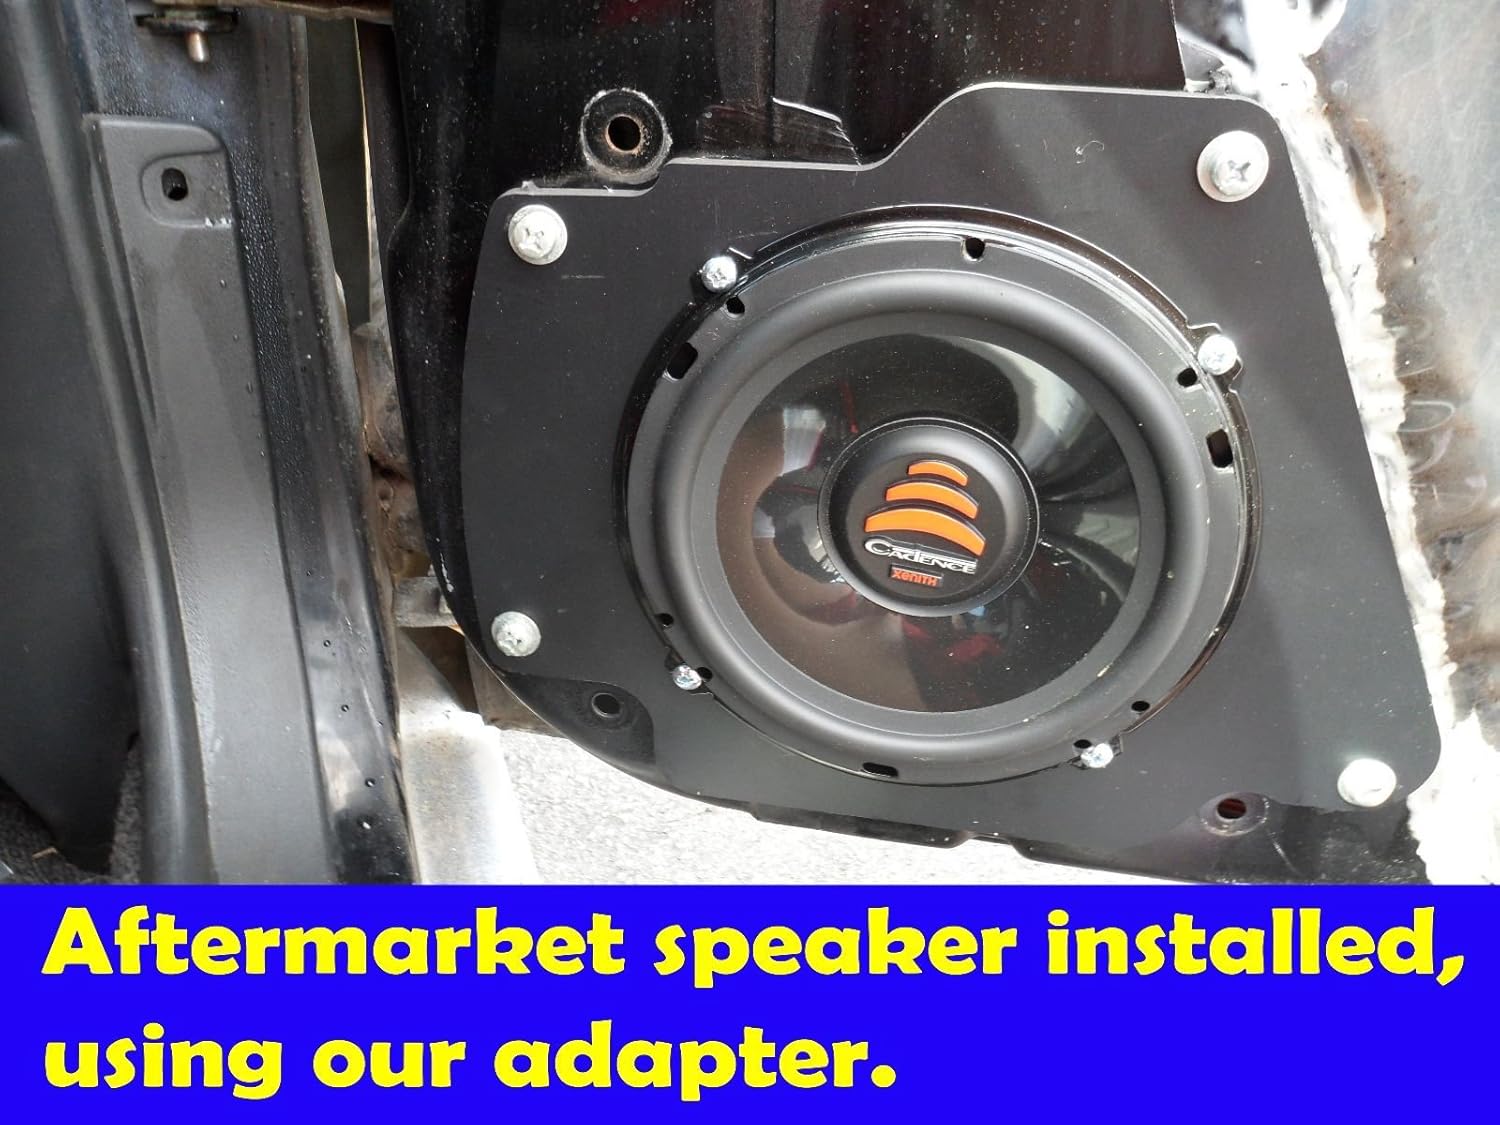
- Speaker Adapters: In some cases, the mounting holes on aftermarket speakers won't perfectly align with the factory bolt pattern. Speaker adapters (also called speaker brackets or spacers) are plastic rings that provide a universal mounting surface, allowing you to install speakers with different bolt patterns. They can also add some depth, which is useful if your new speakers are slightly deeper than the OEM ones. You can find these readily available online, specifically designed for the 240SX.
- Wiring Harness Adapters: Avoid cutting the factory wiring harness! Use wiring harness adapters (also called speaker connectors) that plug directly into the factory speaker connectors. These adapters make the installation plug-and-play, allowing you to easily revert to the original speakers if needed.
Practical Installation Tips
Before you start ripping things apart, here's a quick rundown of installation tips:
- Disconnect the Battery: This is always the first step when working on any electrical component in your car.
- Remove the Rear Deck: Accessing the rear speakers requires removing the rear deck panel. This usually involves removing the rear seats and any trim pieces that hold the deck in place. Be careful not to break any plastic clips.
- Unplug the Old Speakers: Disconnect the wiring harness from the factory speakers.
- Install the New Speakers: Connect the wiring harness adapter to the factory connector and then to the new speaker. Secure the speaker to the rear deck using the appropriate screws or speaker adapters.
- Test the Speakers: Before reassembling everything, reconnect the battery and briefly test the new speakers to ensure they're working correctly.
- Reassemble: Reinstall the rear deck panel, rear seats, and any other trim pieces you removed.
Troubleshooting Common Issues
Even with careful planning, you might encounter some snags. Here are a few common issues and how to address them:
- Speaker Doesn't Fit: If the speaker is too deep, you might be able to use speaker adapters to create more clearance. If the mounting holes don't align, use speaker adapters specifically designed for the 240SX. If the speaker is physically too large in diameter, you'll need to find a different speaker.
- No Sound: Double-check all wiring connections. Make sure the wiring harness adapter is properly connected to both the factory connector and the new speaker. Check the head unit's fader settings to ensure the sound is being sent to the rear speakers.
- Distorted Sound: Distorted sound can be caused by several factors, including a blown speaker, improper wiring, or a mismatch between the speaker impedance and the head unit's output. If the speaker is new, check the wiring and impedance. If the problem persists, the speaker might be defective.
In conclusion, while the 6.5-inch size is the standard for 240SX rear speakers, precise measurements and considerations like mounting depth, impedance, and sensitivity are vital for a successful upgrade. Taking the time to do your research and plan the installation carefully will save you headaches and ensure you get the best possible sound from your new speakers. And when in doubt, consult with a professional car audio installer. Good luck!
Important Note: These specifications are based on commonly available information and should be verified for your specific vehicle. Factory tolerances and previous modifications can affect the actual dimensions. Always measure before purchasing.