Sr20det Swap Mounting And Drivetrain Alignment Guide
Alright, let's talk about getting an SR20DET into your chassis. This isn't a bolt-and-go operation, but with the right planning and a solid understanding of the process, you can absolutely tackle this swap. This guide focuses on the critical aspects of mounting the engine and ensuring proper drivetrain alignment. We're assuming you've already chosen your chassis (e.g., 240SX, AE86, etc.) and have the necessary wiring, fuel system, and cooling solutions sorted. This is strictly about the mechanical fitment and alignment.
Engine Mounts: The Foundation
The first, and arguably most crucial step, is selecting the right engine mounts. Universal SR20DET swap mounts are generally a bad idea. Always opt for mounts specifically designed for your chassis. These mounts are engineered to position the SR20DET in the correct location within the engine bay, taking into account factors like hood clearance, steering rack interference, and drivetrain angle. Using the wrong mounts can lead to a host of problems, including:
- Incorrect drivetrain angle: Leading to vibration and premature wear on your transmission and differential.
- Clearance issues: Interference with the hood, firewall, or other components.
- Stress on the chassis: Improperly supported engine weight can cause cracks and deformation.
There are several reputable brands that offer SR20DET swap mounts, such as McKinney Motorsports, GKTech, and Serial Nine. Do your research, read reviews, and choose a set that's known for its quality and fitment. Pay attention to whether the mounts are designed for solid bushings or rubber bushings. Solid bushings offer improved performance and reduced engine movement, but they transmit more vibration to the chassis. Rubber bushings provide better vibration damping but allow for more engine movement, potentially affecting shift feel and throttle response. It's a trade-off, and the best choice depends on your priorities.
Installation Tips
Before you start bolting anything down, dry-fit the engine with the mounts. This allows you to identify any potential clearance issues or interference. Use an engine hoist to carefully lower the engine into the bay and position it on the mounts. Don't fully tighten the bolts until you're certain everything is aligned correctly.
When installing the engine mounts, use a torque wrench to tighten the bolts to the manufacturer's specified torque. Overtightening can damage the mounts or the chassis, while undertightening can lead to vibrations and loose connections. Use thread locker (e.g., Loctite) on all mounting bolts to prevent them from loosening over time.
Drivetrain Alignment: The Heart of a Smooth Swap
Proper drivetrain alignment is absolutely critical for a successful SR20DET swap. Misalignment can cause severe vibrations, excessive wear on drivetrain components, and even damage to the transmission or differential. The goal is to ensure that the engine, transmission, driveshaft, and differential are all on the same plane. This means minimizing lateral (side-to-side) and vertical (up-and-down) misalignment.
There are two primary methods for checking and correcting drivetrain alignment:
1. The String Method
This is a low-cost and relatively simple method that can provide a good approximation of drivetrain alignment. Here's how it works:
- Secure the car: Place the car on jack stands, ensuring it's level and stable.
- Find the centerline: Locate the centerline of the chassis. This can usually be determined by measuring the distance between the frame rails. Mark this centerline at the front and rear of the car.
- String the line: Run a taut string along the centerline of the chassis, from the front to the rear. Secure the string with clamps or tape.
- Measure offsets: Measure the distance from the transmission output shaft and the differential input flange to the string. These measurements should be as close to zero as possible.
- Adjust as needed: If the measurements are significantly off, you'll need to adjust the engine and transmission position. This may involve shimming the engine mounts, modifying the transmission crossmember, or using adjustable drivetrain components.
The string method is a good starting point, but it's not the most precise method. It's susceptible to errors due to string sag and inconsistencies in the chassis. However, it's a valuable tool for identifying gross misalignment issues.
2. The Angle Finder/Inclinometer Method
This method uses an angle finder (also known as an inclinometer) to measure the angles of the engine, transmission, and differential. The goal is to minimize the difference in these angles. Here's the general process:
- Level the chassis: Ensure the car is sitting on a level surface or on level jack stands.
- Measure engine angle: Place the angle finder on a machined surface on the engine, such as the valve cover or the oil pan rail. Record the angle.
- Measure transmission angle: Place the angle finder on a machined surface on the transmission, such as the transmission housing. Record the angle.
- Measure differential angle: Place the angle finder on the differential housing. Record the angle.
- Analyze the angles: Compare the angles. The goal is to have the engine, transmission, and differential angles as close to each other as possible. A difference of more than 1-2 degrees can indicate a misalignment issue.
- Adjust as needed: Adjust the engine and transmission position as needed to minimize the angle differences. This may involve shimming the engine mounts, modifying the transmission crossmember, or using adjustable drivetrain components.
This method is generally more accurate than the string method, but it requires a good quality angle finder and careful measurement techniques. It's important to use a consistent reference point when measuring the angles.
Addressing Misalignment
Once you've identified a misalignment issue, you'll need to correct it. Here are some common solutions:
- Engine Mount Shims: Adding shims between the engine mounts and the chassis can raise or lower the engine, correcting vertical misalignment.
- Transmission Crossmember Modification: Modifying the transmission crossmember can shift the transmission left or right, correcting lateral misalignment. Some aftermarket crossmembers offer adjustable mounting points.
- Adjustable Driveshaft: An adjustable driveshaft allows you to fine-tune the driveshaft length to compensate for small changes in engine or transmission position.
- Offset Bushings: Offset bushings can be used in the differential mounts or suspension components to adjust the differential angle.
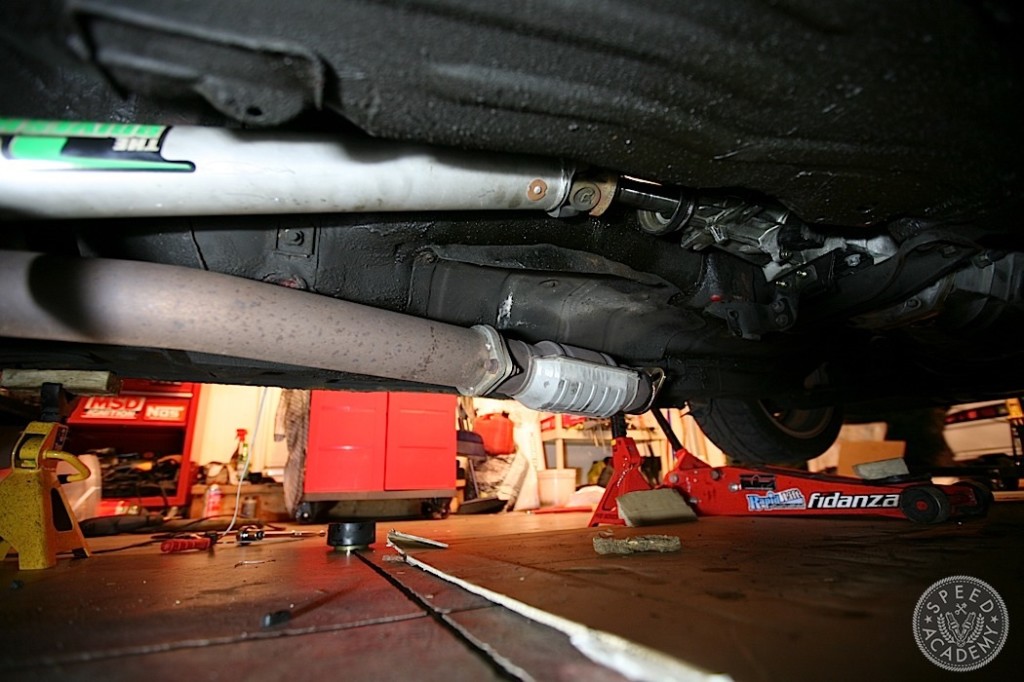
Driveshaft Considerations
When swapping an SR20DET, you'll likely need a custom driveshaft. The length and type of driveshaft will depend on your chassis and transmission. Consult with a driveshaft specialist to determine the correct specifications. Consider using a balanced driveshaft for smoother operation and reduced vibration. It's not always "plug and play". Proper measurement is vital. A driveshaft shop will be able to measure for you given your specific swap parameters.
Torque Converter/Clutch Alignment
If you're running an automatic transmission, ensure that the torque converter is properly seated in the transmission before installing the engine. If you're running a manual transmission, use an alignment tool to center the clutch disc before tightening the pressure plate bolts. This will make it easier to install the transmission.
Final Checks
After you've made all the necessary adjustments, double-check everything. Ensure that all bolts are tightened to the correct torque and that all connections are secure. Start the engine and listen for any unusual noises or vibrations. If you notice anything out of the ordinary, shut the engine down and investigate. It's also a good idea to have a professional mechanic inspect your work to ensure that everything is safe and properly aligned.
Swapping an SR20DET is a challenging but rewarding project. By carefully planning and executing the mounting and alignment process, you can ensure a reliable and enjoyable driving experience. Good luck, and happy wrenching!