Structural Analysis Of 240sx Quarter Panel Repair Procedures
Alright, so you're tackling a quarter panel repair on your 240SX. That's a big job, but definitely doable with the right approach and understanding. This isn’t just about slapping on some filler; we’re talking about restoring structural integrity. Let’s break down the structural aspects of this repair, focusing on how different repair procedures impact the panel’s strength and how to ensure a lasting, safe result.
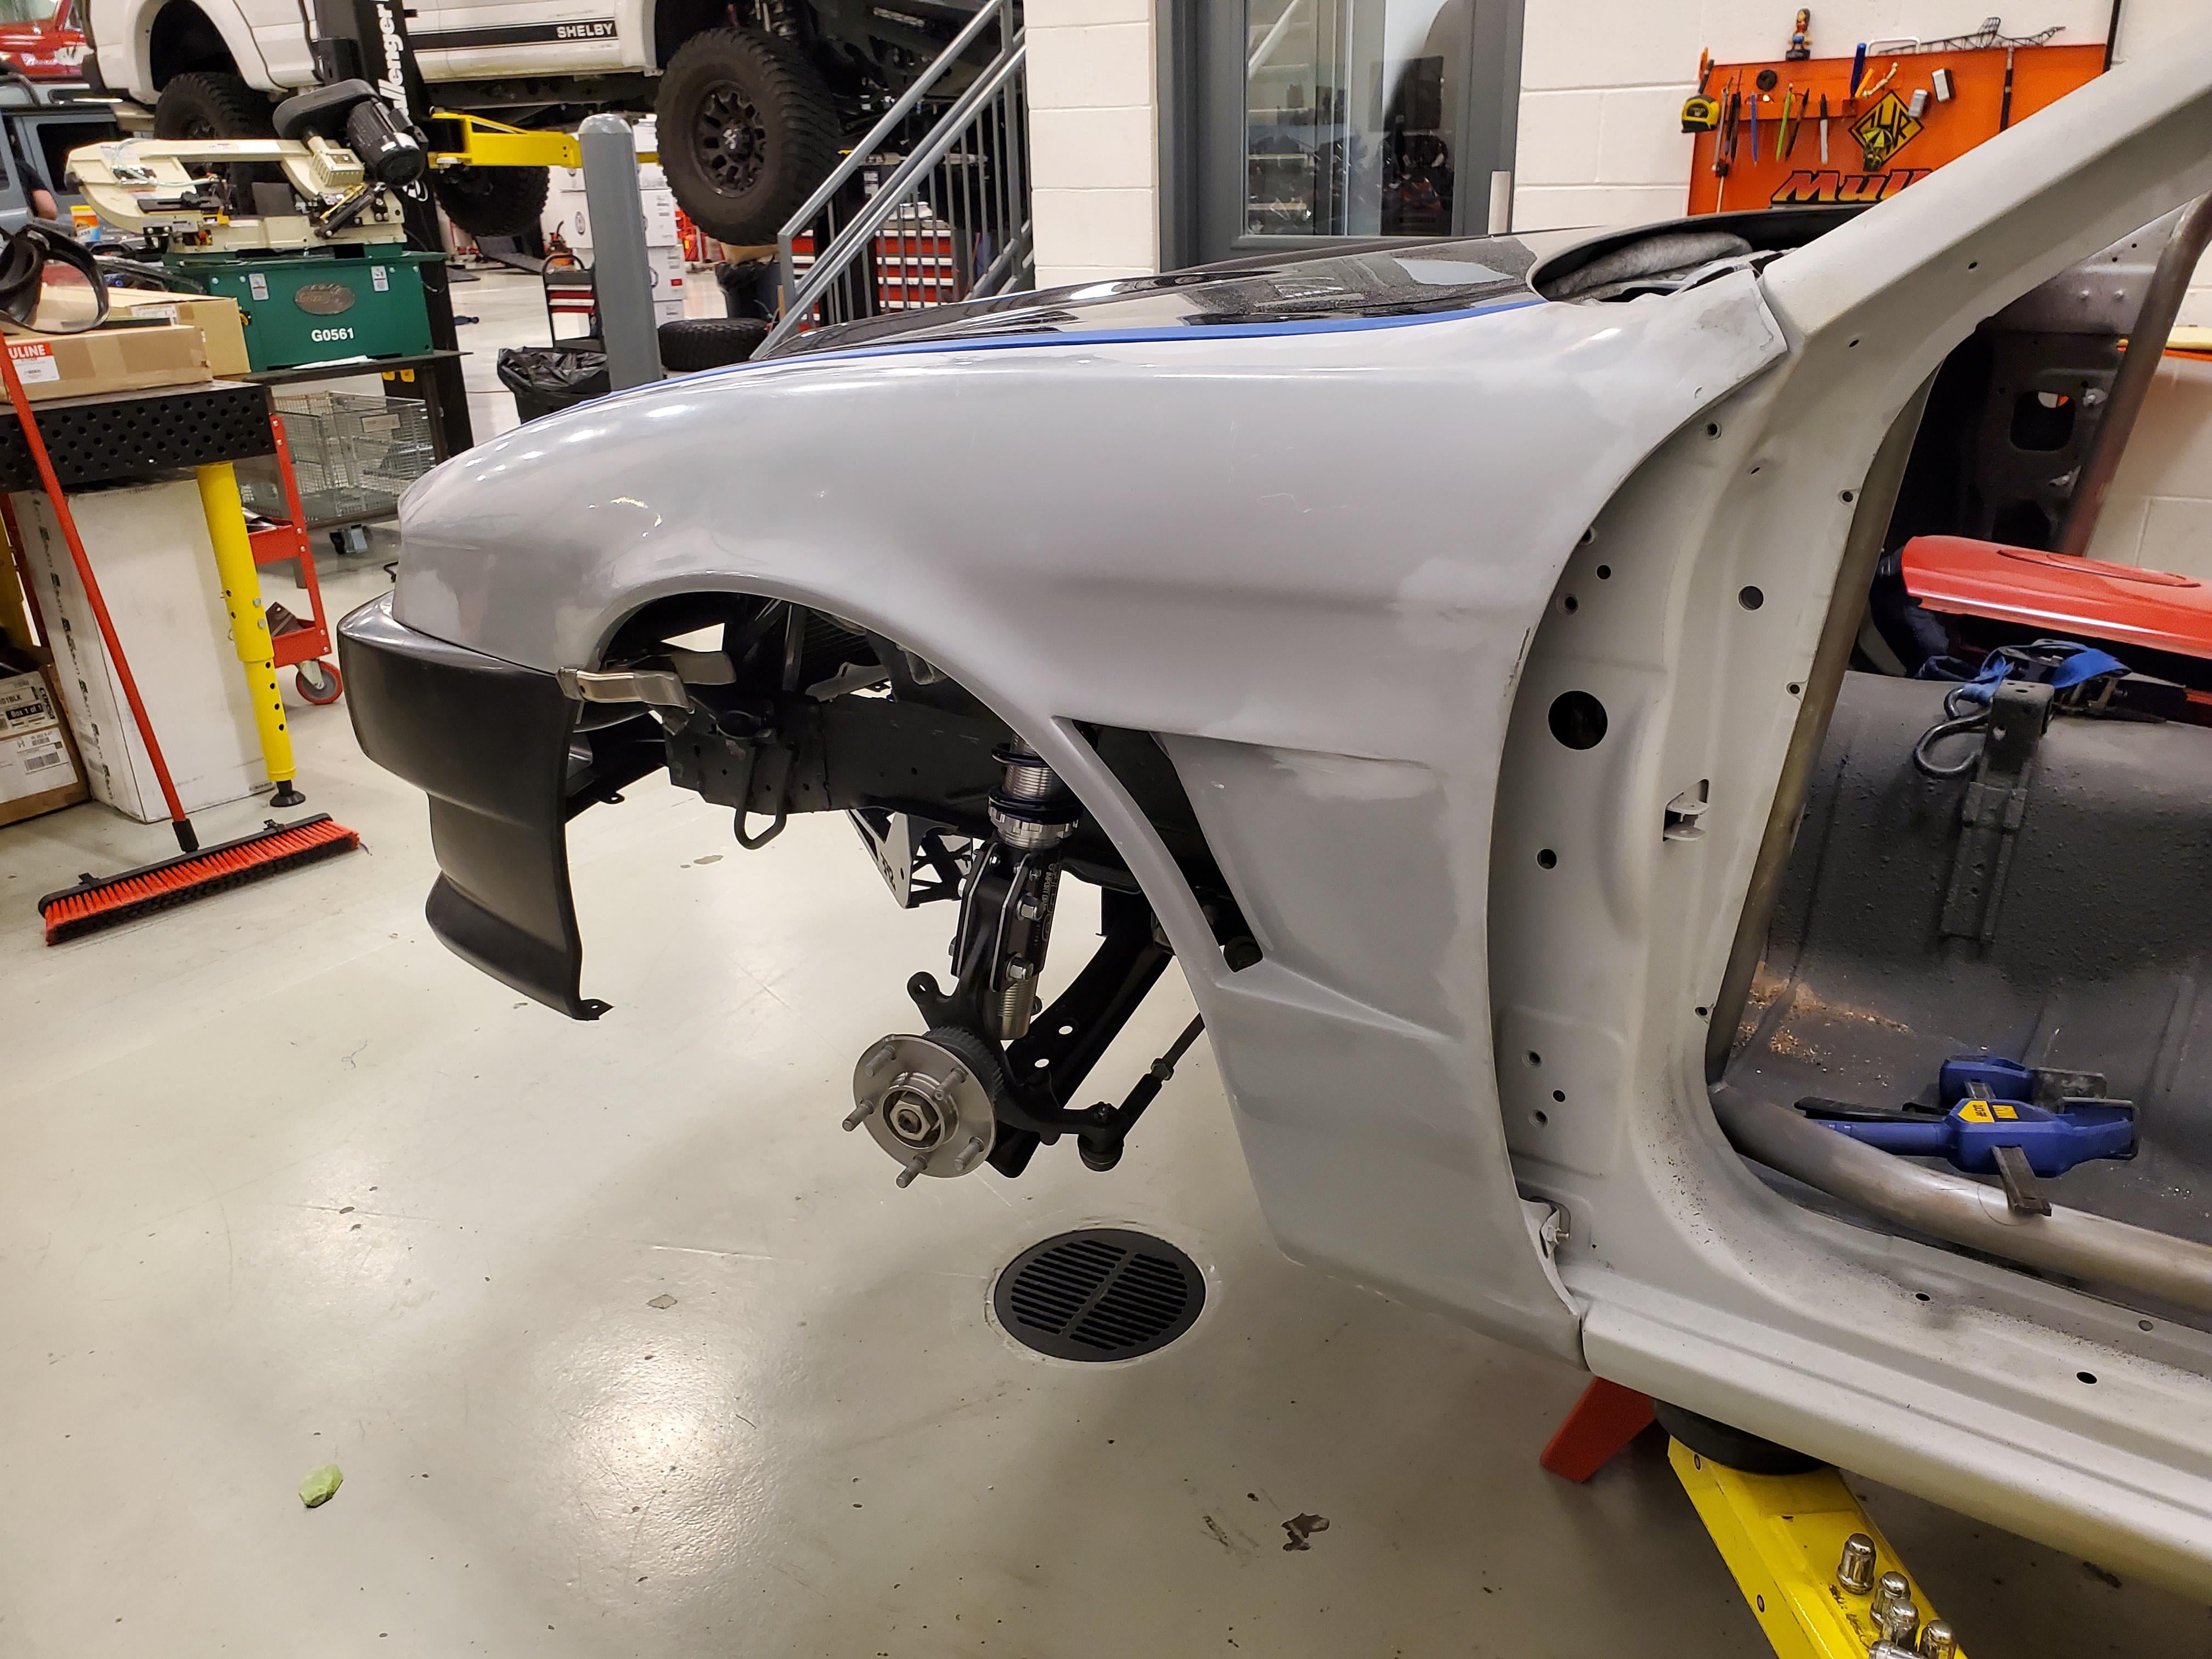
Understanding the 240SX Quarter Panel's Structural Role
The 240SX's quarter panel isn't just for looks. It’s an integral part of the car's unibody construction. A unibody design means the body and frame are one integrated unit. This differs significantly from older body-on-frame construction. In a unibody car, the quarter panel contributes to:
- Crash Energy Absorption: During a collision, the quarter panel, along with other body panels, helps absorb and distribute impact energy, protecting the occupants.
- Torsional Rigidity: This refers to the car's resistance to twisting. A stiffer chassis improves handling and overall driving feel. The quarter panel plays a significant role here.
- Overall Strength and Stability: The quarter panel, along with the roof, floor pan, and other panels, creates a “cage” that provides strength and prevents the car from collapsing in an accident.
Damage to the quarter panel compromises these functions. A poorly repaired panel can weaken the entire structure, making the car less safe in a future collision. Therefore, understanding the structural consequences of your repair choices is crucial.
Common Quarter Panel Damage Scenarios and Their Impact
Before diving into repair methods, let's consider common damage scenarios and how they affect the panel's structural integrity:
- Minor Dents and Scratches: These usually don't pose a significant structural threat, especially if they're superficial. However, if the metal is stretched or creased, it can weaken the area.
- Moderate Dents with Creasing: These dents involve deformation of the metal beyond its elastic limit. This means the metal has permanently changed shape and is likely weakened.
- Severe Impact Damage (Crushing, Tearing): This is the most serious scenario. It often involves metal tearing, significant deformation, and potential damage to underlying support structures (e.g., inner wheel well, frame rails). This requires careful attention to ensure proper structural restoration.
- Rust Damage: Rust weakens the metal, reducing its thickness and strength. Extensive rust can completely compromise the panel's structural integrity.
Structural Analysis of Different Repair Procedures
Now, let’s analyze the structural implications of various quarter panel repair techniques. Remember, the goal is to restore the panel's original strength and rigidity.
1. Cosmetic Repair (Filler Only)
This involves simply filling dents with body filler (Bondo) and smoothing the surface. While it can make the panel look better, it offers no structural improvement. In fact, excessive filler can actually *mask* underlying damage and potentially trap moisture, accelerating rust. Never rely solely on filler for structural repairs.
"Filler is for aesthetics, not structure. Think of it like makeup – it hides flaws, but doesn't fix them."
Structural Impact: Negligible. The panel remains weakened, and the car's overall safety and handling are compromised.
2. Metal Straightening (Hammer and Dolly, Stud Welding)
This involves using tools like hammers and dollies to gently reshape the metal back to its original form. Stud welding allows you to pull out dents by welding temporary studs to the panel and using a slide hammer. This method is better than filler alone, but its effectiveness depends on the severity of the damage and the skill of the technician.
Structural Impact: Moderate. It can restore some of the panel's original shape and strength. However, severely stretched or creased metal will still be weaker than original. Heat shrinking techniques may be necessary to address stretched metal. Heat shrinking involves carefully applying heat to a stretched area, allowing the metal to contract and regain some of its original shape. However, excessive heat can weaken the metal, so it's crucial to use the right tools and techniques.
3. Panel Beating and Welding (Sectioning or Partial Replacement)
This involves cutting out the damaged section of the panel and welding in a new piece (either a partial patch or a pre-fabricated section). This is a more involved process, but it can provide a stronger and more durable repair, especially for severe damage. This requires excellent welding skills and proper techniques to avoid weakening the surrounding metal.
Structural Impact: Good to Excellent, if done correctly. The key here is the quality of the welding. A proper weld creates a strong bond between the old and new metal, effectively restoring the panel's structural integrity. However, poor welding (e.g., insufficient penetration, excessive heat, porosity) can weaken the joint and create stress risers, which can lead to future cracking. Consider using welding techniques like MIG (Metal Inert Gas) or TIG (Tungsten Inert Gas) welding, which provide good control and penetration. Also, remember to properly prepare the surfaces before welding by removing rust, paint, and other contaminants. After welding, grind down the weld bead for a smooth finish and apply a rust-preventative coating.
4. Full Quarter Panel Replacement
This is the most extensive repair option, involving removing the entire quarter panel and welding in a new one. This is often necessary for severe damage or extensive rust. While it provides the opportunity for the most complete restoration, it also requires significant skill and meticulous attention to detail.
Structural Impact: Excellent, *provided the new panel is properly installed and welded*. This involves carefully aligning the new panel, ensuring proper fitment, and welding it in place using the correct techniques. It's crucial to follow the factory service manual for recommended welding procedures and seam sealer application to maintain structural integrity and prevent water intrusion.
Key Considerations for Structural Welding
Since welding is often involved in quarter panel repairs, let's highlight some crucial considerations for structural welding:
- Penetration: The weld must penetrate deep enough into the base metal to create a strong bond. Insufficient penetration results in a weak weld that can easily fail.
- Weld Quality: The weld should be free of defects such as porosity (bubbles), cracks, and undercut (grooves along the weld edge). These defects weaken the weld and can lead to future failures.
- Heat Input: Excessive heat can weaken the surrounding metal by changing its properties. Use the correct welding parameters (voltage, amperage, wire feed speed) to minimize heat input.
- Weld Placement: The placement of welds can also affect the structural integrity of the repair. Follow the factory service manual for recommended weld locations and patterns.
- Overlap Joints vs. Butt Joints: For structural repairs, *butt joints* are generally preferred over *overlap joints*. Butt joints provide a cleaner and stronger connection, while overlap joints can create stress concentrations. If using an overlap joint, ensure adequate weld coverage and consider using seam sealer to prevent corrosion between the overlapping panels.
Checking Your Work
After completing the repair, it's essential to check your work to ensure that you've restored the panel's structural integrity. Here are some things to look for:
- Visual Inspection: Check for any signs of poor welding, such as cracks, porosity, or undercut. Also, look for any areas where the metal is still deformed or weakened.
- Panel Alignment: Make sure the repaired panel aligns properly with the surrounding body panels. Gaps or misalignments can indicate that the panel is not properly supported.
- Test Fitment: Check that doors, windows, and other components fit and operate correctly after the repair. This helps confirm that the panel is in the correct position.
- Professional Inspection: If you're unsure about the quality of your repair, it's always a good idea to have it inspected by a qualified professional. They can use specialized tools and techniques to assess the panel's structural integrity.
Final Thoughts
Repairing a quarter panel on a 240SX requires careful consideration of the structural implications. Don't cut corners or rely solely on cosmetic fixes. By understanding the role of the quarter panel in the car's overall structure and by using proper repair techniques, you can restore the panel's strength and ensure the car's safety and longevity. Remember, safety first! If you're not comfortable with any aspect of the repair, seek professional help.