Technical Guide: S14 Kouki Front End Conversion For 240sx
So, You Want That Kouki Look: A Technical Guide to S14 Front End Conversion
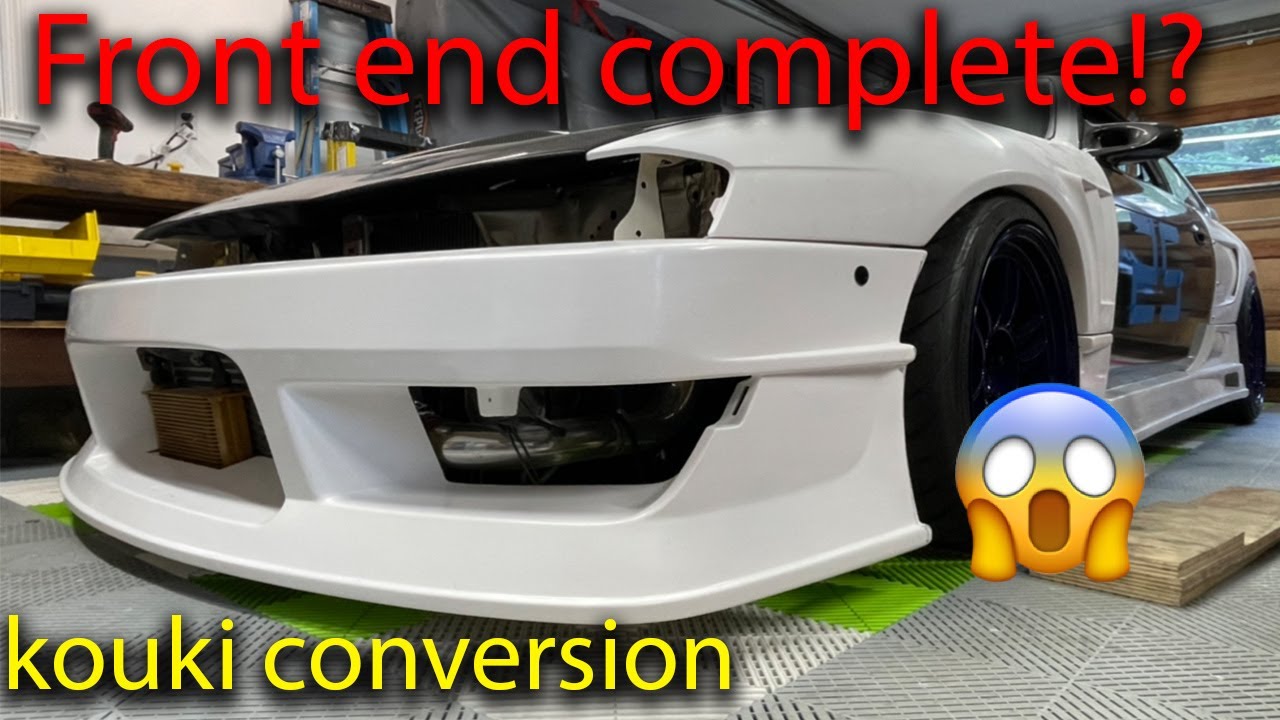
Alright, let's talk Kouki. You've got a 240SX, maybe a Zenki model, and you're dreaming of that aggressive, iconic Kouki (post-facelift) front end. It's a popular swap, no doubt, and it dramatically changes the look of your ride. But before you dive headfirst into ordering parts, let's break down what's involved and what to watch out for. This isn't just a bolt-on affair; it's a project that requires planning, patience, and a bit of technical know-how. This guide is here to help you navigate the process and avoid common pitfalls.
Understanding the Scope of the Conversion
The S14 Kouki front end conversion isn't just about swapping the headlights and grille. You're essentially replacing the entire front clip from the firewall forward. This includes:
- Kouki Hood: The shape is different, so a Zenki hood simply won't work.
- Kouki Headlights: The heart of the transformation. Ensure you're getting genuine Koito headlights for the best fit and light output. Aftermarket options exist, but quality can vary significantly.
- Kouki Grille: A crucial element to the Kouki look.
- Kouki Bumper: The aggressive lines of the Kouki bumper are a major part of the upgrade.
- Kouki Turn Signals/Corner Lights: These mount within the bumper and are specific to the Kouki design.
- Bumper Brackets/Supports: These are often overlooked but crucial for proper bumper alignment and mounting.
- Headlight Brackets/Supports: Securing the headlights properly is essential. Double-check that your kit includes these.
- Wiring Harness Adapters (Often Needed): Zenki and Kouki headlight wiring differs. Adapters simplify the electrical connection.
Depending on the condition of your existing front end and the source of your Kouki parts, you might also consider replacing or upgrading items like:
- Radiator Support: Check for rust or damage, especially if your car has seen some action.
- Fender Liners: Often damaged or missing. Now's a good time to replace them.
Essential Tools and Materials
Having the right tools will make this job significantly easier. Here's a list of essentials:
- Socket Set and Wrenches: Metric sizes, of course. A range of sizes from 8mm to 19mm will be necessary.
- Impact Wrench (Optional but Recommended): Great for stubborn bolts and speeding up the process.
- Screwdrivers: Phillips head and flathead in various sizes.
- Pliers: Needle-nose and standard.
- Wire Strippers/Crimpers: For any wiring modifications or repairs.
- Multimeter: Essential for diagnosing electrical issues.
- Jack and Jack Stands: Safety first! Never work under a car supported only by a jack.
- Penetrating Oil (e.g., PB Blaster): For loosening rusty bolts. Apply liberally and let it soak.
- Masking Tape: To protect paint and mark wiring.
- Markers: For labeling parts and wiring.
- Shop Rags: Lots of them.
- Gloves: To protect your hands.
- Safety Glasses: Crucial for eye protection.
- Torque Wrench: To ensure bolts are tightened to the correct specification. Consult a service manual for torque values.
- Drill and Drill Bits (Possibly): You might need to drill out broken bolts or modify brackets.
- Angle Grinder (Possibly): For minor trimming or modification. Use with caution and proper safety gear.
- Welder (Possibly): For repairing damaged metal or fabricating custom brackets. Only if you have the skills and equipment.
The Conversion Process: A Step-by-Step Guide
1. Preparation is Key:
Before you even touch a wrench, take pictures of everything! Document the wiring, the bracket locations, and the overall assembly of your existing front end. This will be invaluable when it's time to put things back together. Disconnect the negative battery terminal to prevent electrical shorts.
2. Removing the Zenki Front End:
- Bumper Removal: Locate and remove the bolts securing the bumper to the frame rails and fenders. These can be stubborn, so penetrating oil is your friend.
- Headlight Removal: Disconnect the wiring connectors and remove the bolts holding the headlights in place.
- Grille Removal: Usually held in place by clips or screws.
- Fender Removal (Often Required): While not always necessary, removing the fenders can make accessing the headlight and bumper brackets much easier.
- Radiator Support (If Replacing): This is a more involved process. Drain the coolant, disconnect the radiator hoses, and remove the radiator. Disconnect any other components attached to the radiator support, such as the hood latch and horn. Carefully drill out the spot welds or cut through the seams holding the radiator support in place.
- Bumper Brackets/Supports: Remove these from the frame rails.
- Headlight Brackets/Supports: Remove these.
3. Addressing Potential Issues:
This is the time to inspect for rust, damage, or worn components. Repair or replace anything that needs attention before you start installing the Kouki parts. Pay close attention to the frame rails and radiator support area, as these are common areas for rust.
4. Installing the Kouki Front End:
- Radiator Support (If Applicable): Weld the new radiator support into place, ensuring proper alignment. This requires welding skills and experience. If you're not comfortable welding, have a professional do it.
- Bumper Brackets/Supports: Install the Kouki bumper brackets onto the frame rails. Make sure they're properly aligned and securely fastened.
- Headlight Brackets/Supports: Install the Kouki headlight brackets.
- Fenders (If Removed): Reinstall the fenders.
- Headlights: Install the Kouki headlights and connect the wiring. You may need to use wiring adapters to convert from the Zenki to the Kouki wiring configuration. Test the headlights to ensure they're working correctly.
- Grille: Install the Kouki grille.
- Bumper: Install the Kouki bumper, ensuring it's properly aligned with the fenders and headlights. Connect the turn signals/corner lights.
5. Wiring Considerations:
The Zenki and Kouki headlight wiring harnesses are different. You have a few options: you can purchase pre-made wiring adapters, or you can manually re-pin the existing connectors. Adapters are the simpler and cleaner solution. If you choose to re-pin, make sure you have the correct wiring diagrams for both the Zenki and Kouki models. Use a multimeter to verify the wiring before connecting anything.
6. Alignment and Adjustments:
Once everything is installed, take a step back and visually inspect the alignment of the panels. Adjust the hood, fenders, and bumper to ensure consistent gaps and flush surfaces. This may require loosening and re-tightening bolts and adjusting brackets.
7. Final Checks:
- Double-check all bolts and connections.
- Test all lights (headlights, turn signals, corner lights).
- Ensure the hood opens and closes smoothly.
- Take the car for a test drive and listen for any unusual noises or vibrations.
Troubleshooting Common Problems
- Headlights Not Working: Check the wiring, fuses, and ground connections. Use a multimeter to trace the circuit.
- Bumper Alignment Issues: Ensure the bumper brackets are properly installed and aligned. You may need to shim or modify the brackets for a perfect fit.
- Hood Not Closing Properly: Adjust the hood latch and striker plate.
- Rust: If you encounter rust, address it immediately. Clean the affected area, apply a rust converter, and paint to protect the metal.
Estimated Costs
The cost of an S14 Kouki front end conversion can vary widely depending on the source and condition of the parts. Here's a rough estimate:
- Used Kouki Front End (Complete): $2000 - $5000+ (depending on condition and rarity)
- Aftermarket Kouki Front End: $1500 - $3000 (quality varies significantly)
- Wiring Adapters: $50 - $100
- Paint and Body Work (Optional): $500 - $2000+
- Tools and Supplies (If Needed): $100 - $300
- Professional Installation (If Needed): $500 - $1500+
Important Note: These are just estimates. Prices can fluctuate depending on the market and availability of parts. Be prepared to spend more if you're looking for pristine, original Kouki parts.
Final Thoughts
The S14 Kouki front end conversion is a rewarding project that can dramatically enhance the appearance of your 240SX. However, it's essential to approach it with a clear understanding of the scope, required tools, and potential challenges. Take your time, do your research, and don't hesitate to ask for help from experienced members of the 240SX community. With careful planning and execution, you can achieve that iconic Kouki look you've been dreaming of.