Technical Guide To Aerodynamic Body Kit Selection And Installation For The S13 Chassis
Alright, you're looking to bolt some aero onto your S13. Good choice! It's a fantastic platform for learning about aerodynamics and improving both the look and performance of your car. This guide isn't about picking the flashiest kit; it's about understanding the technical aspects of selecting and installing a body kit that actually enhances your S13, whether you're aiming for street presence, track dominance, or somewhere in between. We'll cover everything from material choices to proper mounting techniques.
Understanding Aerodynamics Basics
Before diving into specific kits, let's cover some fundamental aerodynamic principles. It's essential to understand these concepts to make informed decisions.
Key Concepts
- Drag: The force that opposes your car's motion through the air. Body kits can reduce drag by streamlining the airflow, or increase it if poorly designed.
- Lift: An upward force generated by airflow under the car. We generally want to minimize lift, as it reduces tire grip.
- Downforce: The opposite of lift; a downward force that increases tire grip. This is what we primarily aim for with aerodynamic modifications, especially on track cars.
- Coefficient of Drag (Cd): A dimensionless number representing how aerodynamic an object is. A lower Cd indicates less drag.
- Coefficient of Lift (Cl): Similar to Cd, but represents the amount of lift generated. A negative Cl indicates downforce.
- Boundary Layer: The thin layer of air directly adjacent to the car's surface. Disturbing the boundary layer can increase drag. Body kits often work to manage and manipulate this layer.
Keep in mind that modifying one area of the car often affects airflow elsewhere. A front splitter, for example, can drastically change the airflow under the car, which then impacts the effectiveness of a rear wing. It's a holistic system!
Material Selection: Strength, Weight, and Cost
Body kits come in various materials, each with its own pros and cons:
Fiberglass (FRP)
Pros: Most affordable option. Relatively easy to repair.
Cons: Heavy. Brittle and prone to cracking on impact. Can be prone to warping, especially cheaper kits. Requires careful prep work for painting.
Our Take: Suitable for street cars on a budget, but not ideal for track use where impacts are more likely. Invest in a higher-quality fiberglass kit if possible, and thoroughly inspect it for imperfections before installation. Look for multiple layers of fiberglass cloth and a consistent resin distribution.
Polyurethane (PU)
Pros: More flexible than fiberglass, making it more resistant to cracking. Relatively lightweight.
Cons: More expensive than fiberglass. Can be difficult to repair once torn. May require specialized adhesives and primers for painting.
Our Take: A good compromise between cost and durability. A better choice for street cars that are occasionally driven hard. Look for a PU kit with a good reputation for fitment.
Carbon Fiber (CF)
Pros: Extremely lightweight and strong. Aesthetically appealing (if exposed).
Cons: Very expensive. Difficult to repair. Can be damaged by UV exposure (requiring a clear coat with UV inhibitors). Can be brittle in certain impact scenarios.
Our Take: The top-tier option for weight savings and performance. Best suited for dedicated track cars where performance outweighs cost concerns. Ensure the carbon fiber is of high quality and properly cured to prevent delamination.
Other Materials
You might encounter body kits made from other materials like ABS plastic or composites. ABS is typically used for smaller components due to its lower cost and ease of manufacturing. Composites can offer a balance of properties, but quality can vary widely. Always research the specific material used and its properties before purchasing.
Body Kit Components: Function and Form
Let's break down the typical components of an S13 body kit and their aerodynamic functions.
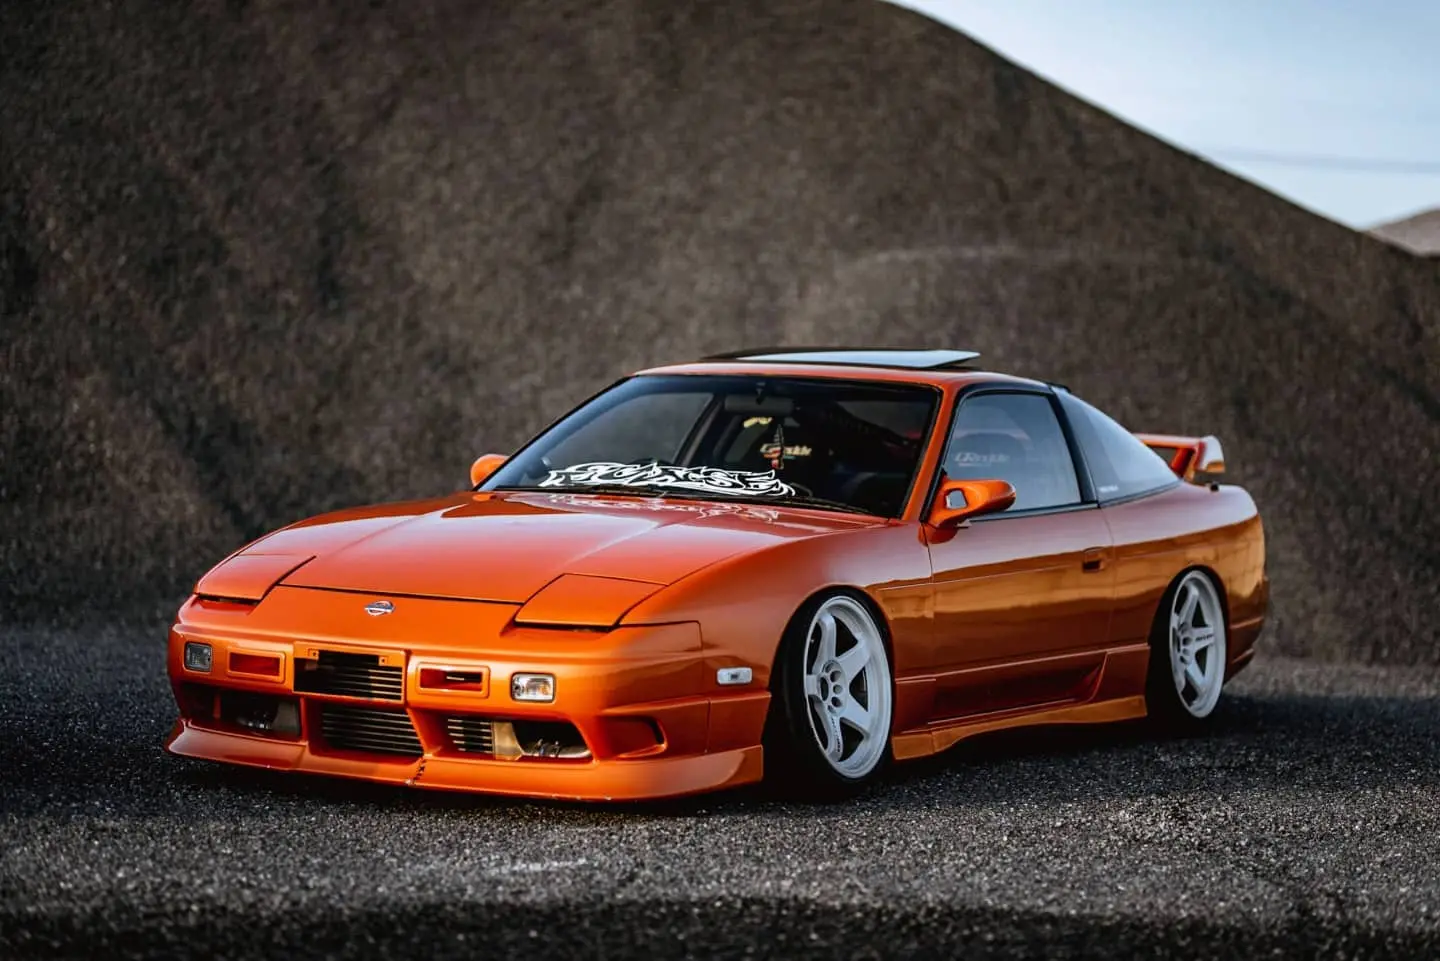
Front Bumper/Lip Spoiler
Function: Reduces airflow under the car, increasing downforce. Can also reduce drag by streamlining the front of the car. Aggressive designs often incorporate a splitter (a flat extension that protrudes forward) to further enhance these effects.
Considerations: Ground clearance. An excessively low front bumper can be impractical for street use. Look for a bumper with integrated brake cooling ducts if you plan on tracking the car.
Side Skirts
Function: Smooth the airflow along the sides of the car, reducing turbulence. They also create a "skirt" effect, preventing air from flowing underneath the car from the sides, further aiding downforce generation.
Considerations: Fitment to the rocker panels. Make sure the side skirts are properly sealed to the body to prevent air leakage.
Rear Bumper/Lip Spoiler/Diffuser
Function: Similar to the front bumper, the rear bumper can reduce drag and lift. A diffuser (a shaped section at the rear of the bumper) is specifically designed to accelerate airflow exiting from under the car, creating a low-pressure zone that pulls the car down. This is a very effective downforce-generating device when properly designed and coupled with a flat underbody.
Considerations: A well-designed diffuser requires a relatively smooth underbody to function effectively. If you're serious about rear downforce, consider adding an underbody panel.
Rear Wing/Spoiler
Function: Creates downforce by deflecting air downwards. The angle of attack (the angle of the wing relative to the airflow) is a critical factor in determining downforce. Too much angle can stall the wing, drastically reducing its effectiveness and even increasing drag.
Considerations: Wing placement and adjustability. A wing mounted too low or too far forward might be ineffective. Adjustable wings allow you to fine-tune the downforce to suit different track conditions. Ensure the wing is securely mounted to the chassis, as it experiences significant aerodynamic forces.
Installation: The Devil is in the Details
Proper installation is crucial for both the appearance and performance of your body kit. Rushing the job will only lead to problems down the line.
Preparation
- Inspect the kit: Check for any damage, imperfections, or missing hardware. Test fit each piece to ensure proper alignment before you start any modifications.
- Clean the surfaces: Thoroughly clean the areas where the body kit will be mounted. Remove any dirt, grease, or wax.
- Gather your tools: You'll need tools like a drill, screwdrivers, socket set, sanding blocks, body filler, primer, paint, masking tape, and appropriate adhesives.
- Safety First: Wear appropriate safety glasses, gloves, and a respirator when sanding, painting, or working with adhesives.
Fitment and Modification
- Test fit each piece: This is the most important step! Identify any areas that need trimming or modification. Body kits rarely fit perfectly out of the box, so expect to do some work.
- Trim as needed: Use a cutting tool to carefully trim any excess material. Take small cuts and test the fit frequently to avoid over-cutting.
- Address imperfections: Use body filler to fill any gaps or imperfections in the body kit. Sand the filler smooth to create a seamless transition.
Mounting
- Determine the mounting method: Body kits can be mounted using a combination of screws, bolts, rivets, and adhesives. Follow the manufacturer's instructions or use your best judgment based on the design of the kit.
- Drill holes: Carefully drill holes for screws or bolts. Use a drill bit that is slightly larger than the fastener to allow for some wiggle room.
- Apply adhesive: Use a high-quality automotive adhesive to bond the body kit to the car. Follow the adhesive manufacturer's instructions for application and curing time.
- Secure the kit: Use screws, bolts, or rivets to mechanically fasten the body kit to the car. Ensure that all fasteners are properly tightened.
Painting
- Primer: Apply several coats of primer to the body kit. Sand the primer smooth between coats.
- Paint: Apply several coats of paint to match the car's color. Use a high-quality automotive paint for durability.
- Clear coat: Apply several coats of clear coat to protect the paint and give it a glossy finish.
- Buff and Polish: Once the clear coat is fully cured, buff and polish the body kit to remove any imperfections and create a smooth, even surface.
Final Touches
Once the body kit is installed and painted, take a step back and admire your work. Make sure all the pieces are securely mounted and that the paint finish is consistent. You may need to make some minor adjustments to ensure a perfect fit.
Important Considerations
- Alignment: After installing a body kit, it's essential to get your car's alignment checked and adjusted. Modifying the aerodynamics can affect the car's handling and stability.
- Tires: Upgrading your tires can complement the improved aerodynamics. Consider using wider tires with a stickier compound for better grip.
- Suspension: Improving the suspension will have a dramatic effect when combined with aero. Stiffer springs and adjustable dampers will help to control body roll and maintain optimal tire contact.
Installing a body kit on your S13 is a rewarding project that can significantly enhance its appearance and performance. By understanding the principles of aerodynamics, selecting the right materials, and following proper installation techniques, you can achieve a professional-looking result that you can be proud of.