Technical Overview And Installation Of The Rocket Bunny 'boss' Aero Conversion Kit
So, you've decided to take the plunge and install the Rocket Bunny 'Boss' aero kit. Excellent choice! It's a truly transformative upgrade for your vehicle, giving it that aggressive, unmistakable look. But let's be honest, it's not exactly a weekend project for the faint of heart. This guide is here to give you a clear technical overview and help you anticipate some of the common roadblocks you might encounter during the installation process. We'll also cover potential solutions, making your build smoother and less stressful.
Technical Overview: What You're Getting Into
The Rocket Bunny 'Boss' kit isn't just about bolting on some fancy panels. It's a comprehensive transformation that requires a good understanding of bodywork, fitting tolerances, and potentially even some fabrication skills. Here's a breakdown of what to expect:
- Fiberglass Construction: Most Rocket Bunny kits are made from Fiberglass Reinforced Plastic (FRP). While relatively lightweight and cost-effective, FRP can be brittle and require careful handling to avoid cracking or chipping during installation. It also means you'll need to spend time on preparation, ensuring surfaces are properly prepped for paint and that any imperfections are addressed.
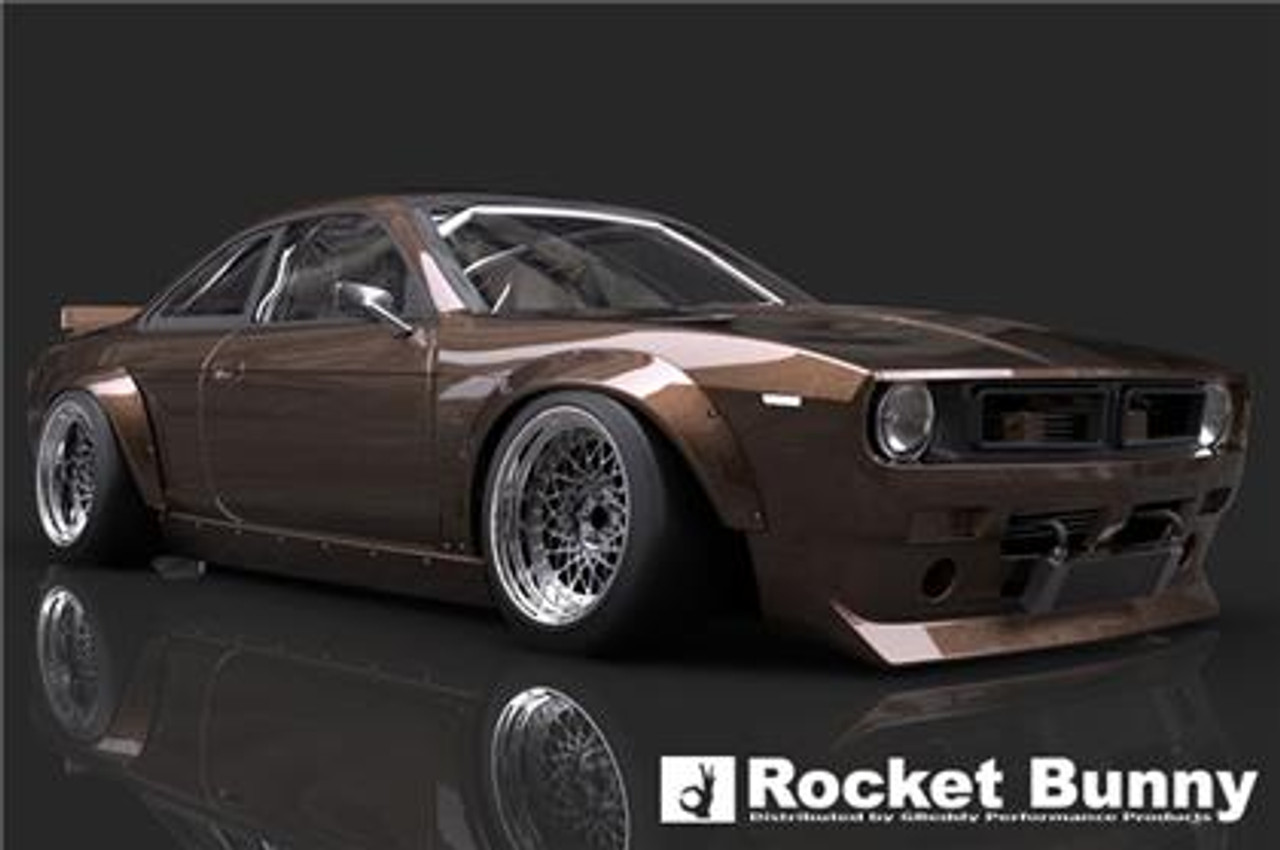
- Widebody Design: The hallmark of the 'Boss' kit is, of course, the widebody design. This involves significantly extending the wheel arches to accommodate wider wheels and tires. This typically includes front and rear over-fenders, which are often riveted or bolted onto the existing bodywork.
- Comprehensive Kit: A typical 'Boss' kit usually includes (but always double-check the specific components included with your purchase!):
- Front Lip Spoiler
- Front Over-Fenders
- Rear Over-Fenders
- Side Skirts
- Rear Wing (often optional)
- Various Mounting Hardware (though, realistically, you'll likely need to supplement this)
- Significant Modification: Unlike some "bolt-on" kits, the 'Boss' kit requires substantial modification to your vehicle. This includes cutting, drilling, and potentially even welding. There's no getting around it; this is a serious commitment.
- Paint and Bodywork: Unless you're going for the raw, unfinished look (which, honestly, isn't recommended for long-term durability), you'll need to factor in the cost and time for professional paint and bodywork. This is a crucial step to achieve a flawless, show-stopping finish.
Installation Challenges and Solutions
Okay, let's get down to brass tacks. Here are some common problems you might face during installation and some practical solutions to help you overcome them:
Problem 1: Poor Fitment
This is arguably the most common issue with aftermarket body kits, especially FRP. Slight imperfections in the manufacturing process can lead to gaps, misalignments, and overall poor fitment.
Solution:
- Pre-Fit Everything: Before you even think about cutting or drilling, thoroughly pre-fit every single piece of the kit. Use clamps, tape, and patience to hold the panels in place and identify any areas where the fit is off. This step is absolutely crucial!
- Heat Gun and Patience: FRP can be slightly reshaped with heat. Use a heat gun (carefully!) to warm up the problem areas and gently mold the panel into the desired shape. Be extremely cautious not to overheat the FRP, as it can easily warp or bubble. Work slowly and methodically.
- Body Filler/Fiberglass Repair: For larger gaps or imperfections, you'll need to use body filler (Bondo) or fiberglass repair resin. This is where your bodywork skills come into play. Apply the filler in thin layers, allowing each layer to dry completely before sanding smooth.
- Professional Help: If the fitment issues are severe, don't hesitate to consult with a professional body shop. They have the expertise and tools to address even the most challenging fitment problems.
Problem 2: Cutting the Fenders
This is the point of no return. Cutting your fenders is a necessary step to accommodate the wider wheels and tires. But it's also a nerve-wracking process that can easily go wrong.
Solution:
- Precise Measurement and Marking: Measure twice, cut once! Carefully mark the fender lines using a template (if provided with the kit) or by tracing the inside edge of the over-fender. Accuracy is paramount.
- Proper Cutting Tools: Use a high-quality cutting tool designed for metal, such as a reciprocating saw with a metal-cutting blade, an angle grinder with a cutting wheel, or a plasma cutter. Avoid using tools that will generate excessive heat, which can warp the metal.
- Protect Surrounding Areas: Cover the surrounding paintwork with masking tape and protective sheeting to prevent scratches and damage from flying debris.
- Slow and Steady: Cut along the marked lines slowly and steadily, avoiding any sudden movements or jerks. Let the tool do the work.
- Clean Up the Edges: After cutting, use a file or grinder to smooth out any sharp edges and remove any burrs. This will help prevent rust and ensure a clean finish.
- Rust Prevention: Once the fender is cut, apply a rust preventative coating to the exposed metal to prevent corrosion.
Problem 3: Mounting the Over-Fenders
Most 'Boss' kits utilize rivets or bolts to secure the over-fenders to the body. This can be tricky, especially if you're aiming for a clean, professional look.
Solution:
- Pilot Holes: Before drilling any holes, create pilot holes using a small drill bit. This will help guide the larger drill bit and prevent it from wandering.
- Proper Rivet/Bolt Spacing: Maintain consistent spacing between the rivets or bolts for a uniform and aesthetically pleasing appearance. Use a ruler or template to ensure accurate spacing.
- Countersinking: For a flush finish, consider countersinking the rivet or bolt holes. This will allow the rivet or bolt heads to sit flush with the surface of the over-fender.
- Quality Hardware: Use high-quality rivets or bolts that are specifically designed for automotive use. Avoid using cheap hardware, as it can corrode or break over time.
- Consider Backing Plates: In areas where the sheet metal is thin or weak, consider using backing plates to provide additional support and prevent the rivets or bolts from pulling through.
- Sealant: Apply a bead of sealant around the edges of the over-fenders to prevent water from seeping in and causing rust.
Problem 4: Wheel and Tire Fitment
The whole point of the widebody kit is to accommodate wider wheels and tires. But getting the right fitment can be challenging. You'll need to consider offset, tire size, and suspension settings.
Solution:
- Measure, Measure, Measure: After installing the over-fenders, carefully measure the available space in the wheel wells. This will give you a starting point for determining the optimal wheel and tire sizes.
- Online Calculators: Utilize online wheel and tire calculators to experiment with different combinations and visualize how they will fit on your vehicle.
- Test Fit: Before purchasing new wheels and tires, try to test fit them on your vehicle (if possible). This will allow you to confirm the fitment and identify any potential clearance issues.
- Rolling the Fenders: Even with the widebody kit, you may still need to roll the inner fender lips to prevent tire rubbing, especially if you're running aggressive wheel offsets.
- Adjustable Suspension: Adjustable suspension (coilovers) will give you the ability to fine-tune the ride height and camber, which can be crucial for achieving the perfect wheel and tire fitment.
Tools You'll Need
Here's a list of essential tools you'll need for the Rocket Bunny 'Boss' kit installation. This isn't exhaustive, but it covers the basics:
- Basic hand tools (sockets, wrenches, screwdrivers, etc.)
- Drill and drill bits (including step drill bits)
- Reciprocating saw or angle grinder with cutting wheel
- Heat gun
- Body filler and sanding tools
- Riveter or bolt gun
- Measuring tape and ruler
- Masking tape and protective sheeting
- Safety glasses and gloves
- Optional: Plasma cutter, welding equipment
Estimated Costs
The cost of installing a Rocket Bunny 'Boss' kit can vary significantly depending on your skill level, the complexity of the installation, and the cost of professional labor. Here's a rough estimate:
- Kit Cost: $4,000 - $8,000 (depending on the specific kit and vendor)
- Paint and Bodywork: $3,000 - $8,000+ (depending on the quality of the paint and the amount of bodywork required)
- Wheels and Tires: $2,000 - $10,000+ (depending on the brand, size, and style)
- Installation (DIY): $500 - $1,000 (for materials, consumables, and tools you might need)
- Installation (Professional): $2,000 - $5,000+ (depending on the shop's hourly rate and the complexity of the job)
Important Note: These are just estimates. It's always a good idea to get quotes from multiple body shops and factor in potential unexpected costs. Remember, doing it right the first time is always cheaper than cutting corners and having to redo things later.
Final Thoughts
Installing a Rocket Bunny 'Boss' kit is a challenging but ultimately rewarding project. With careful planning, patience, and the right tools, you can transform your vehicle into a true head-turner. Don't be afraid to ask for help from experienced friends or professionals, and remember to prioritize safety throughout the entire process. Good luck with your build!