Technical Review And Installation Of Tein Lowering Springs
So, you're thinking about installing Tein lowering springs? Excellent choice! Tein is a well-respected brand known for its quality and performance. Lowering your car can drastically improve its handling and aesthetics, but it's not always a walk in the park. This article will cover some common issues people face during technical review and installation, and offer practical solutions to help you get the job done right. Think of me as your experienced service advisor, guiding you through the process.
Technical Review: Is it the Right Fit?
Before you even think about touching a wrench, the most crucial step is the technical review. This isn't just about checking if the springs are the right part number for your car. It's about ensuring they're the best fit for your needs and driving style.
Problem 1: Incorrect Spring Rate
The spring rate determines how stiff the suspension will be. If you choose springs with a rate that's too high (too stiff), your ride will be harsh and uncomfortable, especially on bumpy roads. Conversely, if the rate is too low, you might experience excessive body roll during cornering and potentially bottom out over large bumps.
Solution: Do your research! Check Tein's website and product specifications to find the recommended spring rate for your vehicle and intended use. Consider whether you prioritize comfort, performance, or a balance of both. Forums dedicated to your car model can be invaluable for getting real-world feedback from other owners who have installed Tein springs.
Problem 2: Compatibility Issues with Existing Components
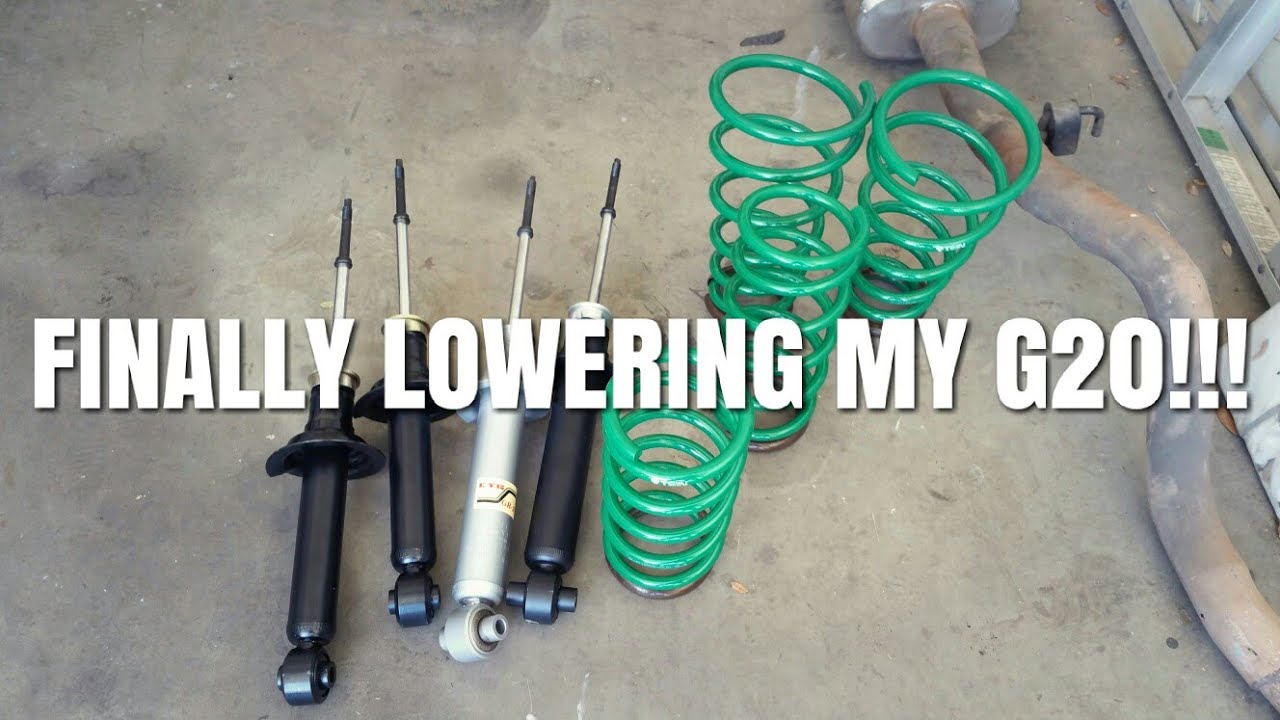
Lowering springs can sometimes put extra stress on other suspension components, like shocks/struts, sway bar end links, and control arms. If these components are already worn or nearing the end of their lifespan, the added stress could accelerate their failure.
Solution: Inspect your existing suspension components thoroughly before installing the springs. Pay close attention to the shocks/struts for leaks or excessive play. Check the sway bar end links for wear and tear on the bushings and ball joints. Examine the control arm bushings for cracks or deterioration. If anything looks questionable, replace it before installing the lowering springs. It's often more cost-effective to do this preventatively than to deal with a breakdown later.
Problem 3: Ride Height Expectations vs. Reality
The advertised lowering amount is often based on a vehicle with stock suspension and little to no weight in the car. Factors like worn suspension components, aftermarket wheels and tires, and added weight (like a full sound system) can affect the actual ride height after installation. You might end up with a ride height that's lower or higher than you anticipated.
Solution: Manage your expectations. While the advertised lowering amount is a good guideline, understand that the actual ride height can vary. If you're aiming for a very specific ride height, consider adjustable coilovers instead of lowering springs. Coilovers allow you to fine-tune the ride height to your exact preference.
Installation Challenges and Solutions
Now let's dive into the installation process. Even if you're mechanically inclined, installing lowering springs can be challenging. Here are some common roadblocks and how to overcome them:
Problem 1: Spring Compressor Woes
Compressing springs is a potentially dangerous task. Using the wrong type of spring compressor or using it incorrectly can lead to serious injury. Many inexpensive spring compressors are poorly designed and can slip or break under pressure.
Solution: Invest in a quality spring compressor. Internal spring compressors (the type that fit inside the spring) are generally safer and more effective than external compressors, especially for vehicles with limited space around the strut. Renting or borrowing a high-quality compressor is also a good option. Always follow the manufacturer's instructions carefully, and wear safety glasses. If you're uncomfortable with this step, it's best to leave it to a professional.
Problem 2: Stuck or Seized Bolts
Anyone who's worked on a car for a while knows the frustration of dealing with rusted or seized bolts. Suspension bolts, in particular, are often exposed to harsh conditions and can be incredibly difficult to remove.
Solution: Penetrating oil is your best friend. Apply a generous amount of penetrating oil (like PB Blaster or Liquid Wrench) to the bolts you're trying to remove well in advance of starting the job, ideally a day or two before. Use a breaker bar for extra leverage, and consider using a torch to heat the bolt (if applicable and safe to do so). If a bolt breaks, you'll need to extract it or drill it out, which can add significant time and cost to the project. Having access to a good set of bolt extractors is recommended.
Problem 3: Incorrect Installation Order or Torque Specifications
Reassembling the suspension in the wrong order or tightening bolts to the wrong torque specification can compromise safety and performance. Over-torquing can damage components, while under-torquing can lead to loose bolts and potentially catastrophic failure.
Solution: A service manual is essential. It provides detailed instructions on the correct installation order and torque specifications for all suspension components. If you don't have a service manual, you can often find information online or subscribe to an online service like Alldata or Mitchell OnDemand. Use a torque wrench to ensure all bolts are tightened to the correct specification. It's also a good idea to double-check your work after you're finished.
Problem 4: Alignment Issues
Lowering your car will almost certainly affect the wheel alignment. Driving with misaligned wheels can lead to uneven tire wear, poor handling, and even damage to other suspension components.
Solution: Get a professional wheel alignment immediately after installing the lowering springs. Choose a shop that specializes in performance alignments and can properly align your car to the new ride height. Ask for a printout of the alignment specifications before and after the adjustment.
Problem 5: ABS/Traction Control Problems
In some cases, lowering your car can trigger issues with the ABS or traction control systems. This is more common on vehicles with sophisticated electronic stability control systems.
Solution: First, make sure all the wheel speed sensors are properly connected and free from damage. You may need to reset the ABS/traction control system by disconnecting the battery for a few minutes. If the problem persists, you might need to have the system recalibrated by a dealer or a specialized shop. In rare cases, the change in ride height can affect the sensor readings, requiring adjustments to the sensor mounting points or the use of aftermarket correction kits.
Tools Needed and Estimated Costs
To tackle this project successfully, you'll need the following tools:
- Jack and jack stands
- Wheel chocks
- Socket set (metric)
- Wrench set (metric)
- Breaker bar
- Torque wrench
- Spring compressor (high-quality)
- Penetrating oil
- Hammer
- Pry bar
- Service manual
- Safety glasses and gloves
As for costs, here's a rough estimate:
- Tein lowering springs: $200 - $400
- New shocks/struts (optional): $200 - $800 (depending on quality and brand)
- Sway bar end links (optional): $50 - $100
- Alignment: $80 - $150
- Professional installation (if you choose not to DIY): $300 - $600
Total estimated cost: $280 - $1550 (depending on the extent of the work and whether you DIY)
Installing Tein lowering springs can be a rewarding experience, but it's important to be prepared for the challenges. By understanding the potential problems and following the solutions outlined in this article, you can increase your chances of a successful and safe installation. Remember, if you're unsure about any part of the process, don't hesitate to seek professional help. Happy wrenching!