Technical Specifications And Trim Differences Of The Nissan 240sx Coupe
So, you're tackling a repair or upgrade on your Nissan 240SX Coupe? Excellent choice! These cars are iconic, and understanding their nuances is key to keeping them on the road. One of the most crucial things to grasp is the variation in technical specifications and trim levels. Many issues and headaches arise from using incorrect parts or applying the wrong procedures based on assumptions. Let's break it down to help you avoid those pitfalls.
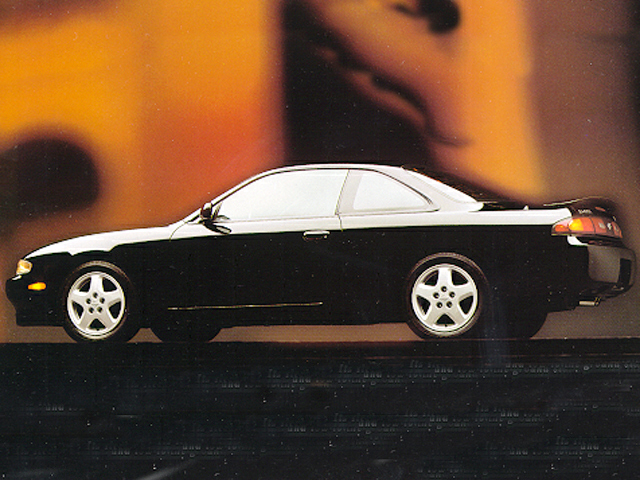
Understanding the 240SX Coupe's Technical Evolution (1989-1994)
The 240SX coupe spanned two distinct generations, often referred to as S13 (1989-1994) and S14 (1995-1998). We'll focus on the S13 coupe here. While both generations share a rear-wheel-drive layout and similar underpinnings, there are significant differences that directly impact maintenance and modification.
Engine Variations: KA24E vs. KA24DE
The most critical technical distinction is the engine. The early models (1989-1990) came equipped with the KA24E, a single overhead cam (SOHC) engine. This engine is known for its reliability but produces less power, typically around 140 horsepower. The later models (1991-1994) received the KA24DE, a dual overhead cam (DOHC) engine, boosting power to around 155 horsepower. This might not seem like a huge jump, but the difference in torque and responsiveness is noticeable.
Problem: Imagine you're trying to replace the distributor cap. The KA24E and KA24DE use completely different distributor caps and rotors. Ordering the wrong one will leave you stranded.
Solution: Always verify your engine type before ordering parts. Check the engine bay for the presence of two camshaft sprockets (DOHC). The VIN can also help, but it's not always foolproof. If unsure, take a picture of your engine and compare it to online resources. A mechanic can easily confirm as well. Expect to pay around $15-30 for a distributor cap, but double-checking ensures you only pay once!
Tool Tip: A simple visual inspection is often enough. A flashlight can help you see the camshaft sprockets. If you are unsure the part number, visit your local Nissan parts dealer for assistance.
Suspension and Brakes
While generally consistent, subtle differences exist in suspension components. For example, the anti-roll bar diameter might vary slightly across model years and trims. Brake rotors and calipers are generally interchangeable within the S13 coupe range, but always double-check fitment.
Problem: You're replacing the front brake pads and ordered a set that are *just* a bit too thick to fit.
Solution: This usually indicates a manufacturing defect, incorrect part number, or slight rotor wear creating less space. Double check that the part number from your supplier is the exact right match for your make, model and trim. While you're replacing your brake pads, consider having the rotors turned (approx. $25 each) or replaced altogether. Replacing rotors and pads in one session ensures optimal braking.
Cost Estimate: New brake pads range from $30-75 per set. Rotor replacement can cost $50-150 per rotor, depending on the brand and quality.
Trim Level Deep Dive: Base, SE, and LE
The 240SX coupe was offered in several trim levels, each with its own set of features and options. Understanding these differences is vital when sourcing parts or troubleshooting electrical issues.
- Base Model: The entry-level model, typically with fewer features. Manual windows and locks were common.
- SE (Sport Edition): A popular choice, offering upgrades like alloy wheels, power windows and locks, and sometimes a sunroof.
- LE (Luxury Edition): The top-of-the-line trim, often including leather seats, a premium sound system, and additional cosmetic enhancements.
Problem: Your power windows stopped working. You immediately assume it's the window motor, but replacing it doesn't solve the problem.
Solution: Before replacing expensive components, check the basics. First, verify the fuse for the power windows is intact (easy, cheap fix!). Next, check the window switch itself. Sometimes the switch contacts corrode or wear out. Consider cleaning the contacts with electrical contact cleaner (available at most auto parts stores for under $10). If the switch still doesn't work, use a multimeter to test for continuity and voltage. A faulty switch can often be replaced for under $50. If the issue persists, it could be a wiring problem, which requires more advanced troubleshooting. Consult a wiring diagram specific to your trim level (SE or LE) to trace the circuit and identify potential breaks or shorts.
Tool Tip: A multimeter is essential for diagnosing electrical problems. A basic multimeter can be purchased for around $20-30.
Interior and Exterior Differences
Trim levels also affected interior and exterior aesthetics. The SE and LE models often featured different seats, door panels, and exterior trim pieces. The LE models commonly had a spoiler, which the other trims lacked.
Problem: You're trying to install aftermarket seats, but the mounting brackets don't line up with the factory holes.
Solution: While the floor pan is generally the same, minor variations can exist, especially if the car has been modified previously. The best approach is to purchase seat brackets specifically designed for your 240SX coupe. Reputable manufacturers offer brackets that ensure proper fitment. Before drilling any new holes, double-check that the brackets are properly aligned and that the seats have adequate clearance. Improper seat installation can compromise safety in an accident.
Cost Estimate: Aftermarket seat brackets typically cost $100-200 per seat.
Wiring Harness Variations
This is where things can get tricky! The wiring harness differs significantly between trim levels, especially concerning options like power windows, locks, and sunroof. Swapping parts between different trim levels without understanding the wiring can lead to electrical gremlins.
Problem: You're trying to install an aftermarket alarm system. The instructions tell you to tap into the power door lock wires, but the wire colors don't match the diagrams you found online.
Solution: Do not rely solely on online diagrams! Wiring colors can vary even within the same trim level and model year. The best approach is to use a multimeter to identify the correct wires by testing for voltage when the door lock switch is activated. A wiring diagram specific to your car's VIN is ideal, but these can be difficult to find. Consult a professional installer if you're unsure. Incorrect wiring can damage your car's electrical system and potentially void your insurance.
Important Note: Working with automotive electrical systems requires caution. Always disconnect the negative battery terminal before working on any wiring.
Practical Tips for 240SX Coupe Owners
- Always verify part compatibility: Double-check part numbers against your car's VIN and engine type. Use reputable online parts catalogs or consult a knowledgeable parts supplier.
- Consult a service manual: A factory service manual (FSM) is an invaluable resource for technical information, wiring diagrams, and repair procedures. You can often find digital versions online.
- Join online forums: Online forums dedicated to the 240SX are filled with experienced owners who can offer advice and troubleshooting tips.
- Document your repairs: Keep a record of the repairs you've performed, including part numbers and procedures. This will help you and future owners maintain the car properly.
- Don't be afraid to ask for help: If you're unsure about a repair, seek the assistance of a qualified mechanic.
Understanding the technical specifications and trim differences of your Nissan 240SX Coupe is essential for successful maintenance and modification. By doing your research and taking your time, you can keep this iconic car running smoothly for years to come. Remember, a little preparation can save you a lot of headaches (and money!) down the road.