Tesla Model S Midnight Silver Metallic
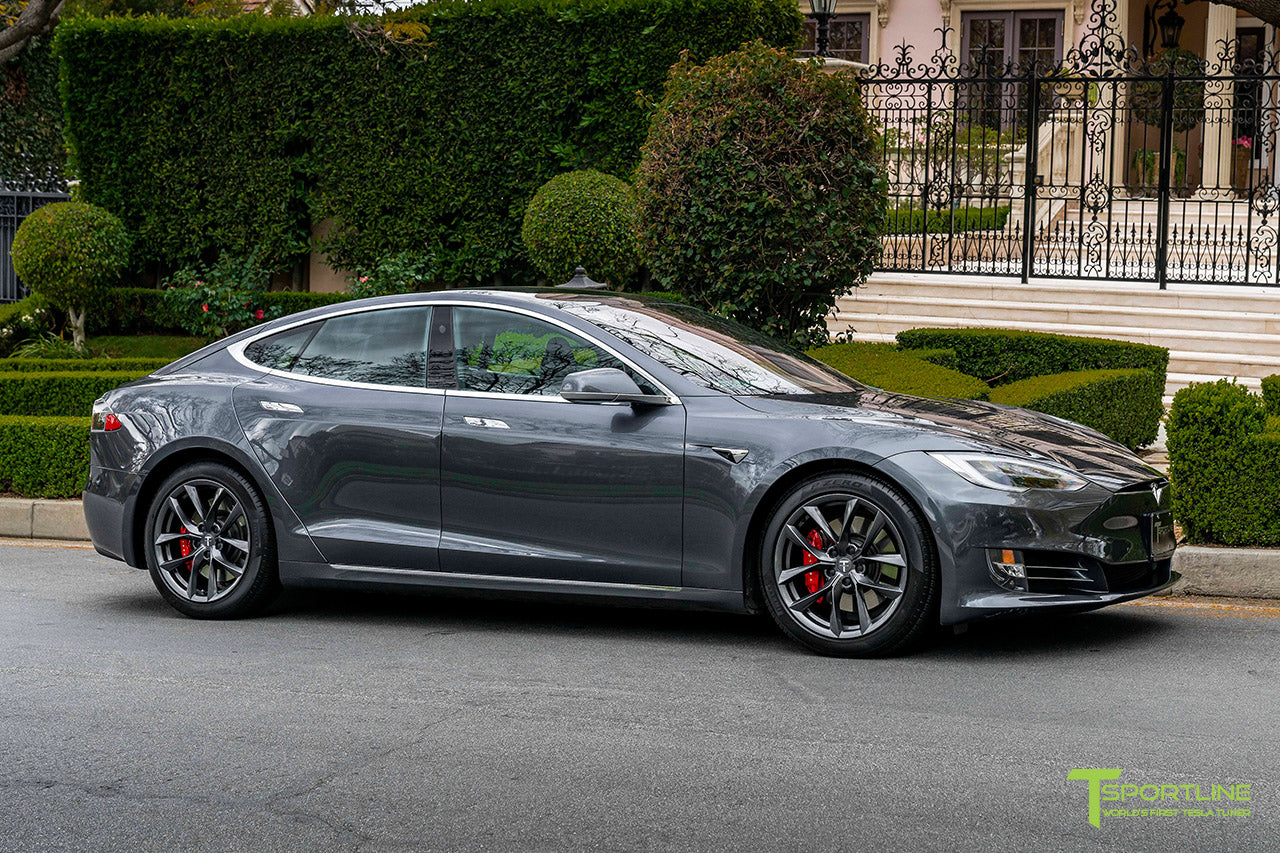
Ah, Midnight Silver Metallic. A beautiful color on the Tesla Model S, understated yet undeniably stylish. It's a popular choice, and for good reason. But like any car, and any paint color, it can be susceptible to certain issues. As a service advisor with years of experience seeing these problems firsthand, I'm here to walk you through some common challenges Model S owners face with their Midnight Silver Metallic paint, and more importantly, provide practical solutions.
Scratches and Swirl Marks: The Bane of Every Dark Car
Let's face it, dark colors like Midnight Silver Metallic show everything. Even the slightest imperfections become glaringly obvious. This is especially true with swirl marks, those spiderweb-like scratches that appear in the paint's clear coat.
Problem: Minor Scratches and Swirl Marks
These are usually caused by improper washing techniques, automatic car washes (those brushes are brutal!), and even just wiping the car down with a dirty towel. They're superficial, meaning they're in the clear coat and haven't penetrated the base coat of paint.
Solution: DIY Paint Correction (For the Enthusiast)
If you're comfortable with detailing, you can tackle these yourself. Here's what you'll need:
- Two-Bucket Wash System: This prevents you from reintroducing dirt back onto the car. Use one bucket for soapy water and the other for rinsing your wash mitt.
- High-Quality Microfiber Wash Mitt: Avoid cheap sponges or rough cloths.
- Clay Bar: This removes bonded contaminants from the paint surface.
- Paint Correction Compound: A mild abrasive compound to remove the scratches. Look for one specifically designed for clear coat. Meguiar's Ultimate Compound is a popular choice.
- Polishing Compound: Fines a bit of the compound to remove any minor haze left behind.
- Dual-Action Polisher (DA Polisher): This is a must-have for consistent results. Brands like Griot's Garage and Porter-Cable are well-regarded.
- Microfiber Polishing Pads: Use the correct pad for each compound.
- Microfiber Towels: For wiping off residue.
- Isopropyl Alcohol (IPA): For prepping the surface and removing polishing oils.
- Wax or Sealant: To protect the freshly corrected paint.
Procedure:
- Wash and dry the car thoroughly.
- Clay bar the entire surface.
- Tape off any trim or areas you don't want to polish.
- Apply a small amount of paint correction compound to your polishing pad.
- Work in small sections (about 2' x 2') with overlapping passes, using medium pressure.
- Wipe off the residue with a microfiber towel.
- Repeat with the polishing compound for a finer finish.
- Wipe down the surface with IPA to remove polishing oils.
- Apply your wax or sealant according to the manufacturer's instructions.
Important Note: Paint correction requires patience and practice. If you're not comfortable using a DA polisher, it's best to leave it to a professional. You can easily damage the paint if you're not careful.
Solution: Professional Paint Correction
This is the recommended route if you're not confident in your detailing skills, or if the scratches are more severe. A professional detailer will have the tools and expertise to safely and effectively remove scratches and swirl marks. They'll also be able to advise you on the best protection options for your paint.
Approximate Cost: $300 - $800+, depending on the severity of the scratches and the size of the car.
Problem: Deeper Scratches That Reach the Base Coat
These are the ones that catch your fingernail. They're deeper than the clear coat and require more extensive repair.
Solution: Touch-Up Paint and Wet Sanding (Advanced DIY)
This is a more involved process, but it can be effective for repairing deeper scratches. You'll need:
- Tesla Touch-Up Paint: Make sure you get the correct Midnight Silver Metallic color code.
- Fine-Tipped Paint Brush: For precise application.
- Clear Coat Touch-Up Paint (Optional, but recommended): For extra protection.
- Wet Sandpaper: 2000 grit and 3000 grit.
- Sanding Block: For even pressure.
- Detailing Clay: Clean the surrounding area before sanding
- Water Spray Bottle: To keep the sandpaper lubricated.
- Paint Correction Compound and Polishing Compound: As described above.
Procedure:
- Clean the scratch and surrounding area thoroughly.
- Apply thin layers of touch-up paint to the scratch, allowing each layer to dry completely (at least 24 hours). You may need several layers to build up the paint to slightly above the surrounding surface.
- Once the paint is completely dry, wrap the 2000 grit sandpaper around the sanding block and gently wet sand the touch-up paint until it's flush with the surrounding surface. Use plenty of water and light pressure.
- Repeat with the 3000 grit sandpaper for a smoother finish.
- Use paint correction compound and polishing compound to restore the shine.
- Apply wax or sealant.
Important Note: Wet sanding is a delicate process. Too much pressure can remove too much paint. Practice on an inconspicuous area first if possible.
Solution: Professional Body Shop Repair
For deeper scratches or larger areas of damage, it's best to take your car to a reputable body shop. They can properly repair the damage and blend the paint seamlessly. The car should look factory new after the repair.
Approximate Cost: $200 - $1000+, depending on the size and depth of the scratch.
Paint Chips: A Common Occurrence
Paint chips are inevitable, especially on the front of the car, where it's constantly bombarded by rocks and debris.
Problem: Small Paint Chips
These are usually caused by small rocks or road debris.
Solution: Touch-Up Paint
The same touch-up paint procedure as described above for deeper scratches can be used for small paint chips. The key is to apply thin layers and allow each layer to dry completely.
Solution: Paint Protection Film (PPF)
This is a preventative measure that can significantly reduce the risk of paint chips. PPF is a clear film that's applied to the car's paint. It's durable and self-healing, meaning it can absorb minor scratches and swirl marks. It is especially useful if installed to the full front end.
Approximate Cost: $1,000 - $2,500+, depending on the coverage area.
Water Spots and Etching: A Hard Water Headache
Hard water can leave behind unsightly water spots that can etch into the paint's clear coat.
Problem: Water Spots
These are caused by mineral deposits left behind when water evaporates on the paint surface.
Solution: Vinegar and Water Solution
A simple solution of 50/50 white vinegar and water can often remove water spots. Spray the solution onto the affected area, let it sit for a few minutes, and then wipe it off with a clean microfiber towel. Be sure to rinse the area afterwards with clean water. Follow up with a coating of wax to protect the finish.
Solution: Water Spot Remover
There are also commercial water spot removers available that are specifically designed for automotive paint.
Solution: Polishing
If the water spots have etched into the clear coat, you may need to polish the paint to remove them. Follow the same paint correction procedure as described above for scratches and swirl marks.
Other Considerations for Midnight Silver Metallic
- Bird Droppings: Bird droppings are acidic and can quickly damage the paint. Remove them as soon as possible.
- Tree Sap: Tree sap can also be difficult to remove and can leave behind a sticky residue. Use a tree sap remover to safely remove it.
- Sun Fading: While Midnight Silver Metallic is relatively resistant to fading, it's still important to protect the paint from the sun's UV rays. Park in the shade whenever possible and use a car cover when parked outdoors for extended periods.
- Ceramic Coating: This is an excellent way to protect your paint and make it easier to clean. A ceramic coating creates a hydrophobic surface that repels water and dirt. It also provides a layer of protection against scratches, swirl marks, and UV rays.
Taking care of your Tesla Model S Midnight Silver Metallic paint requires a bit of effort, but it's well worth it. With proper care and maintenance, you can keep your car looking its best for years to come.