Troubleshooting A Non Functional Radio Display In Your Nissan Versa
A blank or non-functional radio display in your Nissan Versa can be incredibly frustrating, ranging from a minor inconvenience to a major headache, especially on long drives. Not only does it deprive you of your favorite music or podcasts, but it can also render navigation, climate control interfaces (if integrated into the display), and backup camera functionalities useless. This article will provide a comprehensive guide to troubleshooting this issue, assuming you're an intermediate car owner or DIY mechanic comfortable with basic automotive electrical work.
Background: The Versa's Audio and Display System
Modern car audio systems are far more complex than the simple radios of yesteryear. In the Nissan Versa (especially models from the mid-2010s onwards), the radio head unit (or infotainment system) is often integrated into the vehicle's Controller Area Network (CAN bus). The CAN bus is a robust vehicle network that allows various electronic control units (ECUs) within the car to communicate with each other. This means the radio isn't just a standalone device; it's an integral part of the car's overall electronics architecture.
The head unit itself typically comprises several key components:
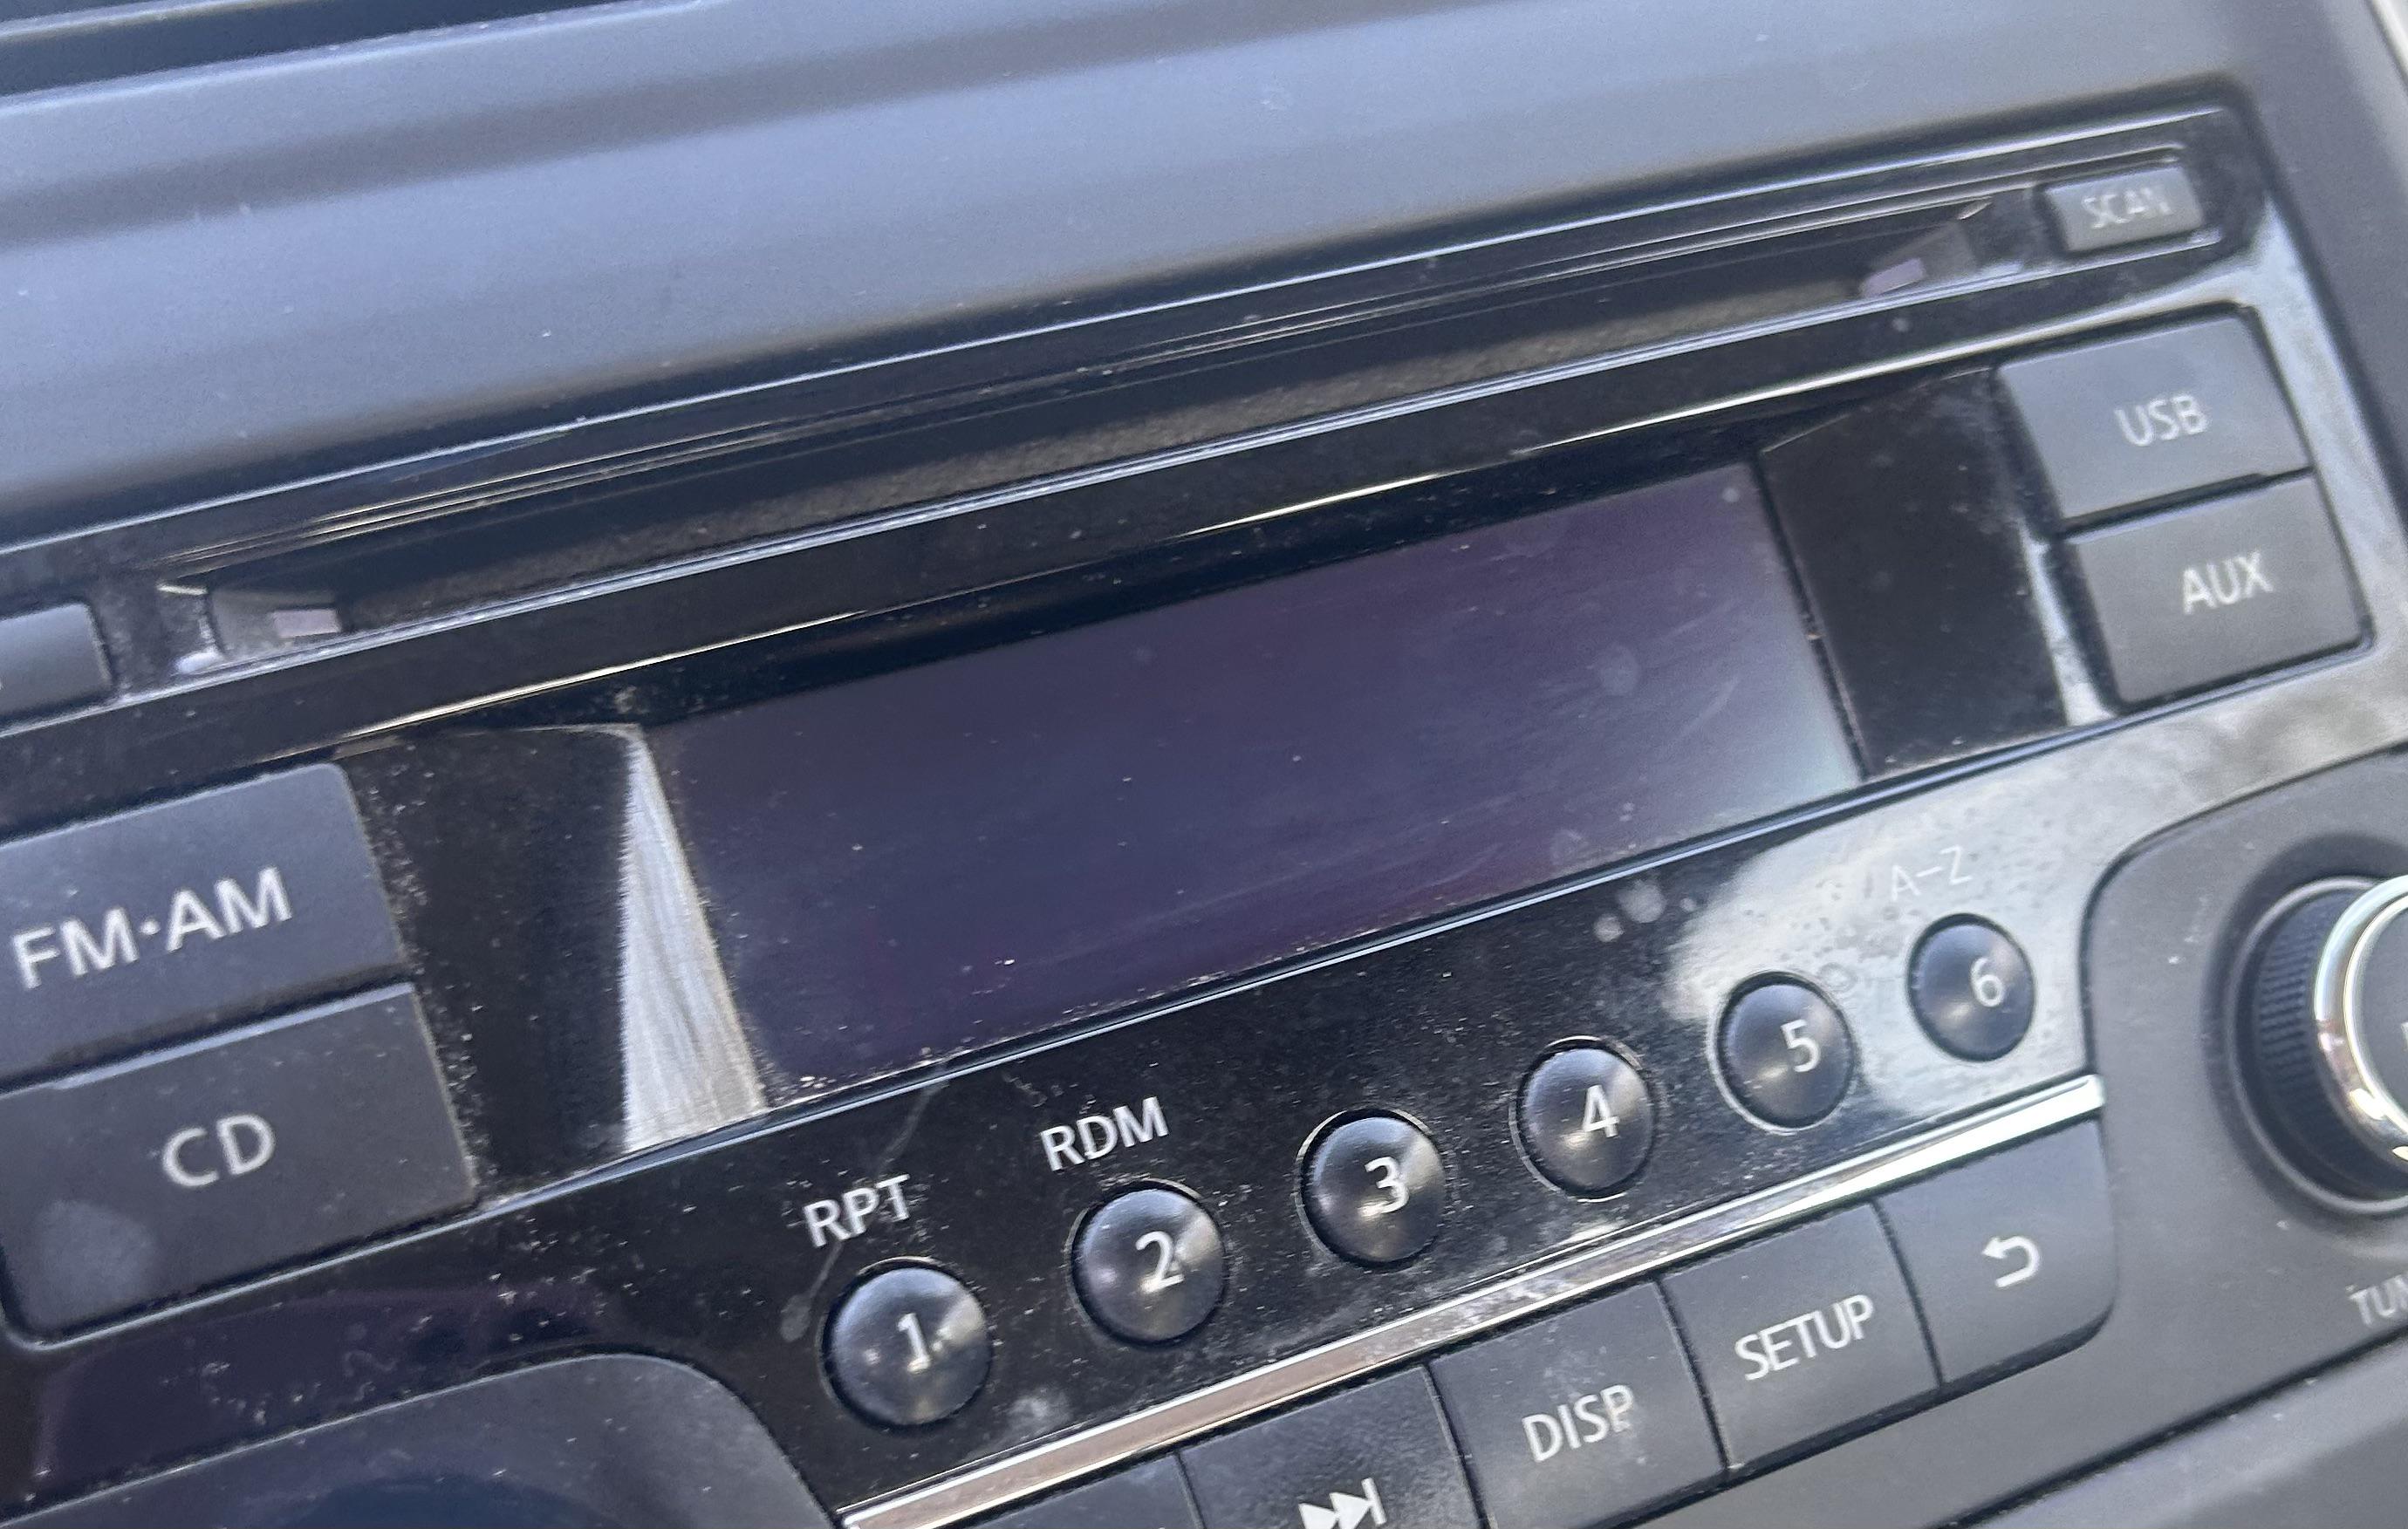
- Display Screen: The visual interface for displaying information. These are commonly LCD or LED screens.
- Processor: A small computer that runs the infotainment system's software, processes user inputs, and controls the display.
- Audio Amplifier: Boosts the low-level audio signals from the processor to a level suitable for driving the car's speakers.
- Tuner: Receives radio signals (AM/FM/Satellite).
- Input/Output (I/O) Ports: Connections for USB, auxiliary inputs, Bluetooth, and camera inputs.
- Power Supply: Provides the necessary voltage and current to all the internal components.
The Versa's system may also integrate features such as:
- Backup Camera: Displays the view behind the vehicle when in reverse.
- Navigation System: (If equipped) Provides turn-by-turn directions.
- Climate Control Interface: (On some models) Allows control of the car's heating and air conditioning.
Technical Breakdown: How the System Works (Simplified)
Let's trace the signal flow to understand what might be going wrong when the display is blank:
- Power On: When you turn the ignition to the "ACC" (Accessory) or "ON" position, the Body Control Module (BCM) sends a signal to the radio head unit to power on. The BCM is another ECU responsible for controlling various body functions.
- Power Supply Activation: The radio's internal power supply receives this signal and begins converting the car's 12V DC power to the various voltages required by the internal components (e.g., 5V for the processor, 3.3V for memory chips).
- Processor Initialization: The processor boots up and loads the operating system from flash memory.
- Display Initialization: The processor sends signals to the display screen to initialize it and prepare it for displaying information. This involves setting up the display controller, configuring the screen resolution, and enabling the backlight.
- Signal Processing: The processor receives inputs from the tuner, USB, Bluetooth, or other sources, processes the audio signals, and sends them to the audio amplifier. It also handles user interface elements displayed on the screen (e.g., radio station information, track titles, navigation maps).
- Output to Display: The processor sends video signals to the display, which then renders the images and text on the screen.
If the display is blank, it indicates a failure in one or more of these steps. The problem could be as simple as a blown fuse or as complex as a faulty processor or display screen.
Common Issues and Maintenance Concerns
Here are some of the most frequent causes of a non-functional radio display in a Nissan Versa:
- Blown Fuse: This is the most common and easiest problem to check. Locate the fuse box (typically under the dashboard or in the engine compartment), identify the fuse for the radio or infotainment system (consult your owner's manual), and inspect it. A blown fuse will have a broken filament. Replace it with a fuse of the same amperage. Important: If the fuse blows again immediately, there's a short circuit that needs to be investigated.
- Loose Connections: Vibration and temperature changes can cause connectors to loosen over time. Check the connections at the back of the radio head unit and at the display screen (if accessible). Disconnect and reconnect them to ensure a good contact. Use dielectric grease on the connectors to prevent corrosion.
- Faulty Head Unit: The head unit itself could be defective. This could be due to a failed processor, a malfunctioning power supply, or a damaged display controller. Diagnosing this often requires specialized equipment or professional repair.
- Damaged Display Screen: The display screen could be physically damaged (e.g., cracked screen, broken backlight). Replacement is usually the only option.
- Software Glitches: In rare cases, a software glitch can cause the display to freeze or go blank. Try disconnecting the car battery for 15-20 minutes to reset the system. This can sometimes resolve minor software issues.
- CAN Bus Issues: A problem with the CAN bus network can prevent the radio from communicating with other ECUs, leading to a blank display. This is a more complex issue that typically requires a scan tool to diagnose. Look for DTCs (Diagnostic Trouble Codes) related to communication errors.
- BCM Problems: Although less common, a malfunctioning BCM could fail to send the power-on signal to the radio. This would usually be accompanied by other electrical issues in the vehicle.
Troubleshooting Steps
- Check the Fuse: As mentioned earlier, start with the fuse. This is the simplest and quickest check.
- Inspect Connections: Access the back of the radio. This usually involves removing trim panels and unscrewing the head unit. Disconnect and reconnect all the connectors. Be careful not to damage any wires or connectors.
- Battery Reset: Disconnect the negative terminal of the car battery for 15-20 minutes. This will reset the car's electronics and may resolve software glitches. Important: This will also reset your radio presets and other stored settings.
- Voltage Test: Use a multimeter to check for voltage at the radio's power connector. You should see 12V with the ignition on. If there's no voltage, the problem is likely in the wiring or the power supply circuit.
- Ground Test: Use a multimeter to check for a good ground connection at the radio's ground wire. There should be continuity between the ground wire and the car's chassis.
- Scan for Diagnostic Trouble Codes (DTCs): Use an OBD-II scanner to check for any DTCs related to the radio, CAN bus, or BCM. These codes can provide valuable clues about the cause of the problem.
- Display Backlight Test (If Possible): In a very dark environment, check if there's any faint glow emanating from the screen. If so, the backlight may be failing, but the LCD panel itself is still functioning.
Do's and Don'ts / Best Practices
Do:
- Consult your owner's manual for fuse locations and wiring diagrams.
- Use the correct size and type of fuse when replacing a blown fuse.
- Be gentle when disconnecting and reconnecting connectors.
- Use dielectric grease on connectors to prevent corrosion.
- Work in a well-lit area with plenty of space.
- Take pictures before disconnecting anything, so you have a reference for reassembly.
- Disconnect the negative battery terminal before working on any electrical components to prevent shorts.
Don't:
- Use a higher amperage fuse than specified. This could damage other components.
- Force connectors apart. If they're stuck, try wiggling them gently.
- Work on the electrical system while the ignition is on.
- Assume that the problem is simple if the fuse keeps blowing. A recurring blown fuse indicates a short circuit.
- Attempt to repair the head unit yourself if you don't have the necessary skills and equipment.
- Ignore warning signs, like burning smells or unusual noises, that might indicate a more serious problem.
When to Seek Professional Help
If you've tried the basic troubleshooting steps and the display is still blank, it's likely time to seek professional help. A qualified automotive technician will have the tools and expertise to diagnose and repair more complex problems, such as:
- CAN bus issues
- BCM malfunctions
- Faulty head unit components (processor, power supply, display controller)
- Software updates or reprogramming
Replacing the head unit might also be a viable option, especially if the cost of repair is high. Consider aftermarket options, but ensure compatibility with your Versa's features (e.g., backup camera, steering wheel controls).
Conclusion
Troubleshooting a non-functional radio display in your Nissan Versa requires a systematic approach. Start with the simple checks, like the fuse and connections. If those don't resolve the issue, consider resetting the system. If the problem persists, it's likely a more complex issue that requires professional diagnosis and repair. Our recommendation is to systematically approach the problem, starting with the easiest solutions first, and don't hesitate to consult a professional if you're not comfortable with electrical work. Addressing this issue promptly will restore your driving experience and ensure the functionality of essential vehicle systems.