Troubleshooting And Repair Of The S13 240sx Pop-up Headlight Mechanism
The Nissan 240SX (S13 chassis) is an icon, and its pop-up headlights are a defining feature of its aesthetic. However, like any electro-mechanical system subjected to years of use and environmental factors, the pop-up headlight mechanism is prone to failure. This guide provides an in-depth look at troubleshooting and repairing this often-overlooked system.
Understanding the S13 Headlight System
Before diving into repairs, it's crucial to understand the system's components and how they interact. The S13 headlight mechanism is comprised of the following key elements:
- Headlight Switch: Initiates the headlight operation, sending a signal to the system.
- Retractor Control Unit (RCU): The brain of the system, receiving signals from the headlight switch and controlling the motors. Located typically behind the glove box.
- Headlight Motors: Electric motors that provide the mechanical force to raise and lower the headlight buckets. Each headlight has its own dedicated motor.
- Linkage Arms & Gears: A series of interconnected arms and gears that translate the rotational motion of the motors into the linear movement of the headlight buckets.
- Limit Switches: Small switches that signal the RCU when the headlights have reached their fully raised or fully lowered positions. These are critical for preventing the motors from over-running.
- Wiring Harness: Connects all the components, providing power and signals throughout the system.
Common Problems and Troubleshooting
The following are common problems encountered with the S13 pop-up headlight system and corresponding troubleshooting steps:
1. Headlights Don't Raise or Lower
This is the most common issue. Here's a breakdown of potential causes and how to diagnose them:
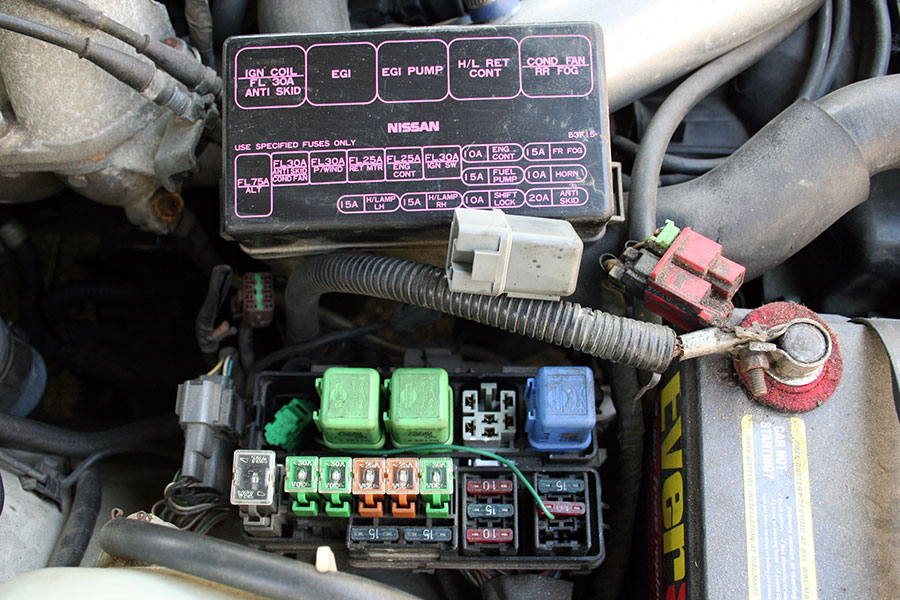
a) Check the Fuses: Begin with the basics. Locate the headlight fuse (usually in the driver's side kick panel fuse box) and inspect it for any breaks or damage. Replace the fuse with the correct amperage if blown.
b) Test the Headlight Switch: Use a multimeter to check the headlight switch's continuity. With the switch in the "on" position, there should be continuity between the appropriate terminals. If there's no continuity, the switch is likely faulty and needs replacement.
c) Inspect the Wiring: Examine the wiring harness for any signs of damage, such as frayed wires, corrosion, or loose connectors. Pay particular attention to the connectors near the headlight motors and the RCU. Use a multimeter to check for voltage at the headlight motor connectors when the headlight switch is activated. A lack of voltage indicates a wiring issue or a faulty switch/RCU.
d) Test the Headlight Motors:
- Direct Power Test: Disconnect the headlight motor connector. Apply 12V DC directly to the motor terminals. The motor should run, raising or lowering the headlight bucket depending on the polarity. If the motor doesn't run, it's likely faulty and needs replacement.
- Internal Resistance Test: Use a multimeter to measure the resistance across the motor terminals. A very high or very low resistance reading indicates a problem with the motor windings.
e) Check the RCU:
- Visual Inspection: Look for any signs of damage to the RCU itself, such as burnt components or corrosion.
- Signal Input Check: Use a multimeter to check that the RCU is receiving the correct signals from the headlight switch and limit switches. Refer to the factory service manual (FSM) for pinout diagrams and expected voltage values.
- Output Signal Check: Use a multimeter to check that the RCU is sending the correct voltage to the headlight motors. Again, refer to the FSM for expected values.
Diagnosing RCU failure can be tricky and often requires specialized equipment or experience. If you suspect a faulty RCU, consider swapping it with a known working unit for testing purposes.
f) Inspect the Linkage: Check the linkage arms and gears for any signs of binding, corrosion, or damage. Lubricate the linkage with a suitable grease to ensure smooth operation. If any parts are broken or severely worn, they will need to be replaced.
2. One Headlight Works, the Other Doesn't
This indicates a problem specific to the non-functional headlight. Focus your troubleshooting on the following:
a) Headlight Motor: As above, test the motor with direct power and check its internal resistance.
b) Wiring and Connections: Inspect the wiring and connectors specifically for the non-working headlight, looking for breaks, corrosion, or loose connections.
c) Linkage: Examine the linkage and gears for the non-working headlight for any signs of binding, corrosion, or damage.
d) Limit Switch: A faulty limit switch on one side could prevent the entire system from functioning correctly. While less common, test the limit switch for continuity in both the open and closed positions. The easiest way to test this would be to swap the suspected bad switch with the good switch.
3. Headlights Raise/Lower Slowly or Jerkily
This suggests a mechanical issue or a weak motor.
a) Linkage Binding: The most likely cause. Thoroughly clean and lubricate the linkage arms and gears with a suitable grease. Check for any signs of damage or wear.
b) Weak Motor: Over time, the headlight motors can become weak and struggle to move the headlight buckets. Test the motor with direct power. If it runs slowly or hesitates, it likely needs replacement.
c) Low Voltage: Check the voltage at the headlight motor connector when the headlights are being raised or lowered. Low voltage can cause the motors to run slowly. Investigate wiring issues or a weak battery.
4. Headlights Don't Stop Raising/Lowering
This usually indicates a problem with the limit switches.
a) Faulty Limit Switches: The limit switches signal the RCU when the headlights have reached their fully raised or fully lowered positions. If a limit switch fails, the RCU will not receive the signal and will continue to power the motor. Test the limit switches for continuity in both the open and closed positions.
b) Wiring to Limit Switches: Check the wiring to the limit switches for any breaks or shorts.
Repair Procedures
Once you've diagnosed the problem, you can begin the repair process. Here are some common repair procedures:
Replacing a Headlight Motor
- Disconnect the battery.
- Remove the headlight assembly from the car (refer to the FSM for specific instructions).
- Disconnect the wiring connector from the motor.
- Remove the motor from the headlight assembly. This usually involves removing a few bolts or screws.
- Install the new motor in the reverse order.
- Reconnect the wiring connector.
- Reinstall the headlight assembly.
- Reconnect the battery.
- Test the headlights to ensure they are functioning correctly.
Replacing a Limit Switch
- Disconnect the battery.
- Locate the faulty limit switch.
- Disconnect the wiring connector from the switch.
- Remove the switch from its mounting bracket.
- Install the new switch in the reverse order.
- Reconnect the wiring connector.
- Reconnect the battery.
- Test the headlights to ensure they are functioning correctly.
Cleaning and Lubricating the Linkage
- Disconnect the battery.
- Remove the headlight assembly from the car (refer to the FSM for specific instructions).
- Disassemble the linkage components as needed to clean them thoroughly.
- Use a solvent to remove any old grease, dirt, or corrosion.
- Apply a suitable grease to all moving parts of the linkage.
- Reassemble the linkage.
- Reinstall the headlight assembly.
- Reconnect the battery.
- Test the headlights to ensure they are functioning correctly.
Prevention
Preventive maintenance is key to keeping your S13's pop-up headlights in good working order. Here are some tips:
- Regularly inspect the linkage for binding or corrosion. Clean and lubricate as needed.
- Check the wiring and connectors for damage. Repair any issues promptly.
- Avoid forcing the headlights if they are stuck. This can damage the motors or linkage.
- Consider using a headlight protector to shield the headlights from the elements.
By following these troubleshooting and repair procedures, you can keep your S13 240SX's pop-up headlights working smoothly for years to come. Remember to consult the factory service manual (FSM) for detailed diagrams and specifications specific to your vehicle.