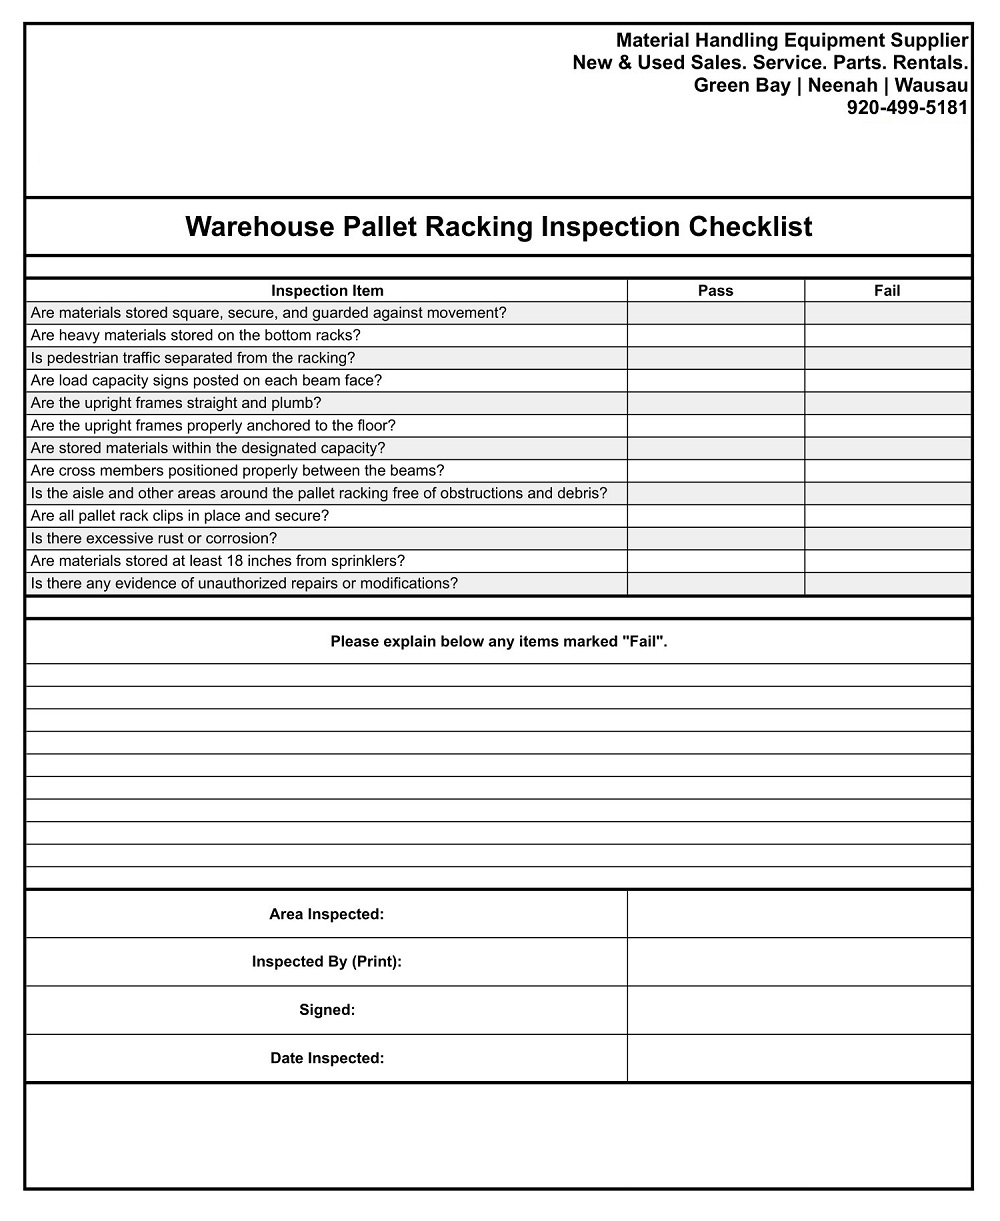
Warehouse Racking Inspection Checklist Pdf
Hey there! Running a warehouse is tough, and keeping it running smoothly and safely is even tougher. One of the biggest challenges is making sure your racking system is in tip-top shape. We've all seen those YouTube videos of racking collapses – nobody wants that! So, let's talk about how to avoid disaster with a comprehensive warehouse racking inspection. The key is a good checklist – and we'll cover how to use one effectively.
The Importance of Regular Racking Inspections
Think of your racking system like the skeleton of your warehouse. If it's weak or damaged, the whole thing is at risk. Regular inspections are crucial for a few key reasons:
- Safety: This is priority number one. Damaged racking can collapse, causing serious injury or even death to your employees.
- Preventing Downtime: Catching minor damage early prevents it from escalating into a major problem that shuts down operations. Downtime = lost revenue.
- Compliance: Regulations like OSHA require regular racking inspections. Failing to comply can lead to hefty fines.
- Cost Savings: Repairing minor damage is much cheaper than replacing a whole racking system after a collapse. Think pennies now versus dollars later.
- Protecting Inventory: A racking collapse doesn't just endanger people; it also damages or destroys your inventory.
Common Racking Problems to Look For
Before we dive into the checklist itself, let's highlight some of the most common problems you'll encounter. Knowing what to look for will make your inspections much more effective.
Upright Damage
Uprights are the vertical posts that support the entire racking system. They're often the first point of impact from forklifts and other equipment. Look for:
- Dents and Bends: Even small dents can weaken the upright's structural integrity. Pay close attention to the base of the upright, where impacts are most common.
- Scratches and Gouges: These can indicate past impacts and potential weaknesses.
- Corrosion: Rust weakens the steel and can eventually lead to collapse.
- Damage to Footplates: Footplates anchor the upright to the floor. Make sure they are securely bolted and show no signs of damage.
Beam Damage
Beams are the horizontal supports that hold the pallets. They are susceptible to damage from overloading and improper loading techniques. Watch out for:
- Bent or Twisted Beams: Overloading is a major culprit here. Even a slight bend can significantly reduce the beam's load capacity.
- Damaged Connectors: The connectors that attach the beams to the uprights are crucial. Make sure they are securely fastened and show no signs of damage or wear.
- Missing or Damaged Beam Locks: These locks prevent the beams from accidentally dislodging from the uprights. Ensure they are all in place and functioning correctly.
Bracing Issues
Bracing provides lateral stability to the racking system. Common problems include:
- Loose or Missing Braces: These reduce the racking's resistance to swaying and collapse.
- Damaged or Bent Braces: Any damage to the bracing compromises its ability to provide support.
Other Problems
- Overloaded Pallets: Ensure that pallets are not exceeding the racking system's weight capacity. Clearly label load limits.
- Improperly Loaded Pallets: Make sure pallets are loaded evenly and that the weight is distributed properly.
- Damaged Pallets: Broken or damaged pallets can destabilize the load and increase the risk of collapse.
- Floor Damage: Uneven or damaged floors can put stress on the racking system.
Using a Warehouse Racking Inspection Checklist PDF
Okay, now for the meat of the matter: the checklist! A good checklist PDF (you can find many free templates online, or we can help you customize one) will systematically guide you through the inspection process. Here's how to use it effectively:
- Download and Print the Checklist: Don't try to wing it. A checklist ensures you don't miss anything.
- Gather Your Tools: You'll need a few basic tools:
- Tape Measure: To measure distances and check for deviations from the original specifications.
- Level: To check for plumbness and levelness of uprights and beams.
- Flashlight: To inspect hard-to-reach areas.
- Camera: To document any damage or issues you find.
- Torque Wrench: To check the tightness of bolts (ensure you know the proper torque specifications).
- Pen and Clipboard: To record your findings.
- Divide the Warehouse into Zones: This makes the inspection process more manageable.
- Systematically Inspect Each Racking Section: Start at one end of a zone and work your way through each section, following the checklist item by item.
- Document Everything: Record all damage, even minor issues. Take photos and note the location of the damage. Be specific!
- Categorize the Severity of Damage: Use a simple rating system (e.g., low, medium, high) to prioritize repairs.
- Sign and Date the Checklist: This provides a record of the inspection and who performed it.
Example Checklist Items:
* Uprights: Dents, bends, corrosion, footplate damage, plumbness. * Beams: Bent or twisted beams, damaged connectors, missing beam locks. * Bracing: Loose or missing braces, damaged or bent braces. * Load Capacity: Pallets exceeding load limits, properly loaded pallets. * Floor: Uneven or damaged floor.
What to Do When You Find Damage
Finding damage is inevitable. The key is to address it promptly and effectively.
- Immediately Unload Damaged Racking: Remove all pallets from the affected area to prevent further damage or collapse.
- Mark the Area: Use warning tape or cones to cordon off the damaged area and prevent access.
- Report the Damage: Inform your supervisor or safety manager immediately.
- Assess the Damage: Determine the severity of the damage and the best course of action. Minor damage might be repairable in-house, while more serious damage will require professional repair or replacement.
- Implement Temporary Shoring (If Necessary): If the damage is severe, use temporary shoring to stabilize the racking until repairs can be made.
- Contact a Racking Repair Specialist: For significant damage, it's best to consult with a qualified racking repair specialist. They can assess the damage, recommend the appropriate repairs, and ensure that the repairs are done correctly.
- Document the Repair: Keep a record of all repairs, including the date, the type of repair, and who performed the repair.
Racking Repair Costs: A Rough Guide
Repair costs can vary widely depending on the type and severity of the damage, as well as your location. Here's a very rough estimate:
- Minor Dents and Bends: $50 - $200 per upright or beam (often can be straightened or reinforced).
- Replacing a Damaged Upright: $200 - $500+ (depending on size and type).
- Replacing a Damaged Beam: $100 - $300+ (depending on size and type).
- Replacing Bracing: $50 - $150 per brace.
- Complete Racking Section Replacement: $1000 - $5000+ (this is the worst-case scenario).
Important Note: These are just estimates. Always get a quote from a qualified racking repair specialist before proceeding with any repairs.
Preventing Racking Damage in the First Place
Prevention is always better (and cheaper!) than cure. Here are some tips to minimize racking damage:
- Forklift Operator Training: Properly trained forklift operators are less likely to cause damage. Regular refresher courses are a good idea.
- Clear Aisle Markings: Clearly marked aisles help forklift operators navigate safely.
- Protective Barriers: Install protective barriers around racking uprights, especially in high-traffic areas. Guard rails, end-of-aisle protectors, and post protectors can significantly reduce impact damage.
- Regular Forklift Maintenance: Properly maintained forklifts are less likely to malfunction and cause accidents.
- Load Capacity Awareness: Ensure that all employees are aware of the racking system's load capacity and that pallets are not overloaded.
- Regular Housekeeping: Keep aisles clear of debris to prevent accidents.
When to Call a Professional
While some minor repairs can be handled in-house, it's essential to know when to call a professional racking repair specialist. Here are some signs it's time to bring in the experts:
- Significant Structural Damage: Any damage that compromises the racking's structural integrity should be addressed by a professional.
- Multiple Instances of Damage: If you're finding a lot of damage, it might indicate a larger problem that needs professional attention.
- You're Unsure How to Proceed: If you're not sure how to assess the damage or what repairs are needed, it's best to consult with a professional.
- Insurance Requirements: Your insurance company may require professional inspection and repair for certain types of damage.
In conclusion, regular warehouse racking inspections are a must for safety, compliance, and cost savings. Using a checklist PDF, systematically inspecting your racking, and addressing damage promptly will help keep your warehouse running smoothly and safely for years to come. Don't wait for a collapse to happen – take proactive steps today! Good luck, and stay safe!