Window Regulator Mechanism Repair And Replacement Procedure
So, your window's acting up, huh? Dropping like a stone, refusing to go up, or making some truly awful grinding noises? Chances are, the window regulator is the culprit. Don't panic! While it can seem daunting, replacing or even repairing a window regulator is a perfectly manageable DIY project for the experienced car owner. This guide will walk you through the process, step-by-step, focusing on both repair and replacement.
Understanding the Window Regulator
Before we dive in, let's understand what a window regulator actually *is*. Essentially, it's the mechanism that allows you to raise and lower your car window. There are primarily two types:
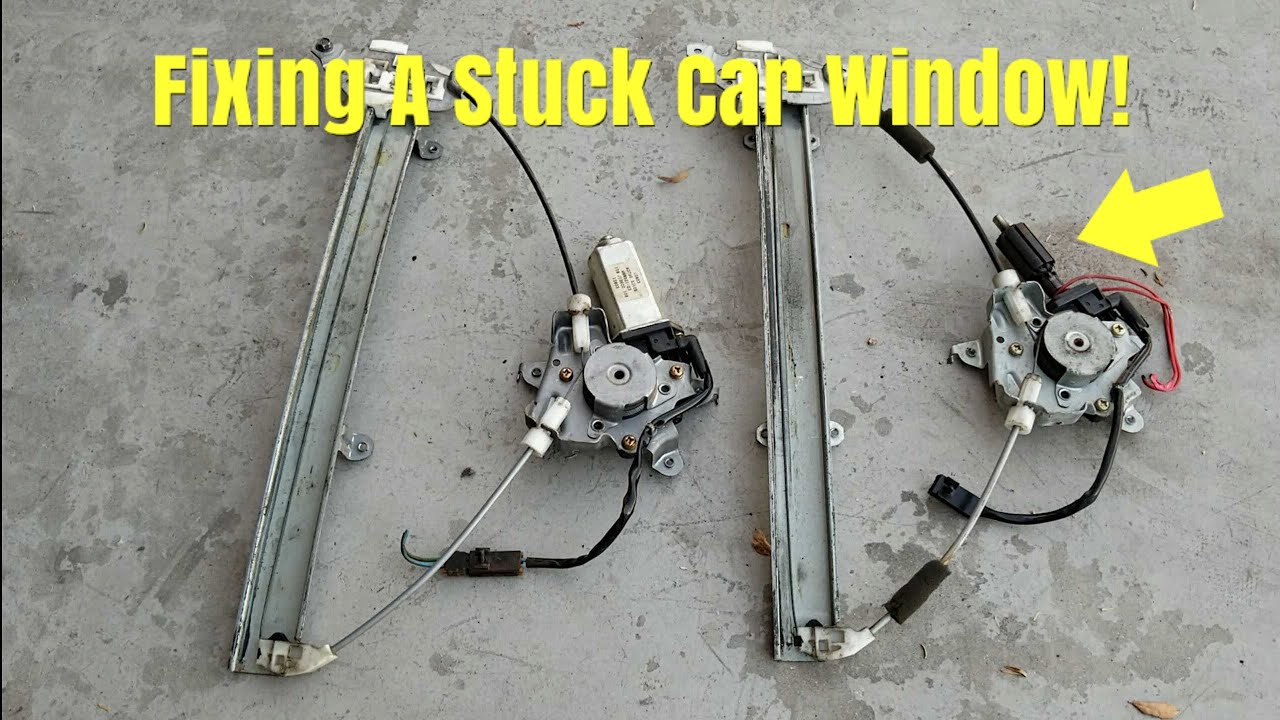
- Cable Regulators: These use a motor to spool a cable that's connected to the window glass. They're generally more common in newer vehicles due to their compact size and cost-effectiveness. Unfortunately, they're often less durable and prone to cable breakage or the plastic spools shattering.
- Scissor Regulators: These use a pivoting scissor-like arm powered by a motor. They're usually found in older vehicles and tend to be more robust but can be more difficult to access and repair.
Both types connect to the window glass through clips or mounting points. These clips can also fail, causing the window to detach from the regulator.
Preliminary Diagnosis
Before you start tearing things apart, confirm that the window regulator is actually the problem. Here's a quick diagnostic checklist:
- No Power to the Window: Check the window motor fuse first. It's the simplest and most common fix. Consult your owner's manual for the fuse location. If the fuse is blown, replace it and see if the window works. If it blows again immediately, you likely have a short circuit, potentially in the window motor itself.
- Motor Runs, But Window Doesn't Move: This points directly to a regulator issue. The cable might be broken (cable regulators) or the scissor arms might be bent or disconnected (scissor regulators). Listen carefully – can you hear the motor whirring without the window moving?
- Window Moves Jerkily or with Excessive Noise: This could be a sign of worn components, a binding regulator, or a partially broken cable. Lubrication might help temporarily, but replacement is usually the long-term solution.
- Window Falls Down on Its Own: This usually indicates a broken regulator or a failed window clip.
Tools and Materials You'll Need
Gather your supplies before you begin. This will save you time and frustration. Here's a general list:
- New Window Regulator (if replacing): Make sure you get the correct regulator for your vehicle's make, model, and year.
- Basic Hand Tools: Screwdrivers (Phillips and flathead), socket set, wrench set.
- Trim Removal Tools: These plastic tools help remove interior panels without damaging them.
- Pliers: Needle-nose pliers can be helpful for manipulating clips and cables.
- Multimeter: Useful for testing the window motor and wiring.
- Gloves: Protect your hands.
- Safety Glasses: Protect your eyes from debris.
- Penetrating Oil: For loosening stubborn bolts.
- Window Cleaner: To clean the glass after installation.
- Work Light: Good lighting is essential.
- Possibly a Helper: Having an extra set of hands can be very useful, especially when handling the window glass.
Step-by-Step Repair/Replacement Procedure
Okay, let's get to work! Always disconnect the negative terminal of your battery before starting any electrical work on your car.
1. Remove the Door Panel
This is usually the most challenging part. Each vehicle is different, so consult your vehicle's repair manual (or search online forums specific to your car model) for detailed instructions. However, the general process is as follows:
- Remove any screws holding the door panel in place. These are often located behind plastic covers or in the door handle recess.
- Use trim removal tools to gently pry the door panel away from the door frame. Start at the bottom and work your way around the edges. You'll likely encounter plastic clips that pop loose.
- Once all the clips are released, lift the door panel upwards to disengage it from the window frame.
- Disconnect any electrical connectors attached to the door panel (window switch, door lock, etc.).
2. Access the Window Regulator
With the door panel removed, you'll usually find a plastic moisture barrier covering the access holes to the window regulator. Carefully peel this back, trying to keep it intact so you can reapply it later. Some vehicles have access panels that can be removed.
3. Disconnect the Window from the Regulator
This is a crucial step. You need to secure the window before disconnecting it, or it will fall into the door cavity. Here's how:
- Manually position the window: Carefully raise or lower the window (if possible) until you can see the mounting points where the window glass is attached to the regulator. If the window is stuck, you might need to gently pry it upwards while someone else operates the window switch (if it's still functioning) or carefully manually manipulate the regulator arm.
- Secure the window: Use duct tape to temporarily secure the window in place. Tape it to the door frame to prevent it from falling. Some people use suction cups specifically designed for holding glass.
- Disconnect the window: Depending on the design, the window may be attached with bolts, clips, or rivets. Remove the fasteners carefully. Be prepared for the window to shift slightly once it's disconnected.
4. Remove the Old Regulator
Now comes the regulator removal. This can be fiddly, depending on the vehicle.
- Disconnect the window motor: Unplug the electrical connector to the window motor.
- Remove the regulator mounting bolts: These bolts hold the regulator assembly to the inner door panel. They can sometimes be difficult to access, so use the appropriate socket extension.
- Maneuver the regulator out: This is often the trickiest part. You'll need to carefully twist and turn the regulator assembly to get it out of the door cavity. Pay attention to the cable routing (if it's a cable regulator) so you can replicate it when installing the new regulator.
5. Inspect and Attempt Repair (Optional)
Before installing a new regulator, take a close look at the old one. Can you identify the problem? Sometimes, it's a simple fix, such as:
- Broken Cable: Replacement cable kits are available for some regulators. This can be a more cost-effective solution than replacing the entire regulator. Be warned – cable replacement can be tricky and requires patience and dexterity.
- Loose or Bent Scissor Arms: You might be able to carefully bend or re-secure the scissor arms. However, if they're severely damaged, replacement is recommended.
- Worn Bushings or Pivots: Lubricating these points can sometimes temporarily alleviate noise or binding, but it's usually a sign of impending failure.
- Failed Motor: You can test the motor with a multimeter. If it's dead, replacing the motor alone might be an option, but often it's more practical to replace the entire regulator assembly.
Important: If you attempt a repair, ensure that all components are properly secured and lubricated before reinstalling the regulator. Safety is paramount!
6. Install the New Regulator
Installation is essentially the reverse of removal.
- Maneuver the new regulator into place: Carefully guide the new regulator into the door cavity, replicating the original cable routing (if applicable).
- Secure the regulator: Install the mounting bolts and tighten them securely.
- Connect the window motor: Plug in the electrical connector to the window motor.
7. Reconnect the Window to the Regulator
This is where you remove the tape holding the window up.
- Align the window: Carefully align the window glass with the mounting points on the regulator.
- Secure the window: Reinstall the bolts, clips, or rivets that hold the window to the regulator. Tighten them securely.
8. Test the Window
Before reassembling everything, test the window to make sure it's working correctly. Reconnect the battery and operate the window switch. Make sure the window goes up and down smoothly and without excessive noise. Check for any binding or uneven movement.
9. Reinstall the Door Panel
- Reconnect any electrical connectors to the door panel (window switch, door lock, etc.).
- Align the door panel with the door frame and press it into place, ensuring that all the plastic clips engage securely.
- Reinstall any screws that hold the door panel in place.
- Reapply the moisture barrier (if applicable).
10. Final Checks
Congratulations! You've (hopefully) successfully replaced or repaired your window regulator. Do a final check to make sure everything is working properly. Clean the window glass and enjoy your functional window!
Troubleshooting Tips
- Window Still Doesn't Work: Double-check all electrical connections and fuses. Use a multimeter to test for voltage at the window motor connector.
- Window Moves Jerkily: Check for binding in the regulator mechanism or misaligned window tracks. Lubricate the tracks and regulator components.
- Excessive Noise: This usually indicates worn components. Replacement is often the best solution.
Important Safety Note: Always exercise caution when working with automotive electrical systems and mechanical components. If you are not comfortable performing this repair, it's best to consult a qualified mechanic.