How Can You Tell A Bad Radiator
Spotting a Radiator on Its Last Legs: A DIY Mechanic's Guide
The radiator, often overlooked, is a critical component of your vehicle's cooling system. Recognizing a failing radiator early can save you from costly repairs and potential engine damage. This article provides an in-depth guide on how to identify the telltale signs of a bad radiator, empowering you to troubleshoot cooling issues and potentially perform the replacement yourself.
Purpose
Understanding the symptoms of a failing radiator is crucial for several reasons:
- Preventing Overheating: A malfunctioning radiator can lead to engine overheating, causing severe damage like warped cylinder heads or a blown head gasket – repairs that can easily cost thousands.
- Early Diagnosis: Identifying issues early allows for timely repairs, potentially extending the life of your engine and cooling system components.
- Informed Decision-Making: Knowing what to look for enables you to make informed decisions about repairs, whether you're doing them yourself or taking your vehicle to a professional mechanic.
- Saving Money: Catching a minor leak before it escalates into a major cooling system failure can save you significant money on repairs.
Key Specs and Main Parts
Before diving into troubleshooting, it's helpful to understand the key components and specifications of a radiator.
- Core: The main heat exchange area, composed of tubes and fins. This is where the coolant's heat is transferred to the air. Radiator cores are typically made of aluminum or copper.
- Tanks: Located on either side of the core, the tanks hold the coolant as it enters and exits the radiator. They are usually made of plastic or aluminum.
- Inlet and Outlet Necks: These connections allow coolant to flow into and out of the radiator, connecting to the engine's cooling system via hoses.
- Pressure Cap: Maintains pressure within the cooling system, raising the boiling point of the coolant and preventing cavitation (formation of vapor bubbles) which can erode metal components. The pressure cap also features a release valve to prevent over-pressurization.
- Drain Cock (Petcock): Located at the bottom of the radiator, this allows you to drain the coolant for maintenance or repairs.
- Radiator Fan: Pulls air through the radiator core, enhancing cooling, especially at low speeds or when the vehicle is stationary. This can be mechanically driven (belt-driven) or electrically driven.
- Transmission Oil Cooler (if equipped): Some radiators integrate a small cooler to cool automatic transmission fluid.
Key specifications include:
- Core Size: Length, width, and thickness of the core, which determines its cooling capacity.
- Tube Design: Refers to the arrangement and shape of the tubes within the core (e.g., flat tube, round tube).
- Fin Density: Number of fins per inch, which affects heat transfer efficiency.
- Coolant Capacity: The volume of coolant the radiator can hold.
- Pressure Rating: The maximum pressure the radiator cap is designed to hold.
Symptoms of a Failing Radiator
Here's a breakdown of the common signs indicating radiator trouble:
- Overheating: This is the most obvious sign. If your temperature gauge consistently reads high, especially under load or in hot weather, your radiator may not be doing its job.
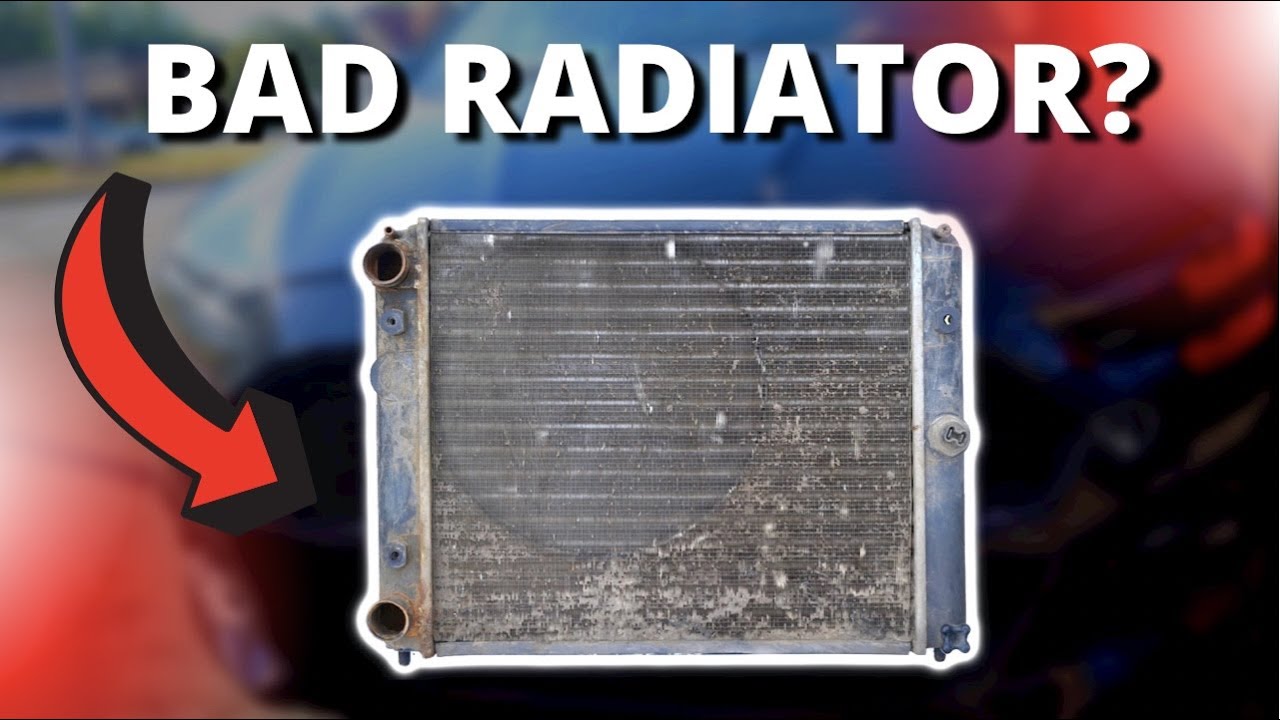
- Coolant Leaks: Look for puddles of coolant (usually green, orange, or pink) under your vehicle, particularly near the front. Inspect the radiator itself, hoses, and connections for signs of leaks. Pay close attention to seams where the core meets the tanks.
- Low Coolant Level: Constantly needing to top off your coolant indicates a leak in the system, which could be emanating from the radiator.
- Rusty or Corroded Radiator: Visible rust or corrosion on the radiator core or tanks indicates internal degradation.
- Sludge in Coolant: Brown or oily sludge in the coolant reservoir or radiator indicates that oil is mixing with the coolant, often due to a failing head gasket but can also be caused by internal radiator corrosion.
- Bowing or Swollen Tanks: If the plastic tanks are bulging or appear deformed, it's a sign of excessive pressure buildup, often due to a clogged radiator core.
- Damaged Fins: Bent or missing fins reduce the radiator's surface area, decreasing its cooling efficiency. While a few bent fins are normal, significant damage can impair performance.
How It Works
The radiator functions as a heat exchanger. Hot coolant from the engine circulates through the radiator core. As air flows through the fins, it absorbs heat from the coolant, cooling it down. The cooled coolant then returns to the engine to absorb more heat, completing the cycle. The thermostat controls the flow of coolant to the radiator, ensuring the engine reaches its optimal operating temperature quickly and maintains it.
Efficient heat transfer is paramount. A clogged or corroded radiator impedes this process, leading to overheating. The radiator cap maintains pressure within the system, raising the boiling point of the coolant. A faulty cap can lead to coolant loss and overheating.
Real-World Use – Basic Troubleshooting Tips
Here are some steps you can take to diagnose radiator problems:
- Visual Inspection: Carefully examine the radiator for leaks, rust, corrosion, and damage. Check the hoses and connections for cracks or looseness.
- Pressure Test: Use a radiator pressure tester to check for leaks in the system. This tool connects to the radiator cap opening and pressurizes the system. A drop in pressure indicates a leak.
- Coolant Inspection: Check the coolant's color and consistency. Look for signs of rust, sludge, or oil.
- Temperature Check: Use an infrared thermometer to check the temperature of the radiator core in different areas. Uneven temperatures can indicate a clogged core.
- Fan Operation: Ensure the radiator fan is functioning correctly. If it's an electric fan, check the fuse and relay. If it's a belt-driven fan, check the belt tension and condition.
- Block Test: If you suspect a head gasket leak (oil in coolant or excessive pressure), perform a block test using a combustion leak detector. This test checks for the presence of combustion gases in the coolant.
Safety – Highlight Risky Components
Working on the cooling system can be dangerous. Here are some key safety precautions:
- Never remove the radiator cap when the engine is hot. The system is under pressure, and hot coolant can spray out, causing severe burns. Allow the engine to cool completely before opening the cap.
- Wear safety glasses and gloves when working with coolant. Coolant can irritate the skin and eyes.
- Dispose of used coolant properly. Coolant is toxic and should not be poured down drains or onto the ground. Recycle it at a local auto parts store or recycling center.
- Be careful when working near the radiator fan. Ensure the engine is off and the ignition key is removed to prevent accidental activation of the fan.
- When pressure testing, do not exceed the radiator cap's pressure rating. Over-pressurizing the system can cause components to fail.
Is it a Radiator Problem, or Something Else?
It's important to differentiate radiator problems from other potential cooling system issues. Here are some common culprits that can mimic radiator failure:
- Faulty Thermostat: A stuck-closed thermostat prevents coolant from circulating to the radiator, leading to overheating.
- Water Pump Failure: A failing water pump can't circulate coolant effectively.
- Clogged Heater Core: While not directly related to engine cooling, a clogged heater core can restrict coolant flow and contribute to overheating.
- Air in the System: Air pockets in the cooling system can impede coolant flow and reduce cooling efficiency.
- Faulty Radiator Cap: A damaged radiator cap won't maintain proper pressure, lowering the coolant's boiling point.
Thoroughly investigate all potential causes before concluding that the radiator is the sole problem.
Radiator Diagram and Further Assistance
For a detailed diagram of a typical radiator assembly, illustrating the locations of key components and their interconnections, we have a downloadable file available. This visual aid can be invaluable for understanding the radiator's construction and for identifying specific areas of concern during troubleshooting.
Remember, while this guide provides valuable information, it's not a substitute for professional diagnosis and repair. If you're unsure about any aspect of radiator troubleshooting or replacement, consult a qualified mechanic.