How Clean Leather Seats In Car
Leather car seats, while luxurious and durable, require regular cleaning and conditioning to maintain their appearance and prevent cracking and premature wear. This guide provides an in-depth look at the proper techniques and products for cleaning your leather seats, ensuring they stay supple and looking their best for years to come.
Purpose of Cleaning Leather Seats
The primary purpose of cleaning leather seats is to remove dirt, grime, oils (both from your skin and from the environment), and other contaminants that can damage the leather's surface. These contaminants can penetrate the pores of the leather, leading to cracking, discoloration, and a generally unpleasant appearance. Regular cleaning also prepares the leather for conditioning, which replenishes the natural oils lost during the cleaning process and keeps the leather soft and pliable.
Key Specs and Main Parts (of a Leather Seat) & Their Vulnerabilities
Before diving into the cleaning process, it's important to understand the anatomy of your leather seats and the specific vulnerabilities of each component:
- Top Grain Leather: This is the highest quality leather, taken from the outermost layer of the hide. It’s relatively smooth and durable, but still susceptible to damage from harsh chemicals and UV exposure.
- Corrected Grain Leather: This type of leather has had imperfections sanded away and then embossed with an artificial grain. While more uniform in appearance than top grain, it's often less breathable and may crack more easily if not properly maintained.
- Bonded Leather: This is the lowest grade of leather, made from scraps and fibers bonded together. It's less durable and more prone to cracking and peeling than other types of leather. Its construction means it is more sensitive to moisture.
- Stitching: The threads used to sew the leather panels together are often made of synthetic materials that can degrade over time due to UV exposure and abrasion. Improper cleaning can weaken these threads. Be careful not to scrub too aggressively around stitching.
- Perforations (if present): Many modern leather seats have small perforations to allow for breathability. These perforations can easily trap dirt and cleaning solution, making them difficult to clean properly.
- Bolsters: The raised areas on the sides of the seats provide support but are also subject to the most wear and tear. These areas require extra attention during cleaning.
Choosing the Right Cleaning Products: Understanding the Chemistry
Selecting the right cleaning products is crucial for preserving the integrity of your leather seats. Avoid using harsh chemicals or all-purpose cleaners, as these can strip the leather of its natural oils and cause damage. Look for products specifically formulated for leather cleaning. Here's a breakdown of common cleaner types:
- pH-Balanced Leather Cleaners: These are the safest and most effective option for routine cleaning. They are formulated to gently remove dirt and grime without damaging the leather's surface. Look for cleaners with a pH between 5.5 and 7.
- Leather Soaps: While effective for cleaning, some leather soaps can be too harsh for modern automotive leather. Use them sparingly and always follow up with a leather conditioner. Saddle soap, for example, might be too harsh.
- Upholstery Cleaners: Unless specifically labeled as safe for leather, avoid using upholstery cleaners. They may contain harsh chemicals that can damage the leather.
Important Note on Spot Testing: Before applying any cleaning product to your entire seat, always test it on an inconspicuous area, such as under the seat or on a side panel. This will ensure that the product doesn't cause discoloration or damage.
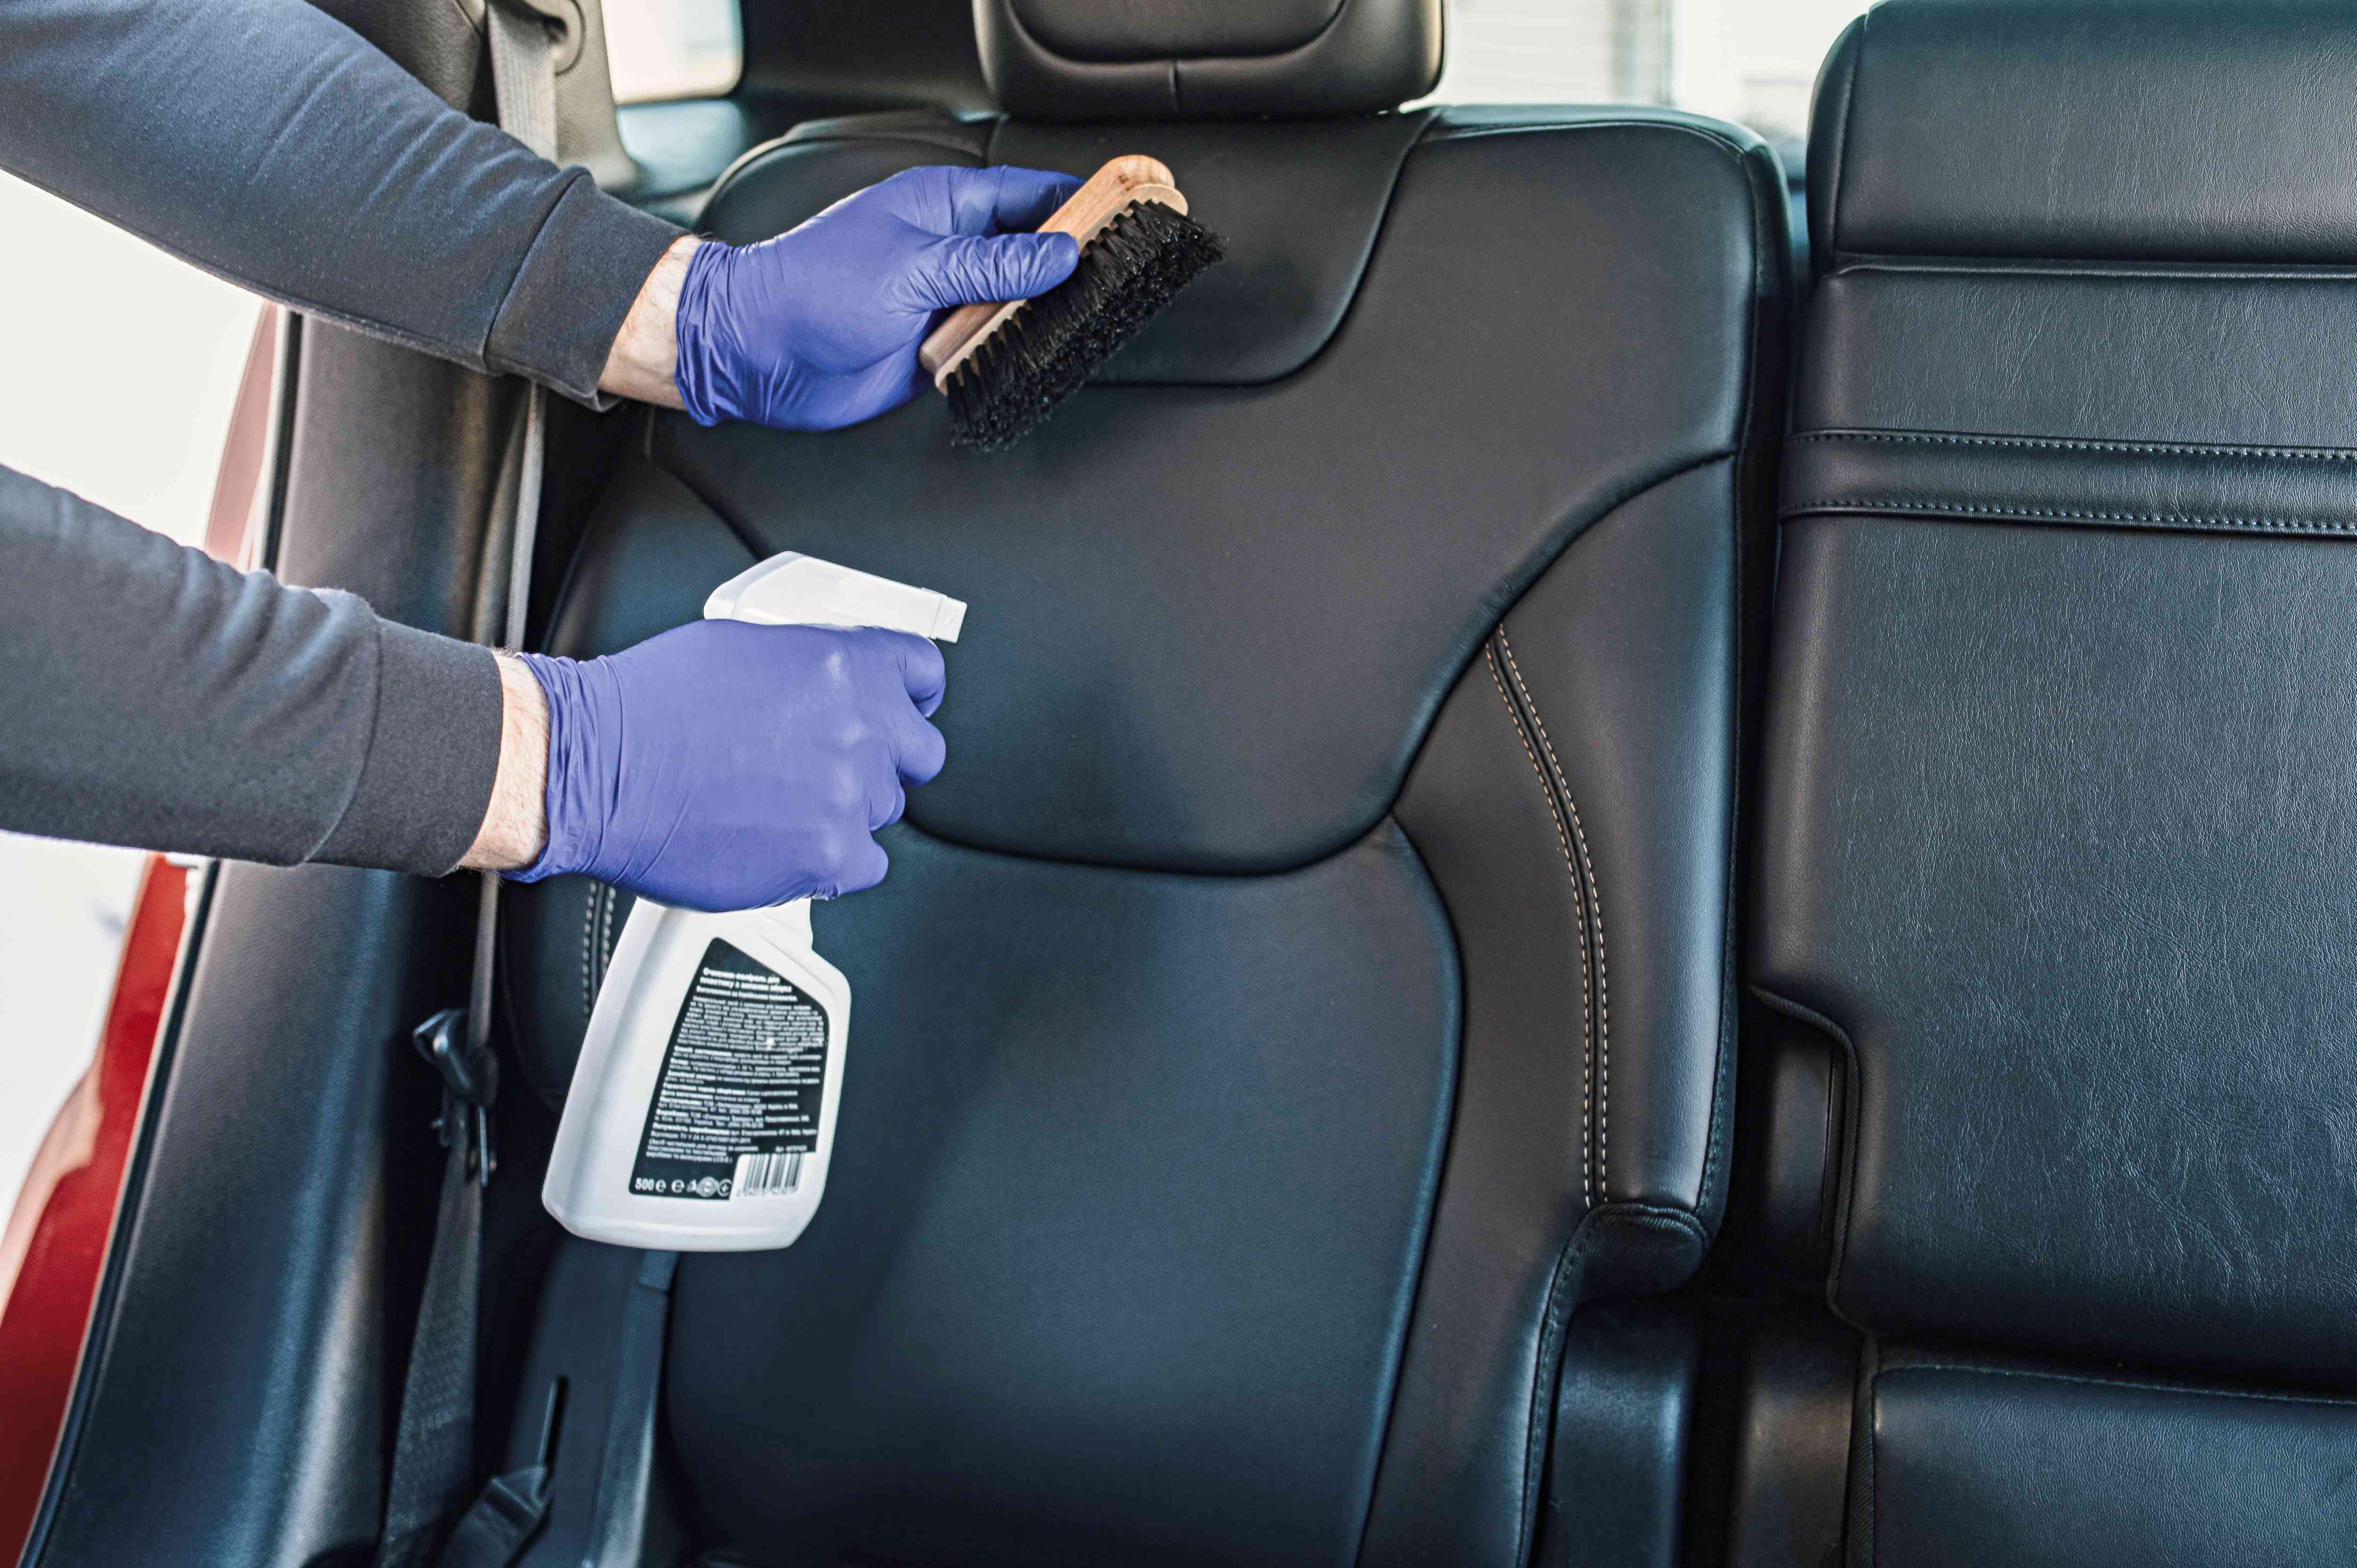
The Cleaning Process: A Step-by-Step Guide
Here's a detailed guide to cleaning your leather seats:
- Vacuum the Seats: Use a vacuum cleaner with a soft brush attachment to remove loose dirt, dust, and debris from the seats. Pay close attention to seams, crevices, and perforations.
- Prepare Your Cleaning Solution: Dilute your chosen leather cleaner according to the manufacturer's instructions.
- Apply the Cleaner: Dampen a microfiber cloth with the cleaning solution. Avoid saturating the cloth, as excessive moisture can damage the leather.
- Gently Wipe the Seats: Gently wipe the seats in a circular motion, working in small sections. Avoid applying excessive pressure. Focus on areas with visible dirt or stains.
- Clean Perforations (if applicable): If your seats have perforations, use a soft-bristled brush (such as a toothbrush) to gently scrub the perforations and remove any trapped dirt. Again, avoid oversaturation.
- Wipe Away Excess Cleaner: Use a clean, dry microfiber cloth to wipe away any excess cleaner from the seats.
- Apply Leather Conditioner: After cleaning, apply a leather conditioner to replenish the leather's natural oils and keep it soft and supple. Follow the manufacturer's instructions for application.
- Allow to Dry: Allow the seats to air dry completely before using the vehicle. Avoid direct sunlight, which can dry out the leather.
Real-World Use: Troubleshooting Tips
Here are some common issues you might encounter and how to address them:
- Stubborn Stains: For stubborn stains, try using a specialized leather stain remover. Follow the manufacturer's instructions carefully and always test the product on an inconspicuous area first.
- Cracking Leather: If your leather seats are already showing signs of cracking, use a leather crack filler to repair the cracks. Follow the manufacturer's instructions carefully and apply multiple thin layers for best results.
- Dye Transfer: Dye from clothing (especially jeans) can transfer to leather seats. Clean the seats regularly and consider using a leather protectant to prevent dye transfer.
Safety Considerations
While cleaning leather seats is generally a safe process, there are a few precautions to keep in mind:
- Avoid Harsh Chemicals: As mentioned earlier, avoid using harsh chemicals or all-purpose cleaners, as these can damage the leather.
- Work in a Well-Ventilated Area: Some leather cleaning and conditioning products may contain fumes. Work in a well-ventilated area to avoid inhaling these fumes.
- Wear Gloves: Consider wearing gloves to protect your hands from cleaning solutions.
- Avoid Direct Sunlight: Do not clean or condition your leather seats in direct sunlight, as this can cause the products to dry too quickly and leave streaks.
- Electrical Components: Be mindful of any electrical components located under the seats, such as wiring for heated seats. Avoid getting these components wet.
Diagrams and Resources
Detailed diagrams illustrating the different types of leather, grain structures, and common damage patterns can be invaluable in understanding the best approach for cleaning and repairing your specific seats. We have a comprehensive diagram available for download that includes:
- Identification of different leather types (top grain, corrected grain, bonded).
- Close-up illustrations of leather grain patterns and textures.
- Visual guide to common leather damage (cracking, fading, stains).
- Recommended cleaning and conditioning techniques for each leather type.
We have this diagram available, and you can download it for a more detailed visual reference.
Conclusion
By following these guidelines and using the right products, you can keep your leather car seats looking their best for years to come. Regular cleaning and conditioning are essential for preserving the leather's natural beauty and preventing damage. Remember to always test new products on an inconspicuous area first, and don't be afraid to consult a professional detailer if you're unsure about any aspect of the cleaning process. Consistent, gentle care is the key to long-lasting leather seat health.