How Do I Check My Alternator
Alright, let's talk alternators. You're probably here because your battery light's on, your car's acting funny, or you just want to be proactive. Either way, understanding how to check your alternator is a valuable skill for any DIY mechanic. This isn't about just slapping a new part in; it's about understanding the system and diagnosing the root cause.
Purpose – Why This Matters
Being able to diagnose alternator issues yourself saves you money and time. Instead of blindly replacing the alternator (which might not even be the problem!), you can pinpoint the fault. This knowledge is critical for:
- Repairs: Accurately identifying the problem before buying parts.
- Preventative Maintenance: Catching problems early to avoid breakdowns.
- Modifications: Understanding the electrical demands of aftermarket accessories like high-powered audio systems, lighting, or auxiliary equipment to ensure the alternator can handle the load.
- Learning: Deepening your understanding of automotive electrical systems.
- Avoiding Towing Fees: Potentially fixing the problem yourself roadside.
Key Specs and Main Parts
Before we dive into testing, let's cover the key components and specifications you'll encounter:
Main Parts:
- Rotor (Armature): The rotating part inside the alternator. It contains a coil of wire that generates a magnetic field when energized by the field current.
- Stator: The stationary part that surrounds the rotor. It's composed of multiple coils of wire where the AC voltage is induced.
- Rectifier (Diode Bridge): Converts the AC voltage generated by the stator into DC voltage. This is a critical step, as your car's electrical system runs on DC.
- Voltage Regulator: Maintains a consistent output voltage (typically around 13.5-14.5 volts) regardless of engine RPM or load. This prevents overcharging the battery and damaging sensitive electronics.
- Brushes: Conduct electricity to the rotor's slip rings, energizing the rotor and creating the magnetic field.
- Slip Rings: Metal rings on the rotor that the brushes make contact with.
- Pulley: Driven by the engine's serpentine belt, which in turn drives the rotor.
Key Specs:
- Voltage Output: Typically 13.5-14.5 volts when the engine is running. This is the most important parameter to check.
- Amperage Output: This varies depending on the vehicle and alternator model. It indicates how much current the alternator can supply at a given RPM. Check your vehicle's repair manual for this specification. A higher amperage alternator is often desirable for vehicles with significant electrical upgrades.
- RPM Range: The range of engine RPMs over which the alternator can effectively generate electricity.
How It Works
The alternator is essentially an AC generator. Here's a simplified breakdown:
- The engine turns the serpentine belt, which turns the alternator pulley and rotor.
- The voltage regulator controls the amount of current sent to the rotor coil through the brushes and slip rings. This current creates a magnetic field.
- As the rotor spins, its magnetic field induces an alternating current (AC) voltage in the stator windings.
- The rectifier (diode bridge) converts this AC voltage to direct current (DC) voltage.
- The voltage regulator monitors the output voltage and adjusts the rotor current to maintain a stable output (around 14 volts). This prevents overcharging the battery and ensures consistent power to the vehicle's electrical system.
- The DC voltage is then supplied to the battery and the vehicle's electrical system.
Real-World Use – Basic Troubleshooting Tips
Here's how to perform some basic alternator checks. Always disconnect the negative battery terminal before working on the electrical system.
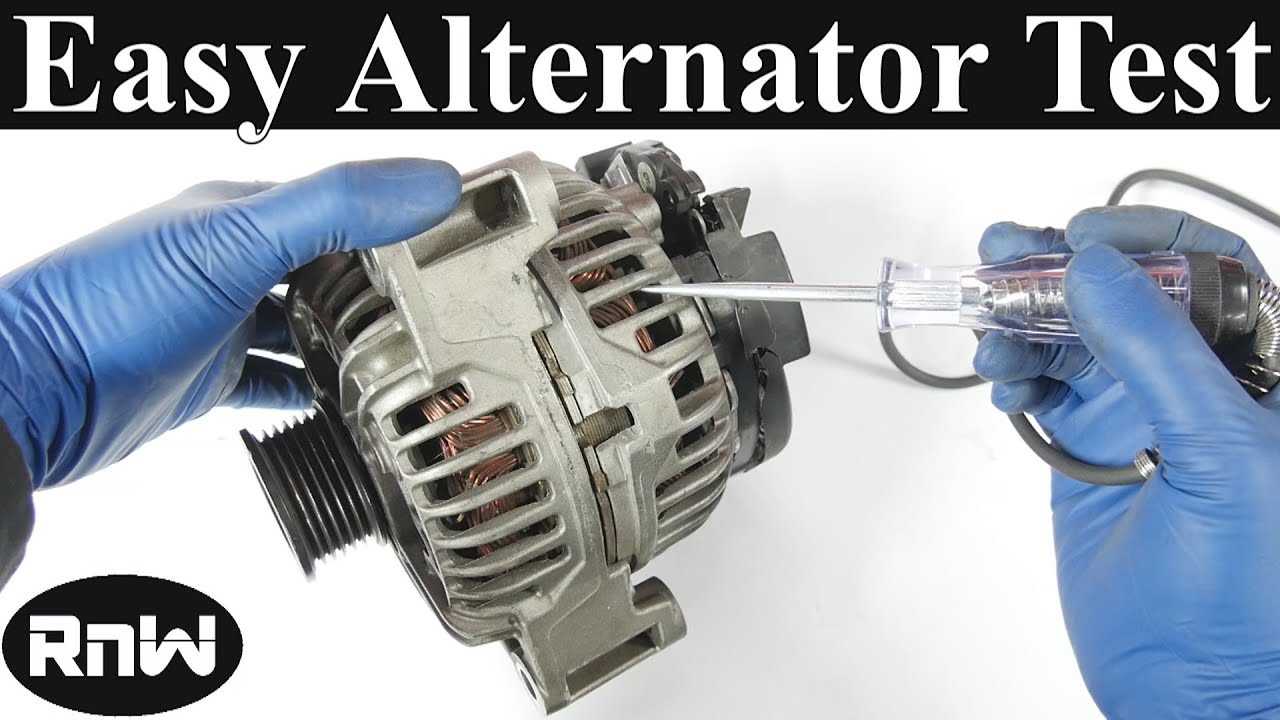
- Visual Inspection: Check the alternator's physical condition. Look for damaged wires, loose connections, a worn or cracked belt, or a seized pulley. Make sure the belt has proper tension.
- Battery Voltage Check (Engine Off): Use a multimeter to check the battery voltage with the engine off. A fully charged battery should read around 12.6 volts. A reading below 12 volts indicates a discharged battery, which could be due to a failing alternator, but it also could be other problems.
- Voltage Check (Engine Running): Start the engine and check the voltage at the battery terminals again. It should be between 13.5 and 14.5 volts. If it's significantly lower (e.g., below 13 volts), the alternator may not be charging properly. If it is significantly higher (e.g., above 15 volts), the voltage regulator may be faulty.
- Load Test: With the engine running, turn on several electrical accessories, such as headlights, the radio, and the air conditioner. Observe the voltage reading. If the voltage drops significantly (e.g., below 13 volts), the alternator may be struggling to meet the electrical demands.
- Diode Ripple Test (AC Voltage Test): Set your multimeter to measure AC voltage. With the engine running, connect the multimeter leads to the battery terminals. A healthy alternator should show very little AC voltage (ideally less than 0.5 volts AC). A high AC voltage reading indicates a faulty diode bridge, allowing AC voltage to leak into the DC system. This can damage sensitive electronic components.
Troubleshooting Scenarios:
- Low Voltage (Engine Running): Possible causes include a bad alternator, loose or corroded connections, a slipping belt, or a problem with the voltage regulator.
- High Voltage (Engine Running): Likely a faulty voltage regulator. This is a serious issue that can damage your battery and other electrical components.
- Battery Light On: Indicates a problem with the charging system. Could be the alternator, the voltage regulator, the wiring, or the battery itself.
- Whining Noise: Could indicate a worn-out alternator bearing or a loose pulley.
Safety – Highlight Risky Components
Working on electrical systems can be dangerous. Here are some safety precautions:
- Disconnect the negative battery terminal before working on any electrical components. This prevents accidental short circuits.
- Be careful around the serpentine belt. It can cause serious injury if it snags clothing or body parts. Make sure the engine is off before working near the belt.
- Wear safety glasses to protect your eyes from debris.
- Work in a well-ventilated area, especially when working with batteries, as they can produce explosive gases.
- Be aware of hot surfaces. The alternator can get hot after the engine has been running.
High-voltage components can be extremely dangerous. If you're not comfortable working on electrical systems, it's best to consult a qualified mechanic.
Remember, diagnosing alternator issues requires a systematic approach. Don't just assume it's the alternator – perform the necessary tests to pinpoint the root cause of the problem.
We have a detailed wiring diagram of a typical automotive charging system available for download. It provides a clear visual representation of all the components and their connections, which can be extremely helpful for troubleshooting. Knowing how all the components are linked, is critical to proper diagnosis.