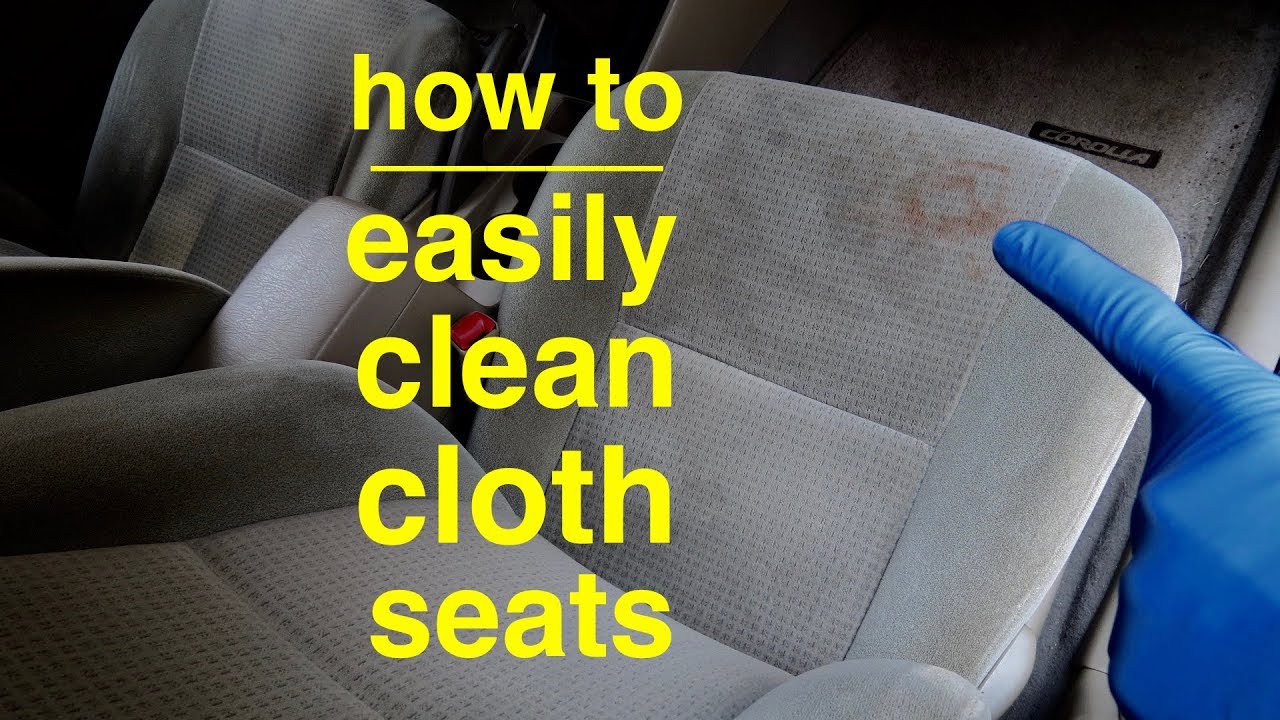
How Do I Clean Cloth Car Seats
Keeping Your Ride Clean: A Deep Dive into Cleaning Cloth Car Seats
So, you've got cloth car seats. Comfortable, yes, but also prone to absorbing spills, dirt, and everything else life throws at them. Unlike leather, cloth requires a slightly different approach to cleaning. This article isn't just about wiping things down; it's about understanding the science of stain removal and the best techniques to keep your interior looking its best. Think of this as an upgrade to your usual weekend detailing routine. We'll cover everything from identifying the stain to choosing the right cleaning agents and techniques.
Purpose: Why Bother with a Detailed Cleaning Guide?
Beyond the obvious aesthetic benefits, a thorough cleaning of your cloth car seats serves several important purposes:
- Hygiene: Car seats are a breeding ground for bacteria, mold, and other nasties. Regular cleaning helps to eliminate these and improve the overall air quality inside your vehicle.
- Preservation: Embedded dirt and grime can actually damage the fabric fibers over time, leading to premature wear and tear. Cleaning helps to prevent this.
- Resale Value: A clean interior significantly boosts the resale value of your car. Buyers are immediately impressed by a well-maintained interior.
- Personal Satisfaction: Let's be honest, driving a clean car just feels better!
Key Specs and Main Parts (of the Cleaning Process)
Think of the cleaning process as having these key components:
- Preparation: This includes vacuuming, pre-treating stains, and gathering your supplies. This is arguably the most important step!
- Cleaning Solution: The type of cleaner you use will depend on the type of fabric and the type of stain. We'll cover different options below.
- Application: How you apply the cleaning solution is crucial. Too much or too little can cause problems.
- Agitation: Gently working the cleaner into the fabric helps to loosen dirt and grime.
- Extraction: Removing the dirty cleaner and excess moisture is essential to prevent mildew and water stains. This is where a good wet/dry vacuum or extractor really shines.
- Drying: Thoroughly drying the seats is vital to prevent mold and mildew growth.
Decoding the Cleaning Arsenal: Cleaning Agents Explained
Choosing the right cleaner is paramount. Here's a breakdown of some common options and their uses:
- All-Purpose Cleaners: These are generally safe for most fabrics but may not be effective on tough stains. Always test in an inconspicuous area first! Look for pH-balanced formulas.
- Upholstery Cleaners: Specifically designed for upholstery, these cleaners often contain surfactants that help to lift dirt and grime. Surfactants are compounds that lower the surface tension between two liquids, a liquid and a gas, or a liquid and a solid. This allows the cleaning solution to penetrate the fabric more effectively.
- Enzyme Cleaners: Ideal for organic stains like food, blood, and pet messes. Enzymes break down the organic matter, making it easier to remove.
- Stain Removers: Targeted solutions for specific types of stains, such as grease, ink, or coffee. Follow the manufacturer's instructions carefully.
- DIY Solutions: A mixture of warm water and mild dish soap can be effective for light cleaning. Avoid using harsh chemicals like bleach, which can damage the fabric. A vinegar and water solution (1:1 ratio) can help neutralize odors.
The Cleaning Process: A Step-by-Step Guide
Now, let's get down to the nitty-gritty. Follow these steps for a thorough cleaning:
- Vacuum Thoroughly: Use a vacuum cleaner with a crevice tool and upholstery brush to remove loose dirt, dust, and debris. Pay attention to seams, crevices, and hard-to-reach areas.
- Pre-Treat Stains: Identify any stains and apply a suitable stain remover. Allow the stain remover to dwell for the recommended time (usually 5-10 minutes). Always test the stain remover in an inconspicuous area first to ensure it doesn't damage the fabric.
- Apply Cleaning Solution: Use a spray bottle or a sponge to apply the cleaning solution evenly to the seat fabric. Avoid over-saturating the fabric, as this can lead to mildew growth.
- Agitate the Fabric: Use a soft-bristled brush or a microfiber cloth to gently agitate the fabric. Work in circular motions to loosen dirt and grime. Be careful not to scrub too hard, as this can damage the fabric fibers.
- Extract the Dirty Solution: Use a wet/dry vacuum or an upholstery extractor to remove the dirty cleaning solution. Overlap your strokes to ensure thorough extraction. A dedicated upholstery extractor is ideal, as it sprays the cleaning solution and then immediately extracts it.
- Rinse (Optional): If you're using a cleaning solution that leaves a residue, you may want to rinse the fabric with clean water. Use a spray bottle to lightly mist the fabric with water, then extract the water with a wet/dry vacuum.
- Dry the Seats: Allow the seats to air dry completely. Open the car windows and doors to promote air circulation. You can also use a fan or a dehumidifier to speed up the drying process. Avoid direct sunlight, as this can fade the fabric. Consider using a car cover to further protect the interior during drying.
Real-World Use: Basic Troubleshooting Tips
Even with the best techniques, you might encounter some challenges. Here are some troubleshooting tips:
- Stubborn Stains: For particularly stubborn stains, you may need to repeat the cleaning process. Try using a more concentrated cleaning solution or a specialized stain remover. Consider professional detailing for very difficult stains.
- Water Stains: Water stains can occur if the fabric isn't dried properly. To remove water stains, lightly mist the affected area with water and then extract the water with a wet/dry vacuum.
- Odor Removal: Baking soda is a natural odor absorber. Sprinkle baking soda on the seats and let it sit for several hours (or overnight) before vacuuming it up.
- Color Bleeding: If the fabric is bleeding color, stop cleaning immediately. Consult a professional detailer.
Safety: Handling Cleaning Chemicals Responsibly
Cleaning chemicals can be hazardous if not handled properly. Here are some safety precautions:
- Ventilation: Always work in a well-ventilated area to avoid inhaling harmful fumes. Open the car windows and doors, or work outdoors.
- Personal Protective Equipment (PPE): Wear gloves and eye protection to protect your skin and eyes from irritants.
- Read the Labels: Carefully read and follow the manufacturer's instructions on all cleaning products.
- Storage: Store cleaning chemicals in a safe place, out of reach of children and pets.
- Mixing Chemicals: Never mix different cleaning chemicals together, as this can create dangerous fumes. Especially avoid mixing bleach with ammonia.
The chemicals used in interior cleaning can be aggressive. Be particularly careful when using spot removers, as some contain volatile organic compounds (VOCs) that can be harmful to your health. Always check the Material Safety Data Sheet (MSDS) for specific safety information about each product.
Advanced Techniques: Steam Cleaning and Hot Water Extraction
For a truly deep clean, consider using a steam cleaner or a hot water extractor. These machines use heat and pressure to loosen dirt and grime, and they can be particularly effective at removing stubborn stains and odors. However, they can also damage the fabric if used improperly. Always test in an inconspicuous area first and follow the manufacturer's instructions carefully.
Final Thoughts: Maintaining a Clean Interior
Regular cleaning is the key to maintaining a clean and healthy interior. Vacuum your car seats regularly, wipe up spills immediately, and consider using seat covers to protect the fabric from wear and tear. With a little effort, you can keep your cloth car seats looking their best for years to come. And remember, a clean car reflects a well-cared-for vehicle, inside and out.
We have a detailed diagram summarizing these steps and including product recommendations that you can download for easy reference. This diagram provides a visual guide to the cleaning process, helping you remember each step and select the right products for your needs.