How Do I Clean My Car Seats
Keeping your car's interior clean is crucial, not just for aesthetics, but also for preserving the vehicle's value and providing a healthy environment. Car seats, in particular, tend to accumulate dirt, stains, and grime. This guide offers a comprehensive approach to cleaning various types of car seats, providing you with the knowledge and techniques to tackle this task like a pro. Think of this as preventative maintenance, much like regularly changing your oil - a little effort now saves you bigger headaches (and expenses) later.
Understanding Car Seat Materials and Cleaning Approaches
Before diving into the cleaning process, it’s critical to identify the type of material your car seats are made of. Different materials require different cleaning agents and methods. Using the wrong approach can damage the seat's surface. The most common types include:
- Fabric (Cloth): Typically made of polyester or nylon blends, these are generally the most common and the easiest to clean.
- Leather: Requires special conditioners and gentle cleaning agents to avoid drying and cracking. Full grain, top grain, and corrected grain leather all have slightly different needs.
- Vinyl (Synthetic Leather or Pleather): More durable than real leather but still needs careful cleaning to prevent damage and discoloration.
- Suede/Alcantara: A luxurious, delicate material requiring specialized cleaning products and techniques.
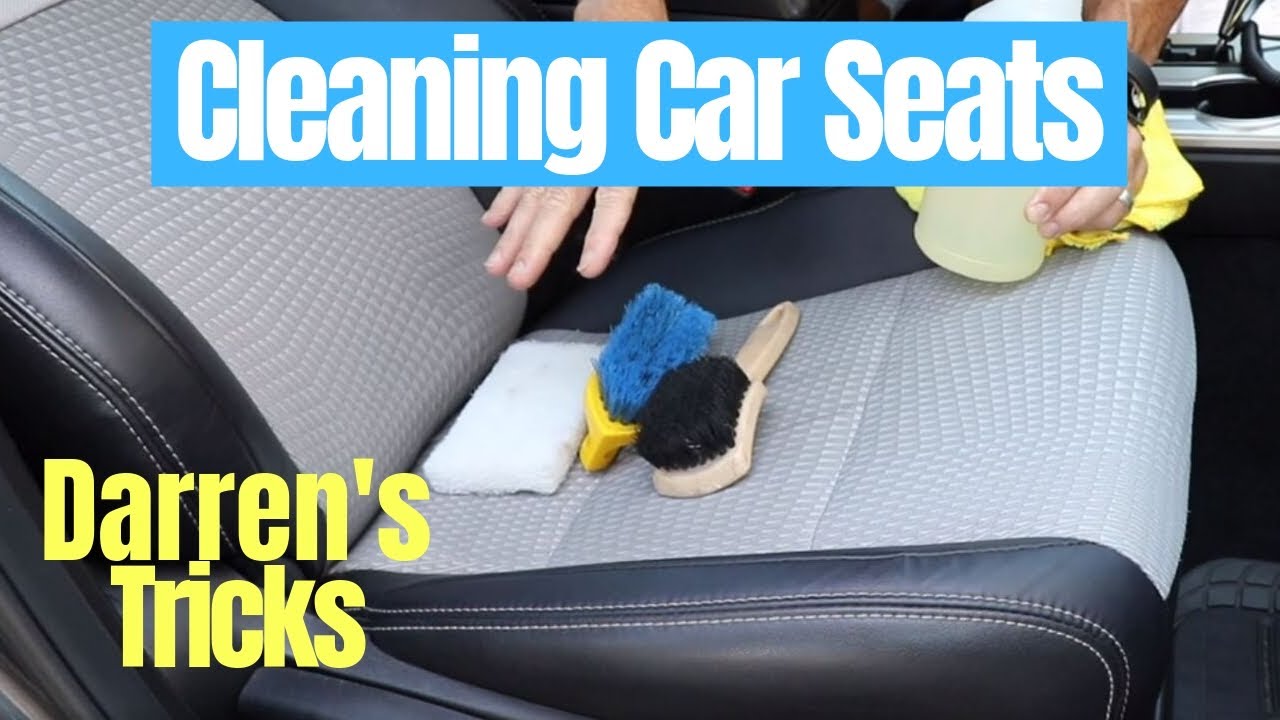
Tools and Materials Required
Having the right tools and materials is half the battle. Here’s a list of essentials for cleaning car seats:
- Vacuum Cleaner: A powerful vacuum with various attachments (crevice tool, upholstery brush) is essential for removing loose debris. Consider a wet/dry vac for stubborn stains.
- Microfiber Cloths: Soft and absorbent, these are ideal for wiping surfaces and applying cleaning solutions. Always use clean cloths to avoid spreading dirt.
- Soft-Bristled Brush: For scrubbing fabric or vinyl seats. Avoid using stiff brushes on leather.
- Spray Bottles: For dispensing cleaning solutions.
- Car Seat Cleaning Solutions: Choose products specifically designed for the material of your seats. For fabric, a mild upholstery cleaner or a diluted solution of dish soap and water can work. For leather, use a leather cleaner and conditioner. Avoid harsh chemicals like bleach or ammonia.
- Leather Conditioner (for Leather Seats): To keep leather supple and prevent cracking.
- Detailing Brushes: Small brushes for cleaning tight spaces and crevices.
- Baking Soda (Optional): For absorbing odors.
- Steam Cleaner (Optional): A powerful tool for deep cleaning fabric seats. Use with caution and follow the manufacturer's instructions.
- Protective Gear: Gloves and eye protection.
Step-by-Step Cleaning Process
Follow these steps for effective car seat cleaning:
- Vacuum Thoroughly: Begin by vacuuming the entire seat, paying close attention to seams, crevices, and under the seat. Use the crevice tool to reach tight spots and the upholstery brush to loosen embedded dirt.
- Spot Clean Stains: Address any stains before cleaning the entire seat. Apply a small amount of appropriate cleaner to a microfiber cloth and gently blot the stain. Avoid rubbing, which can spread the stain. Allow the cleaner to dwell for a few minutes according to the product instructions. Blot again with a clean, damp cloth to remove the cleaner.
- Clean the Entire Seat: For fabric seats, spray the cleaning solution onto the seat surface (avoid over-saturating the fabric). Use a soft-bristled brush to gently scrub the seat in a circular motion. For leather seats, apply the leather cleaner to a microfiber cloth and gently wipe the seat surface.
- Wipe Away Excess Cleaner: Use a clean, damp microfiber cloth to wipe away any remaining cleaning solution. Rinse the cloth frequently in clean water.
- Dry the Seats: Allow the seats to air dry completely. Open the car doors and windows to improve ventilation. You can use a fan to speed up the drying process. For leather seats, apply leather conditioner after the seats are dry to restore moisture and prevent cracking.
- Deodorize (Optional): If desired, sprinkle baking soda on the seats and let it sit for several hours (or overnight) to absorb odors. Vacuum the baking soda thoroughly.
Specific Material Cleaning Techniques
Fabric Seats:
Fabric seats are generally the most forgiving. Use a mild upholstery cleaner or a diluted solution of dish soap and water. A steam cleaner can be very effective for deep cleaning fabric seats, but use caution to avoid over-saturating the fabric. Always test the cleaner on an inconspicuous area first to ensure it doesn't cause discoloration.
Leather Seats:
Leather requires special care. Use a dedicated leather cleaner and conditioner. Avoid harsh chemicals or abrasive cleaners, which can damage the leather's finish. Apply the cleaner sparingly and gently wipe the surface. After cleaning, apply a leather conditioner to keep the leather supple and prevent cracking. Regularly conditioning your leather is key to longevity.
Vinyl Seats:
Vinyl is more durable than leather but can still be damaged by harsh chemicals. Use a vinyl cleaner or a diluted solution of dish soap and water. Avoid using abrasive cleaners, which can scratch the surface. Vinyl protectants can also be used to protect the vinyl from UV damage.
Suede/Alcantara Seats:
Suede and Alcantara are delicate materials that require specialized cleaning products. Use a suede/Alcantara cleaner and a soft-bristled brush. Avoid using water or harsh chemicals, which can damage the material. Always test the cleaner on an inconspicuous area first.
Troubleshooting Common Issues
- Stubborn Stains: For tough stains like grease or ink, try using a specialized stain remover designed for car upholstery. Follow the product instructions carefully.
- Lingering Odors: Baking soda is a great odor absorber. Sprinkle it on the seats and let it sit for several hours before vacuuming. You can also use an odor eliminator spray designed for car interiors.
- Water Spots: Water spots can occur if the seats are not dried properly. Try wiping the seats with a clean, damp cloth and then drying them thoroughly.
- Discoloration: If you notice discoloration after cleaning, it could be due to the cleaning product or the material itself. Stop using the product immediately and consult a professional detailer.
Safety Precautions
- Ventilation: Always work in a well-ventilated area to avoid inhaling fumes from cleaning products.
- Protective Gear: Wear gloves and eye protection to protect your skin and eyes from chemicals.
- Electrical Safety: When using a wet/dry vacuum or steam cleaner, be careful to avoid electrical hazards. Do not use these tools near water or in damp conditions.
- Product Instructions: Always read and follow the manufacturer's instructions for all cleaning products.
- Flammable Materials: Ensure no flammable materials are present near the cleaning area.
Preventative Maintenance
Regular cleaning and preventative maintenance can help keep your car seats in good condition for longer. Consider the following tips:
- Vacuum regularly: Vacuum your car seats at least once a month to remove loose dirt and debris.
- Protect your seats: Use seat covers to protect your seats from spills, stains, and wear and tear.
- Address spills immediately: Clean up spills as soon as they happen to prevent staining.
- Park in the shade: Parking in the shade can help protect your seats from UV damage.
- Condition leather seats regularly: Condition leather seats every 3-6 months to keep them supple and prevent cracking.
By following these steps and taking the necessary precautions, you can keep your car seats clean and looking their best. We have a detailed diagram summarizing these cleaning steps available for download. This diagram provides a visual guide to the cleaning process, making it even easier to follow along. Feel free to download it and keep it handy for your next car cleaning session.