How Do I Defrost My Windshield
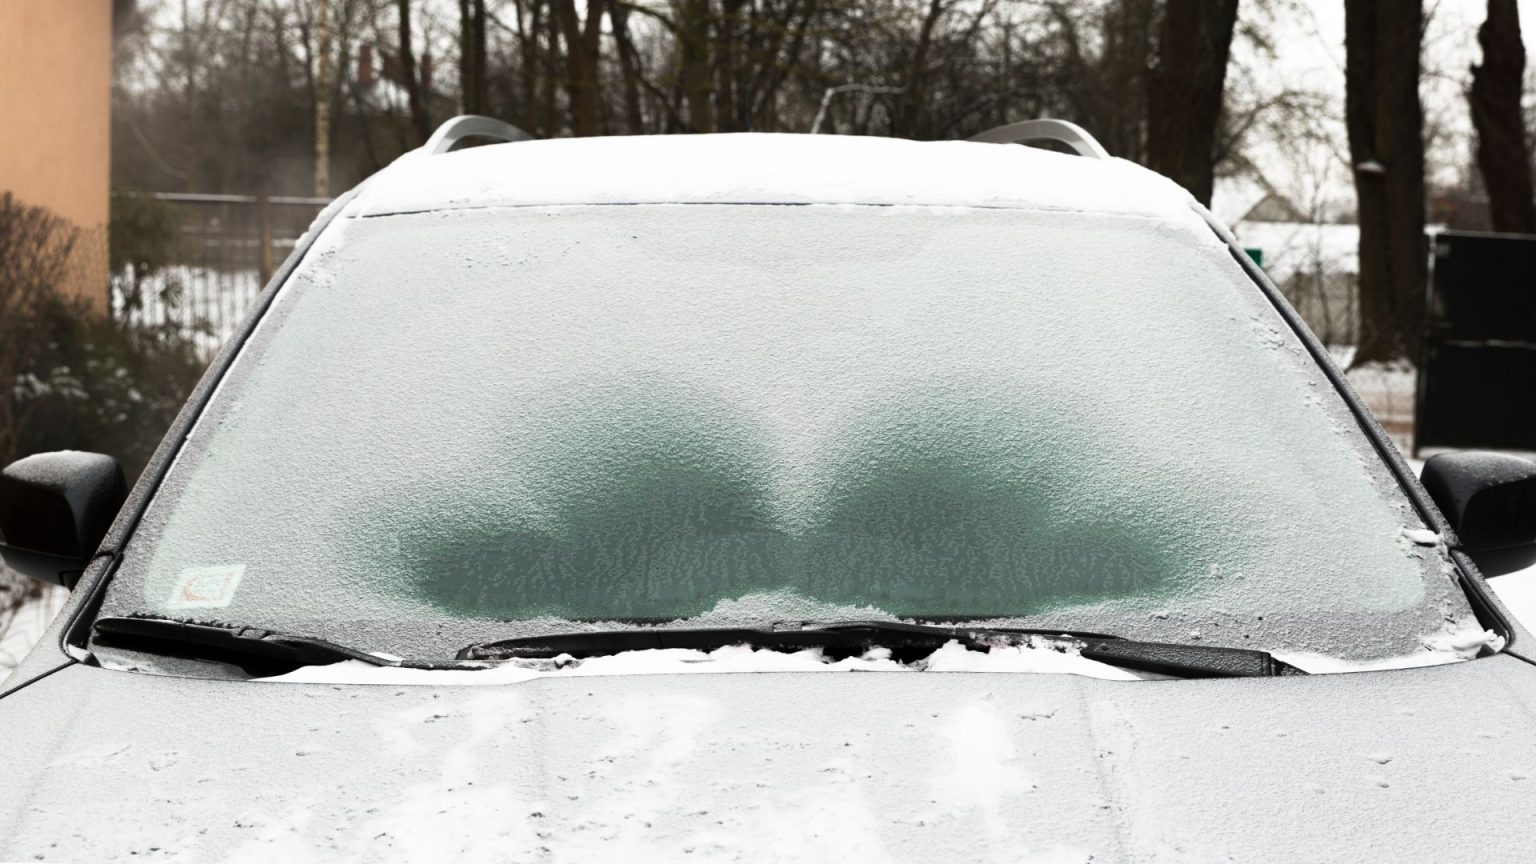
Okay, let's talk about something we all dread: a frosted-over windshield. It's not just an inconvenience; it's a safety hazard. We're going to dive deep into the methods and mechanisms behind defrosting your windshield, from the traditional to the technologically advanced.
Understanding Windshield Defrosting: A Technical Breakdown
The purpose of understanding this isn't just about getting to work on time. Knowing how your defrost system functions allows you to diagnose problems yourself, potentially saving you money on repairs, and even improving its efficiency. Plus, with a little knowledge, you might even consider aftermarket upgrades to enhance its performance, like adding a more powerful blower motor or heated wipers.
Key Specs and Main Parts: The Anatomy of Defrost
The defrost system isn't a single component, but a collection of interconnected parts working in harmony. Here’s a breakdown of the key players:
- Heater Core: This is essentially a small radiator located inside your dashboard. Hot engine coolant is circulated through it, and the heat it radiates is what ultimately warms the air that defrosts your windshield.
- Blower Motor: The workhorse of the system. It’s an electric motor connected to a fan that forces air through the heater core. Different speed settings on your defrost control regulate the voltage supplied to the blower motor, controlling its speed.
- HVAC Control Panel (Heating, Ventilation, and Air Conditioning): This panel allows you to select the defrost setting, adjust fan speed, and control the temperature of the air. It uses cables, vacuum lines (in older vehicles), or electronic signals to actuate various doors and valves within the HVAC system.
- Blend Door: This door controls the ratio of air that passes through the heater core versus bypassing it. This allows you to adjust the temperature of the air flowing into the cabin. When you select defrost, the blend door directs the majority of the air through the heater core.
- Mode Door: This door directs the airflow to the appropriate vents. When defrost is selected, the mode door positions itself to direct air towards the windshield vents.
- Ductwork: A series of plastic or metal ducts that channel the heated air from the HVAC unit to the windshield vents.
- Refrigerant (A/C System): While not directly part of the *heating* process, the A/C system plays a vital role in *defogging* the windshield. Running the A/C while defrosting removes moisture from the air, significantly speeding up the process. The refrigerant, typically R-134a or the newer R-1234yf, absorbs heat from the evaporator coil (which gets very cold) and releases it outside the vehicle.
Understanding Symbols and Controls
Most defrost systems share common symbols and controls. Familiarize yourself with them:
- Windshield Defrost Symbol: Typically a rectangle (representing the windshield) with wavy arrows pointing upwards.
- Rear Defrost Symbol: A rectangle with wavy lines inside, indicating the heated grid on the rear window.
- Temperature Control: Usually marked with blue (cold) and red (hot) zones.
- Fan Speed Control: Often represented by a fan icon with multiple speed settings (0-4 or similar).
- Mode Selection: Controls where the air is directed: face, feet, face/feet, defrost, and defrost/feet.
How It Works: The Defrosting Process
The magic of defrosting happens in a sequence:
- Engine Warm-up: The engine must reach its operating temperature for the heater core to get hot. This is why defrosting is less effective when the engine is cold.
- HVAC Activation: When you select the defrost setting on the control panel, several things happen simultaneously: the blend door redirects air through the heater core, the mode door directs airflow to the windshield vents, and the blower motor activates.
- Airflow and Heat Transfer: The blower motor forces air through the heated fins of the heater core. The air absorbs heat from the coolant circulating within the core.
- Windshield Warming: The heated air is directed towards the inner surface of the windshield. This warms the glass, causing the ice or frost to melt.
- Moisture Removal (A/C): Activating the A/C system removes moisture from the air before it passes through the heater core. Drier air is more effective at absorbing moisture from the windshield, accelerating the defrosting process. The A/C system's evaporator coil *condenses* water vapor from the air, which is then drained out of the vehicle.
Real-World Use: Troubleshooting and Tips
Let's face it: defrost systems don’t always work perfectly. Here are some common issues and troubleshooting tips:
- No Heat:
- Low Coolant: Check your coolant level. A low level can prevent proper heating.
- Thermostat Malfunction: A stuck-open thermostat can prevent the engine from reaching operating temperature.
- Heater Core Clog: Over time, the heater core can become clogged with debris. Flushing the heater core *may* resolve this, but sometimes replacement is necessary.
- Blend Door Actuator Failure: If the blend door actuator is faulty, the door may not be directing air through the heater core properly.
- Weak Airflow:
- Blower Motor Resistor: The blower motor resistor controls the fan speed. If some speeds work but others don't, the resistor is likely failing.
- Blower Motor Failure: If the blower motor doesn't work at all, it may be faulty and need replacement.
- Clogged Cabin Air Filter: A clogged cabin air filter restricts airflow through the system. Replacing it can significantly improve airflow.
- Defrost Not Effective Enough:
- A/C Not Working: If the A/C system isn't functioning correctly, it won't remove moisture from the air, slowing down the defrosting process. Check the refrigerant level and A/C compressor.
- Dirty Windshield: A dirty windshield provides more surface area for ice to cling to. Clean the windshield thoroughly.
Pro Tip: Applying a de-icing solution the night before can significantly reduce frost buildup and make morning defrosting much faster. Also, ensure your windshield washer fluid reservoir is full of a de-icing solution.
Safety First: Risky Components
Working on the HVAC system involves some potential hazards:
- Hot Coolant: Never open the cooling system when the engine is hot. You could be scalded by pressurized hot coolant. Allow the engine to cool completely before performing any work on the cooling system.
- Electrical Components: The blower motor and HVAC control panel involve electrical wiring. Disconnect the battery's negative terminal before working on these components to prevent electrical shock.
- Refrigerant: Refrigerant is harmful and can cause frostbite. Only qualified technicians should handle refrigerant. If you suspect a refrigerant leak, consult a professional.
- Sharp Edges: The ductwork and other metal components within the dashboard can have sharp edges. Wear gloves to protect your hands.
Important Note: When working on the electrical components of your vehicle, always disconnect the negative battery cable to prevent accidental shorts or shocks. It's also good practice to use a multimeter to verify that circuits are de-energized before working on them.
This article provides a solid foundation for understanding your windshield defrost system. For a more detailed view, we have a comprehensive diagram available for download. It illustrates the exact layout and components of a typical automotive HVAC system. This diagram will be invaluable for troubleshooting and performing repairs.