How Do I Do An Oil Change
So, you're ready to tackle an oil change yourself? Excellent! It's a rewarding skill that saves you money and gives you a better understanding of your vehicle's needs. This article will guide you through the process, assuming you're already comfortable with basic automotive tasks. We'll cover everything from prepping your workspace to properly disposing of the old oil, ensuring a smooth and successful oil change.
Purpose: Why Master the Oil Change?
Beyond saving money, performing your own oil changes allows for a level of preventative maintenance that's often overlooked by quick-lube shops. You can visually inspect components for wear and tear, identify potential leaks early, and use higher-quality oil and filters tailored to your vehicle's needs. This proactive approach can significantly extend the life of your engine and prevent costly repairs down the road. Furthermore, understanding the lubrication system gives you a deeper insight into how your engine functions and how different fluids affect performance.
Key Specs and Main Parts
Before diving in, let's review the essential components and specifications:
- Engine Oil: The lifeblood of your engine. It lubricates moving parts, reduces friction, cools components, and removes contaminants. Using the correct viscosity (e.g., 5W-30, 10W-40) as specified in your owner's manual is crucial.
- Oil Filter: Removes contaminants from the oil as it circulates. Always use a filter designed for your specific vehicle. Options include spin-on filters and cartridge filters, each requiring specific installation procedures.
- Drain Plug: Located at the bottom of the oil pan, allowing you to drain the old oil. It typically has a crush washer that should be replaced with each oil change to ensure a proper seal.
- Crush Washer (or Sealing Washer): A soft metal ring that compresses to create a tight seal between the drain plug and the oil pan.
- Oil Pan: The reservoir that holds the engine oil.
- Oil Fill Cap: The access point for adding new oil to the engine. Usually located on top of the engine.
- Dipstick: Used to check the oil level.
Key Specs: These vary depending on your vehicle. Consult your owner's manual or a reliable online resource for the following:
- Oil Capacity: The total amount of oil your engine requires (e.g., 5 quarts, 6 liters).
- Oil Viscosity: The recommended oil weight (e.g., 5W-30).
- Oil Filter Part Number: The correct filter for your specific make and model.
- Drain Plug Torque: The proper torque specification for tightening the drain plug (typically around 20-30 ft-lbs). Over-tightening can damage the oil pan.
How It Works: The Oil Change Procedure
Here's a step-by-step guide to performing a successful oil change:
- Gather Your Supplies: You'll need the correct amount of oil, a new oil filter, a new crush washer, an oil filter wrench, a socket or wrench for the drain plug, a drain pan, rags, gloves, and safety glasses. Wheel chocks and jack stands are essential safety items.
- Warm Up the Engine (Slightly): Run the engine for a few minutes to warm the oil. Warm oil flows more easily, but be careful not to overheat it, as hot oil can cause burns.
- Prepare the Vehicle: Park on a level surface. Engage the parking brake and chock the rear wheels. If necessary, use a jack to lift the front of the vehicle and securely support it with jack stands. Never work under a vehicle supported only by a jack!
- Locate and Remove the Drain Plug: Position the drain pan under the oil pan. Use the correct size socket or wrench to loosen the drain plug. Once loose, carefully unscrew it by hand, being ready to catch the oil as it flows out.
- Allow the Oil to Drain Completely: This may take 15-30 minutes. Ensure the old oil is fully drained.
- Remove the Old Oil Filter: Locate the oil filter. Use an oil filter wrench to loosen it. Have rags ready to catch any spilled oil. Unscrew the filter by hand. Before installing the new filter, lightly lubricate the rubber gasket with fresh oil. This ensures a good seal.
- Install the New Oil Filter: Screw the new oil filter on by hand until the gasket makes contact with the engine. Then, tighten it an additional ¾ to 1 full turn, or as specified on the filter itself. Do not over-tighten!
- Install the Drain Plug with a New Crush Washer: Clean the drain plug and install a new crush washer. Tighten the drain plug to the manufacturer's specified torque using a torque wrench. Over-tightening can strip the threads in the oil pan.
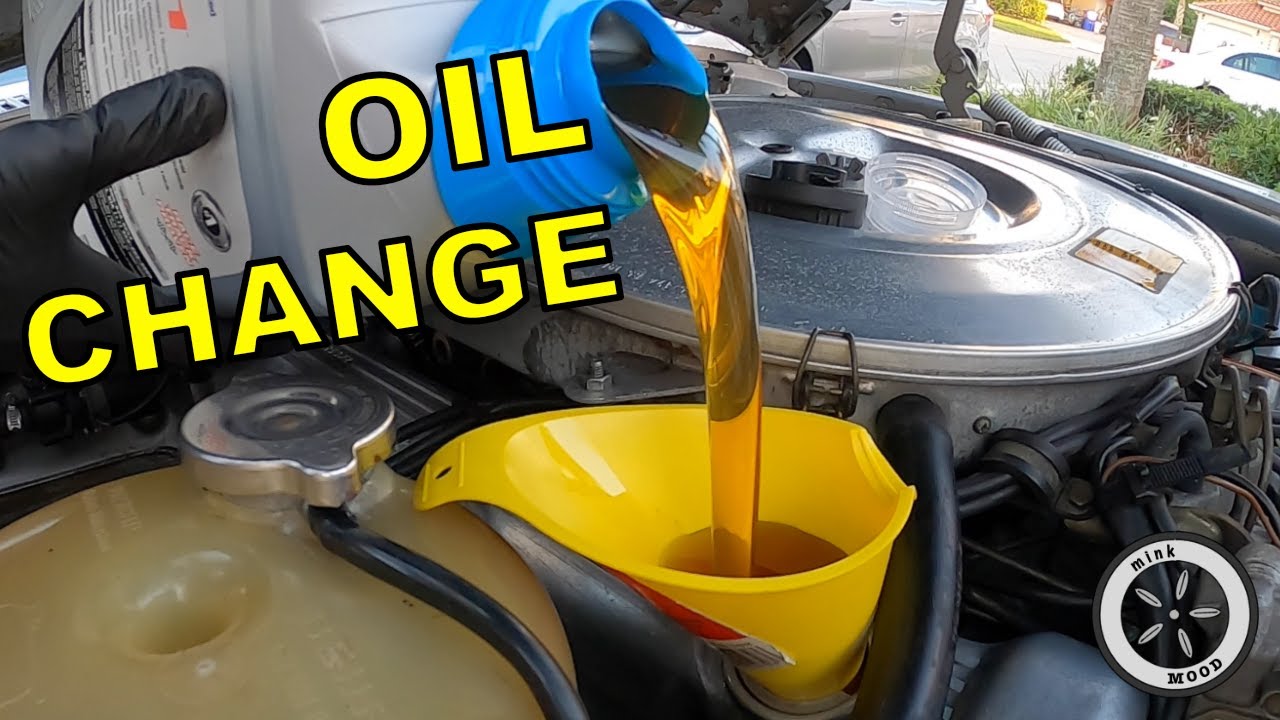
- Add New Oil: Locate the oil fill cap and remove it. Using a funnel, add the correct amount of new oil as specified in your owner's manual.
- Check the Oil Level: Use the dipstick to check the oil level. Add more oil as needed to reach the "full" mark.
- Start the Engine: Start the engine and let it run for a few minutes. Check for leaks around the drain plug and oil filter.
- Recheck the Oil Level: After the engine has run for a few minutes, turn it off and let it sit for a few minutes. Then, recheck the oil level using the dipstick. Add more oil if necessary.
- Reset the Oil Life Monitoring System: If your vehicle has an oil life monitoring system, reset it according to the instructions in your owner's manual.
- Dispose of the Old Oil Properly: Take the used oil to a recycling center or auto parts store that accepts used oil. Do not pour it down the drain or into the ground!
Real-World Use: Basic Troubleshooting Tips
- Drain Plug Stripped: If the drain plug is stripped, you may need to repair the threads using a thread repair kit (e.g., Heli-Coil) or replace the oil pan.
- Oil Filter Stuck: If the oil filter is stuck, try using a longer oil filter wrench or a screwdriver to puncture the filter and provide leverage.
- Oil Leak After Oil Change: Check the drain plug and oil filter for proper tightness. Ensure the crush washer was replaced and the oil filter gasket was properly lubricated.
- Incorrect Oil Level: Always double-check the oil level using the dipstick after adding oil. Overfilling can damage the engine.
Safety: Highlight Risky Components
Hot Oil: Be extremely careful when handling hot oil. It can cause severe burns. Wear gloves and eye protection. Jack Stands: Never work under a vehicle supported only by a jack. Always use jack stands to securely support the vehicle. Moving Parts: Keep hands and clothing away from moving parts while the engine is running. Oil Disposal: Dispose of used oil properly. It is a hazardous waste and can contaminate the environment.
Performing an oil change is a straightforward process with the right tools and knowledge. Always prioritize safety and consult your vehicle's owner's manual for specific instructions and specifications. With a little practice, you'll be changing your oil like a pro in no time!
We have a detailed diagram illustrating all the steps and components mentioned in this article. This diagram will provide a visual aid, making the process even clearer. You can download it here: [Insert Download Link Here - Assuming you have a file to link to]. This diagram includes color-coded lines to indicate oil flow, component labels, and torque specifications. It's a valuable resource for visual learners and will help you feel confident as you perform your oil change.