How Do I Get An Oil Change
So, you're ready to tackle an oil change yourself? Excellent! It's a crucial maintenance task that, with the right knowledge and tools, is well within the reach of an experienced DIYer. Not only will you save money, but you'll also gain a deeper understanding of your engine's health. This article is your comprehensive guide, covering everything from the "why" to the "how," complete with troubleshooting tips and safety precautions.
Purpose of Understanding the Oil Change Process
Before we dive into the nitty-gritty, let's understand the bigger picture. Mastering the oil change process isn't just about saving a few bucks. It's about:
- Preventative Maintenance: Regular oil changes are the single most important thing you can do to extend the life of your engine. Clean oil lubricates moving parts, reducing friction and wear.
- Early Problem Detection: Examining your used oil can reveal early signs of engine trouble, such as coolant leaks (milky oil) or excessive metal shavings (indicating bearing wear).
- Performance Optimization: Fresh oil ensures optimal engine performance, including improved fuel economy and smoother operation.
- Empowerment and Knowledge: You'll understand your car better, giving you more confidence to tackle other maintenance tasks.
This information is invaluable whether you're performing routine maintenance, diagnosing potential issues, or even modifying your engine for performance. Understanding the process allows you to confidently select the right oil and filter for your specific vehicle and driving conditions.
Key Specs and Main Parts
Here are the key components involved in an oil change and the critical specifications you need to know:
Main Parts:
- Engine Oil: The lifeblood of your engine. Choose the correct viscosity and API (American Petroleum Institute) rating as specified in your owner's manual. Common viscosities include 5W-30, 10W-30, and 0W-20.
API ratings indicate the oil's ability to meet certain performance standards.
- Oil Filter: Removes contaminants from the oil, preventing them from circulating through the engine. Use the correct filter specified for your vehicle (determined by thread size, gasket diameter, and internal bypass valve pressure).
- Drain Plug: Located at the bottom of the oil pan. It allows you to drain the old oil. Ensure it's in good condition and has a functioning sealing washer.
- Drain Plug Washer (or Gasket): Crushes to create a tight seal between the drain plug and the oil pan. Always replace this washer with a new one to prevent leaks. Copper or aluminum are common materials.
- Oil Pan: The reservoir that holds the engine oil.
- Oil Fill Cap: Where you add the new oil after draining the old oil.
Key Specs:
- Oil Viscosity: A measure of the oil's resistance to flow. Lower numbers (e.g., 0W) indicate better flow at low temperatures. Higher numbers (e.g., 30) indicate better flow at high temperatures.
- Oil Capacity: The total amount of oil your engine requires. This is critical to avoid overfilling or underfilling. Consult your owner's manual.
- Oil Filter Part Number: Ensure you get the correct filter for your vehicle's engine. Use a parts lookup tool from a reputable auto parts store.
- Drain Plug Torque: The amount of force required to tighten the drain plug. Over-tightening can damage the oil pan; under-tightening can lead to leaks. Use a torque wrench and consult your vehicle's service manual. Typical torque is around 15-30 ft-lbs.
How It Works: The Oil Change Procedure
- Preparation: Gather your tools and materials: new oil, new oil filter, wrench for the drain plug, oil filter wrench, oil drain pan, funnel, rags, gloves, and safety glasses. Warm up the engine slightly (a few minutes of idling) to help the oil flow more easily.
- Positioning the Vehicle: Safely raise the vehicle using ramps or a jack and jack stands. Never work under a vehicle supported only by a jack. Ensure the vehicle is stable and secure.
- Locating the Drain Plug: Identify the oil drain plug on the oil pan. It's usually the lowest point on the pan.
- Draining the Old Oil: Place the drain pan under the drain plug. Loosen the drain plug with the correct wrench. Be careful as the oil may be hot. Remove the drain plug completely, allowing the oil to drain fully. Let it drain for at least 15-20 minutes.
- Replacing the Oil Filter: While the oil is draining, locate the oil filter. It might be in an easily accessible location or somewhat hidden. Loosen the old filter with an oil filter wrench. Unscrew the old filter by hand. Lightly lubricate the rubber gasket on the new filter with fresh oil. Screw the new filter on by hand until the gasket makes contact, then tighten it another ¾ to 1 full turn, as instructed on the filter.
- Reinstalling the Drain Plug: Clean the drain plug and install a new drain plug washer. Tighten the drain plug to the specified torque using a torque wrench. Do not overtighten!
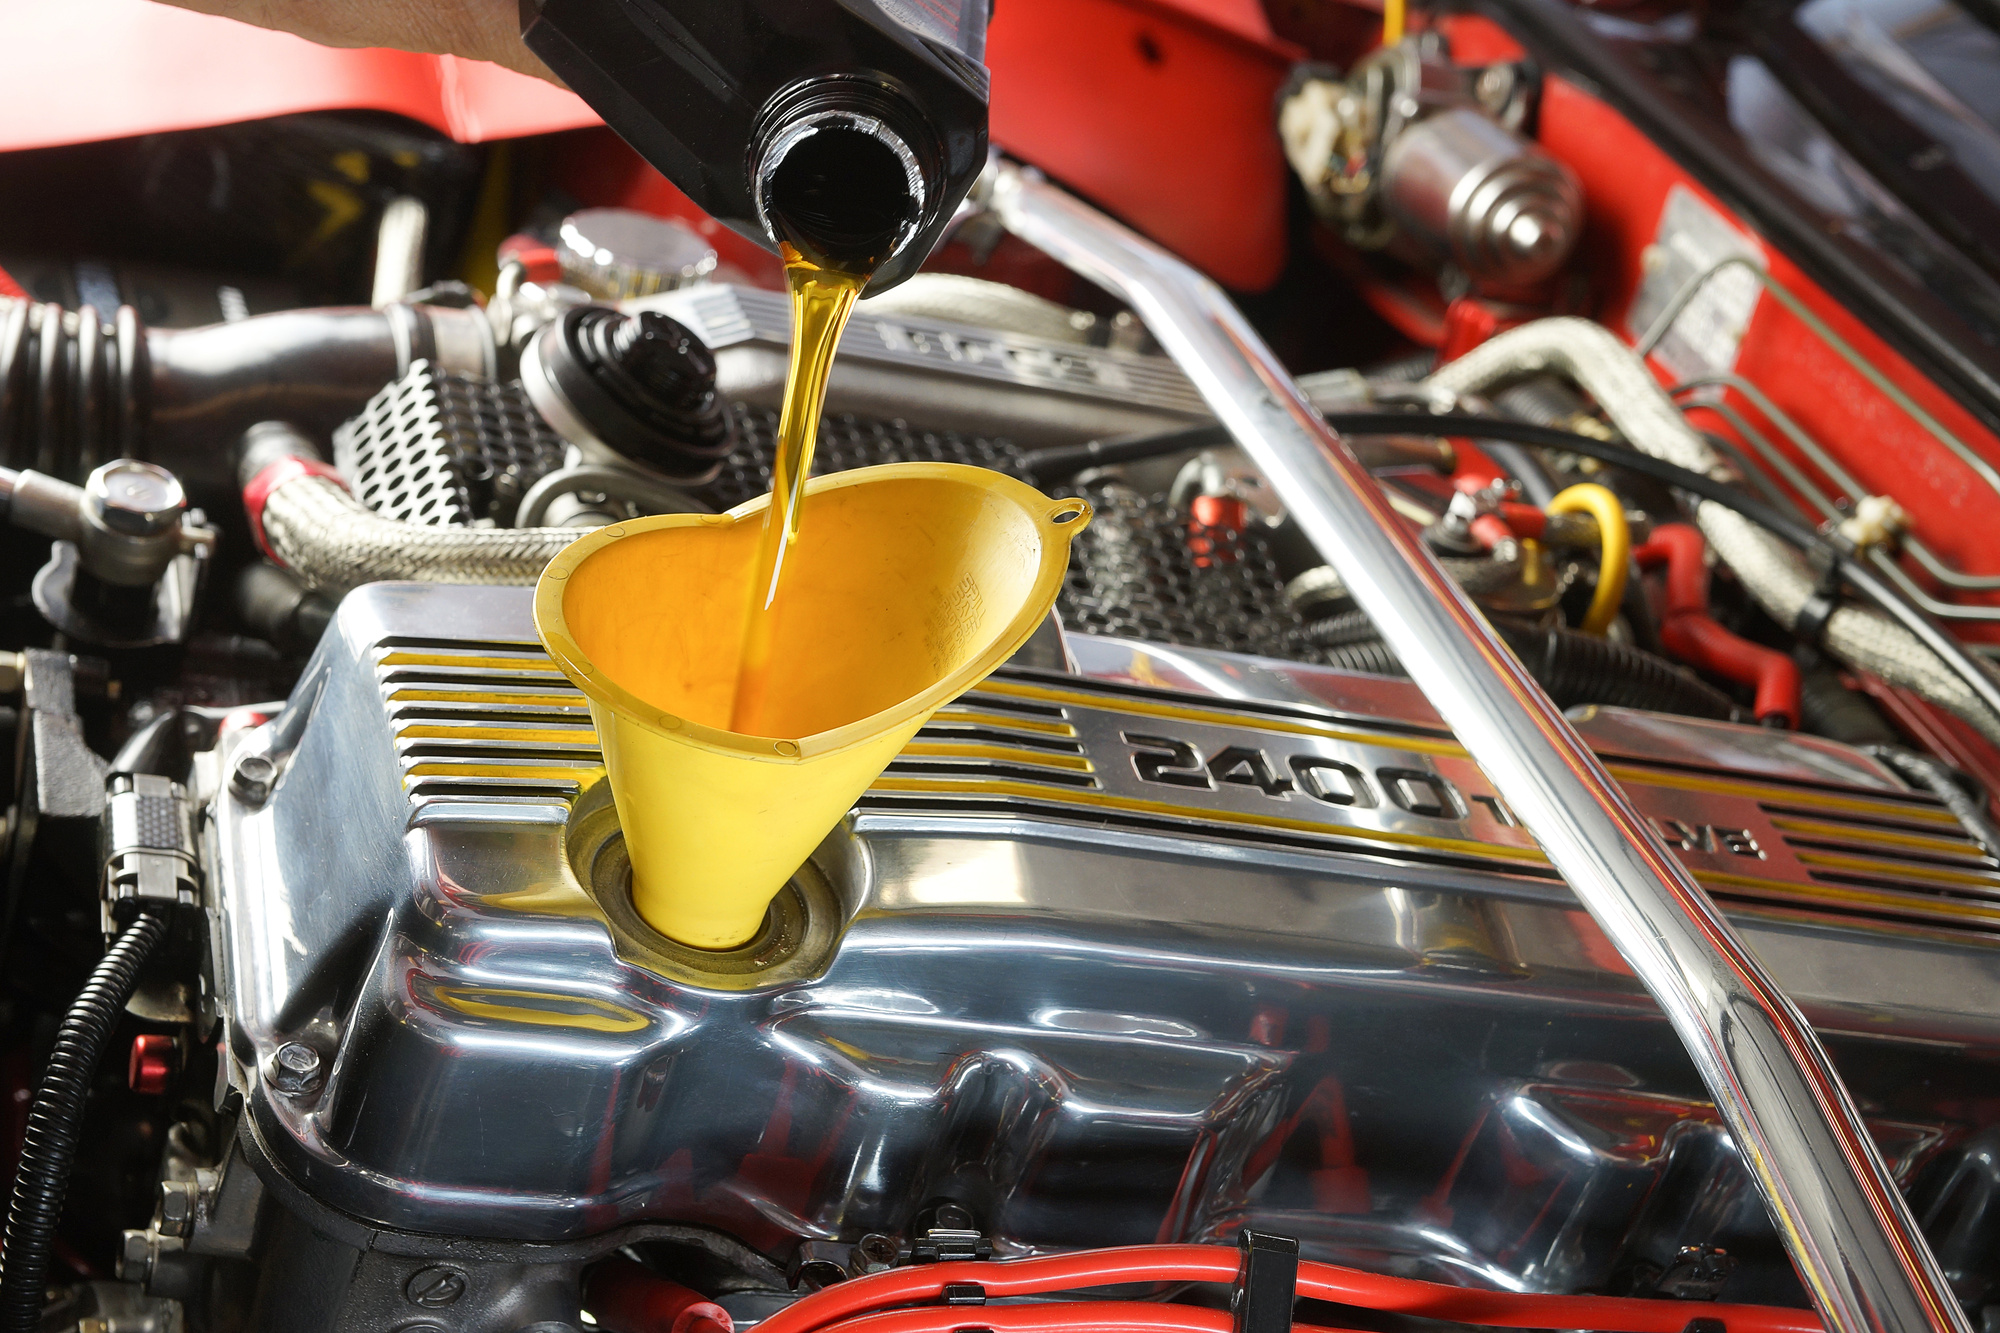
- Adding New Oil: Locate the oil fill cap on the engine. Remove the cap and insert a funnel. Pour in the correct amount of new oil as specified in your owner's manual. Start with slightly less than the recommended amount, then check the oil level.
- Checking the Oil Level: Remove the dipstick, wipe it clean, reinsert it fully, and then remove it again. The oil level should be between the "min" and "max" marks on the dipstick. Add more oil as needed to reach the correct level.
- Running the Engine: Start the engine and let it idle for a few minutes. Check for leaks around the drain plug and oil filter.
- Final Check: Turn off the engine and let it sit for a few minutes. Recheck the oil level. Dispose of the used oil and filter properly at a recycling center or auto parts store.
Real-World Use: Basic Troubleshooting Tips
- Drain Plug Stuck: If the drain plug is stuck, avoid using excessive force. Try using a penetrating oil and let it sit for a while. If it still won't budge, you might need to use a breaker bar. In extreme cases, the oil pan threads may be damaged, requiring repair or replacement.
- Oil Filter Stuck: Similar to the drain plug, a stuck oil filter can be frustrating. Ensure you have the correct oil filter wrench. Sometimes, puncturing the filter with a screwdriver can provide extra leverage, but be extremely careful to avoid injury and oil spillage.
- Oil Leak After Change: Check the drain plug and oil filter for proper tightness. Make sure the drain plug washer was replaced and is seated correctly. Also, ensure the oil filter gasket was properly lubricated and tightened.
- Milky Oil: Milky or foamy oil indicates coolant contamination. This could be a sign of a blown head gasket or a cracked cylinder head. Address this issue immediately to prevent severe engine damage.
- Metallic Shavings in Oil: The presence of metallic shavings in the oil is a warning sign of internal engine wear, such as worn bearings or piston rings. A closer inspection by a mechanic is recommended.
Safety: Highlight Risky Components
Safety is paramount when working on your car. Here are some key safety precautions:
- Hot Oil: Used engine oil can be very hot. Allow the engine to cool down slightly before draining the oil to avoid burns. Wear gloves and eye protection.
- Vehicle Stability: Never work under a vehicle supported only by a jack. Always use jack stands to provide secure support. Ensure the vehicle is on a level surface.
- Proper Tools: Use the correct tools for the job. Using the wrong wrench or attempting to force a part can lead to injury or damage.
- Eye Protection: Always wear safety glasses to protect your eyes from splashing oil or debris.
- Proper Disposal: Dispose of used oil and filters properly at a recycling center or auto parts store. Do not pour used oil down the drain or into the environment.
By following these guidelines, you can confidently and safely perform an oil change on your vehicle, saving money and gaining a deeper understanding of your engine's health.