How Do I Make Orange Paint
So, you're looking to mix up some custom orange paint, eh? Maybe you're touching up a classic muscle car, adding some flair to a custom bike, or even just experimenting with unique automotive finishes. Whatever your reason, achieving the perfect shade of orange isn't as simple as dumping red and yellow together. Understanding color theory and paint chemistry is key. This guide will walk you through the process, ensuring you get a vibrant, durable, and professional-looking orange.
Purpose
Why bother learning to mix your own orange paint? While pre-mixed colors are convenient, they often lack the exact shade and properties you need for your specific project. Mixing your own allows for:
- Perfect Color Matching: Achieve an exact match for existing paint, crucial for seamless repairs.
- Customization: Create unique shades and tones of orange, setting your project apart.
- Cost Savings: In some cases, mixing your own can be more cost-effective, especially for large projects or when using leftover materials.
- Learning and Experimentation: Deepen your understanding of color theory and paint chemistry.
This knowledge empowers you to tackle complex automotive paint jobs, personalize your vehicles, and troubleshoot paint-related issues with confidence.
Key Specs and Main Parts (Pigments, Binders, Solvents, Additives)
Let's break down the components of automotive paint and how they relate to creating orange:
Pigments
The pigment is what provides the color. For orange, you'll primarily use:
- Yellow Pigments: Cadmium Yellow, Hansa Yellow, or Azo Yellow are common choices. Consider their undertones (warm or cool) when selecting.
- Red Pigments: Quinacridone Red, Pyrrole Red, or even certain shades of Iron Oxide Red can contribute to the orange hue. Again, understand the undertone; a bluish red will produce a muddier orange.
The pigment loading refers to the concentration of pigment in the paint. Higher pigment loading results in more vibrant color and better hiding power but can also affect the paint's drying time and flexibility. We'll discuss achieving correct pigment loading below.
Binders (Resins)
The binder, also known as the resin, holds the pigment particles together and adheres the paint to the surface. Common automotive binders include:
- Acrylic Lacquer: Dries quickly, offers good gloss, but is less durable than other options. Often requires a clear coat for protection.
- Acrylic Enamel: More durable than lacquer, offers good gloss, and is relatively easy to apply. Can be single-stage (color and clear in one) or require a clear coat.
- Urethane: Highly durable, resistant to chemicals and UV damage, and offers excellent gloss. Generally requires professional application due to its toxicity and demanding application process. Two-part (2K) urethane systems are common.
Choosing the right binder is crucial for the paint's performance and durability. Always follow the manufacturer's recommendations for mixing ratios, drying times, and application techniques.
Solvents (Thinners, Reducers)
Solvents, also called thinners or reducers, control the paint's viscosity (thickness) and drying time. They also help the paint flow smoothly and level out imperfections. Common automotive solvents include:
- Lacquer Thinner: Used for thinning lacquer paints and cleaning equipment.
- Enamel Reducer: Used for thinning enamel paints and cleaning equipment.
- Urethane Reducer: Used for thinning urethane paints and cleaning equipment. Use the specific reducer recommended by the paint manufacturer.
Using the correct solvent is essential for proper paint application and drying. Never substitute solvents, as this can lead to compatibility issues, poor drying, and paint failure.
Additives
Additives are ingredients added in small amounts to modify the paint's properties. These can include:
- Flow Improvers: Enhance the paint's flow and leveling characteristics, reducing brush marks or orange peel.
- UV Absorbers: Protect the paint from fading and degradation caused by sunlight.
- Flex Agents: Improve the paint's flexibility, making it less prone to cracking or chipping, especially on flexible parts.
- Matting Agents: Reduce the gloss of the paint, creating a matte or satin finish.
Additives should be used sparingly and according to the manufacturer's instructions. Too much of an additive can negatively impact the paint's performance.
How It Works: Mixing the Orange
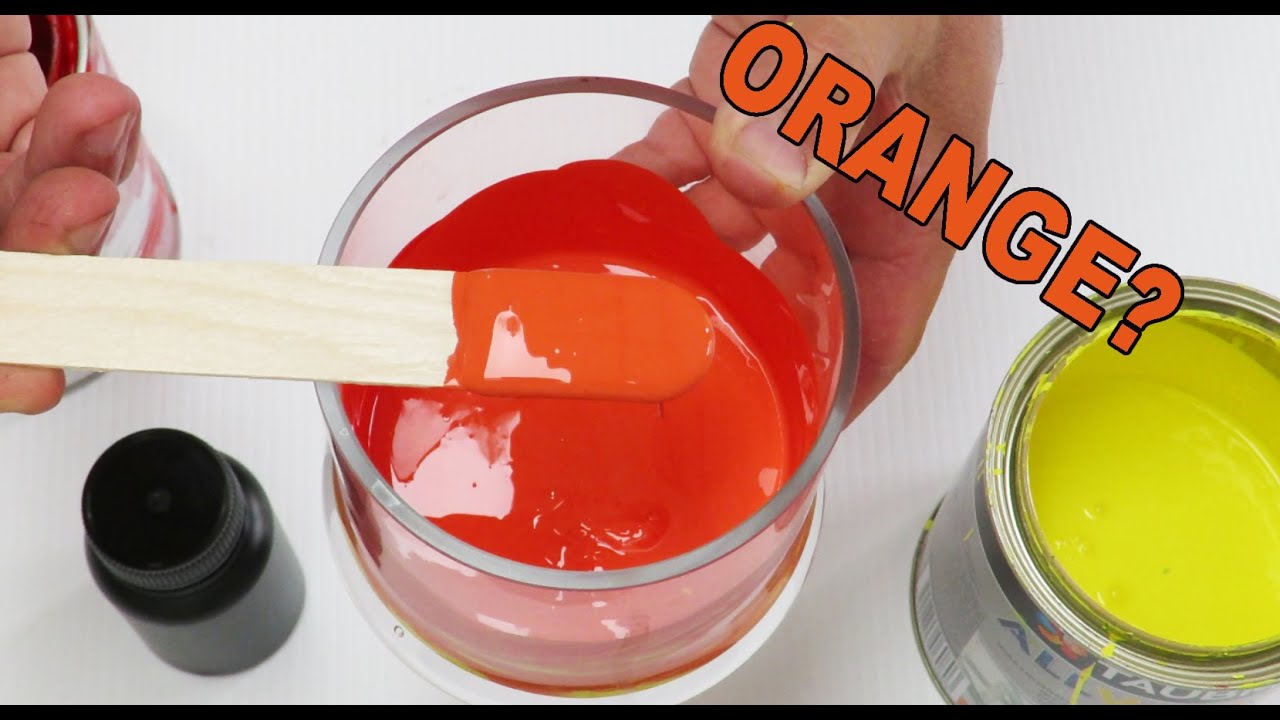
The key to a good orange is understanding the relationship between yellow and red. Start with a base of yellow and gradually add red until you achieve the desired shade. Here's a step-by-step approach:
- Prepare your materials: Gather your pigments, binder, solvent, additives (if desired), mixing cups, stir sticks, and measuring tools (scales are best for accurate measurements). Use dedicated mixing tools; don't reuse containers that held other materials.
- Start with yellow: Pour a measured amount of yellow pigment into your mixing cup. The amount will depend on the total quantity of paint you need.
- Add red gradually: Add a small amount of red pigment to the yellow. Stir thoroughly and assess the color. It's easier to add more red than to remove it.
- Adjust the shade: Continue adding red in small increments until you reach your desired orange shade. Keep accurate records of your pigment ratios; this will allow you to replicate the color in the future.
- Add the binder: Once you've achieved the correct color, add the appropriate amount of binder according to the manufacturer's instructions. Stir thoroughly.
- Add the solvent: Add the correct type and amount of solvent to achieve the desired viscosity for spraying or brushing. Refer to the paint manufacturer's recommendations.
- Additives (Optional): If using additives, add them according to the manufacturer's instructions.
- Strain the paint: Strain the mixed paint through a fine-mesh paint strainer to remove any lumps or impurities. This ensures a smooth, even finish.
- Test the color: Before applying the paint to your project, test it on a scrap piece of material to ensure the color is accurate and the paint is behaving as expected.
Real-World Use: Troubleshooting
Here are some common issues you might encounter when mixing and applying orange paint and how to address them:
- Color is too red: Add more yellow pigment.
- Color is too yellow: Add more red pigment.
- Color is muddy or dull: You may be using incompatible pigments or an improper ratio. Avoid using brown or black pigments to darken orange; instead, use a small amount of a darker red or a complementary color like blue.
- Paint is too thick: Add more solvent.
- Paint is too thin: Add more binder or pigment (if the color is too weak).
- Paint is not drying properly: Ensure you are using the correct solvent and following the manufacturer's recommended drying times. Temperature and humidity can also affect drying time.
- Orange Peel: Incorrect spray technique, paint is too viscous, or the air pressure is too low. Adjust your spray gun settings and thin the paint slightly.
- Runs or Sags: Too much paint applied in one coat, paint is too thin, or the spray gun is too close to the surface. Apply multiple thin coats and adjust your spray technique.
Safety
Working with automotive paints involves potential hazards. Always take the following precautions:
- Ventilation: Work in a well-ventilated area to avoid inhaling harmful fumes. Use a respirator with an organic vapor cartridge.
- Skin Protection: Wear gloves and eye protection to prevent skin and eye contact.
- Fire Hazards: Automotive paints and solvents are flammable. Keep them away from open flames, sparks, and heat sources. Do not smoke while working with these materials.
- Disposal: Dispose of paint waste properly according to local regulations. Do not pour paint down the drain.
- Material Safety Data Sheets (MSDS): Always read and understand the MSDS for all materials you are using. These sheets provide important information about the hazards, handling, and disposal of the materials.
Specifically, two-part urethane paints contain isocyanates, which are highly toxic. Professional application with proper safety equipment (supplied air respirator) is highly recommended when working with urethane paints.
With careful planning, precise mixing, and attention to safety, you can create custom orange paint that will enhance your automotive projects. Remember to always prioritize safety and follow the manufacturer's instructions for all materials you use.