How Do I Make The Color Gold
So, you want to create the color gold? Whether you're touching up a classic car's pinstripes, customizing interior trim, or even experimenting with different paint finishes, understanding how to achieve that coveted gold hue is essential. This article will break down the techniques and principles involved in mixing gold paint, much like understanding the intricacies of an engine diagram is vital for a successful engine rebuild.
Purpose – Achieving the Golden Touch
The purpose of understanding how to mix gold paint goes beyond simply wanting a shiny color. It's about:
- Repair and Restoration: Matching existing gold finishes on classic car emblems, trim, or even dashboard components is crucial for preserving authenticity.
- Customization: Creating unique gold shades for accents, pinstripes, or custom paint jobs allows for personalized style.
- Understanding Color Theory: The principles learned here translate to mixing *any* color, enhancing your overall painting skills. Think of it like understanding the basics of electrical circuits – once you grasp the fundamentals, you can diagnose and repair more complex systems.
- Cost Savings: Mixing your own gold paint can be more cost-effective than buying pre-mixed options, especially if you need a specific shade or quantity.
Key Specs and Main Parts (Ingredients)
Making gold paint isn't about one single ingredient; it's a careful balancing act of several:
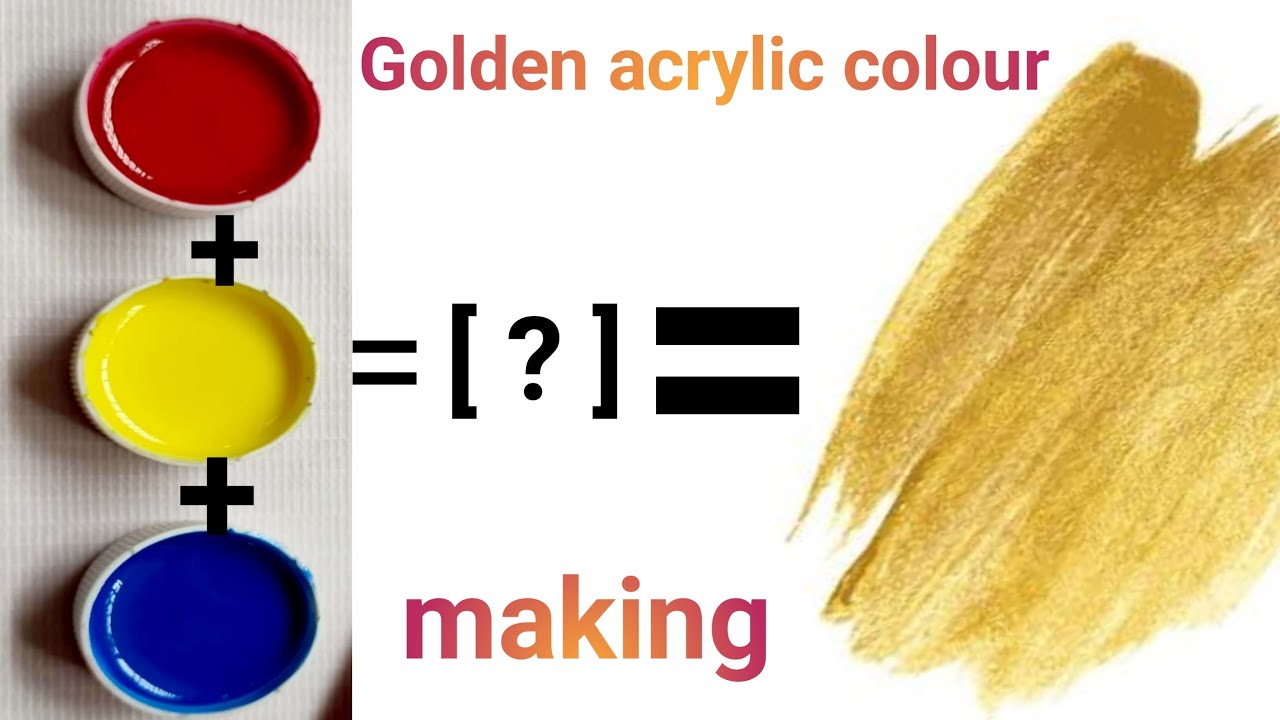
1. Base Color
The foundation of your gold. Common choices include:
- Yellow: A good starting point, typically a medium or bright yellow. The exact shade will influence the final gold tone.
- Brown or Umber: Adding depth and richness. These earth tones prevent the gold from appearing too "cartoonish."
2. Metallic Flakes
The secret to the shimmer and brilliance that defines gold. The type and size of these flakes significantly impact the final appearance:
- Gold Mica Pigments: Finely ground mica coated with metallic oxides. These provide a subtle, shimmering effect. Think of them as the fine-tuning of the sparkle.
- Aluminum Flakes: Can be used to create a brighter, more reflective gold. Be cautious, as too much can make the color appear silver or brassy.
- Bronze Powders: Offer a warmer, richer gold tone.
The size of the flakes matters. Larger flakes give a more pronounced, textured look, while smaller flakes create a smoother, more refined shimmer.
3. Binder (Clear Coat or Medium)
This is the liquid that suspends the pigments and flakes, allowing them to adhere to the surface. Choose a binder compatible with your intended application (e.g., automotive clear coat for cars, acrylic medium for crafts).
4. Optional Additives
These can fine-tune the color and properties of the paint:
- Reducer: Thins the paint for easier application and reduces brush strokes.
- Hardener: Speeds up the drying time and increases the durability of the finish (especially important for automotive applications).
- Flow Improver: Improves the flow of the paint, reducing orange peel and other imperfections.
Symbols and Mixing Ratios
While there isn't a universal "gold paint" formula represented by symbols, understanding mixing ratios is crucial. Think of these ratios as the settings on your carburetor – adjust them correctly, and the engine (or in this case, the paint) will run smoothly.
- Ratio Representation: Often expressed as ratios like 1:2:0.5 (e.g., 1 part yellow, 2 parts brown, 0.5 parts gold mica).
- Volume vs. Weight: For precise color matching, using weight measurements is recommended, especially for metallic pigments.
Important Note: Start with small batches and adjust the ratios based on test samples. Don't be afraid to experiment! Keep meticulous records of your ratios, just like you'd document torque specs when working on your engine. This will allow you to replicate your results later.
How It Works – The Color Mixing Process
The process of creating gold paint involves carefully blending the base colors and metallic flakes to achieve the desired hue and shimmer.
- Start with the Base: Begin by mixing your yellow and brown/umber in the desired ratio. This creates the underlying color tone.
- Introduce Metallic Flakes: Gradually add the metallic pigments, mixing thoroughly after each addition. Pay attention to how the color changes. Too much pigment can make the paint appear dull or even metallic grey.
- Adjust Hue and Value: If the gold is too yellow, add more brown or umber. If it's too dark, add more yellow or a touch of white (use sparingly!).
- Add Binder: Once you're satisfied with the color, gradually add the clear coat or medium, mixing until the pigment is evenly dispersed.
- Test and Refine: Apply a small sample to a test surface and let it dry completely. Assess the color, shimmer, and texture. Adjust the ratios as needed to achieve the desired result.
Real-World Use – Troubleshooting Tips
Even with the best preparation, you might encounter some challenges:
- Problem: Paint appears too dull.
- Solution: Add more metallic pigment or try a different type of pigment with higher reflectivity. Make sure your clear coat is high gloss.
- Problem: Paint is too translucent.
- Solution: Add more base color (yellow and brown/umber) to increase opacity.
- Problem: Paint is too thick or difficult to apply.
- Solution: Add reducer to thin the paint. Be careful not to add too much, as this can weaken the paint film.
- Problem: Metallic flakes are clumping together.
- Solution: Ensure the flakes are thoroughly dispersed in the binder. Use a dispersing agent if necessary.
Safety – Handling Pigments and Chemicals
Working with paints and pigments involves potential hazards. Just like you'd wear safety glasses when grinding metal, take these precautions:
- Ventilation: Work in a well-ventilated area to avoid inhaling fumes.
- Respiratory Protection: Wear a respirator or dust mask when handling dry pigments, especially metallic powders. Fine particulate matter can be harmful to your lungs.
- Skin Protection: Wear gloves to prevent skin irritation and absorption of chemicals.
- Eye Protection: Wear safety glasses or goggles to protect your eyes from splashes and dust.
- Material Safety Data Sheets (MSDS): Always consult the MSDS for each product you use to understand the specific hazards and safety precautions. This is like consulting the service manual for your car – it contains critical information.
- Flammability: Many paint thinners and reducers are flammable. Keep them away from open flames and sources of ignition.
Certain pigments, particularly those containing lead or cadmium, are highly toxic. Avoid using these pigments unless you have extensive experience and proper safety equipment.
We have created a detailed mixing chart that you can download. This chart provides specific ratios and pigment combinations for creating various shades of gold paint. This resource can be a valuable tool as you begin experimenting and refining your own custom gold blends.