How Do You Charge Electric Car
So, you're diving into the world of electric vehicles (EVs) – excellent choice! Understanding how your electric car charges isn't just about plugging it in and waiting; it's about grasping the fundamentals of power delivery, conversion, and safety. This article serves as a deep dive into the EV charging process, equipping you with the knowledge to troubleshoot basic issues, understand charging levels, and even appreciate the nuances of your EV's onboard charging system.
Purpose: Understanding the EV Charging Diagram
Why bother with a charging diagram? Well, for the intermediate car owner, modder, or DIY mechanic, having a grasp on the charging process is invaluable. This understanding can be useful for several reasons:
- Troubleshooting: Diagnose charging issues like slow charging speeds, charging errors, or complete failure to charge.
- Modifications & Upgrades: Understand how aftermarket components like larger battery packs or upgraded charging systems interact with the existing system.
- General Knowledge: Grasp the inner workings of your EV, allowing you to make informed decisions about charging infrastructure and energy consumption.
- DIY Repairs: (With caution!) Some basic component replacement or repair may be possible with a solid understanding of the charging system. Always prioritize safety and consult qualified professionals for complex repairs.
Think of this as learning the electrical system layout of your internal combustion engine car, but for your EV's "fuel" supply.
Key Specs and Main Parts
The typical EV charging system involves several key components working in harmony. Here's a breakdown of the main players:
- AC Power Source (Grid): This is your regular electricity supply, typically 120V or 240V AC (Alternating Current).
- Charging Equipment (EVSE - Electric Vehicle Supply Equipment): Commonly referred to as the "charging station" or "wallbox," the EVSE provides a safe and controlled connection to the AC power source. It also communicates with the vehicle.
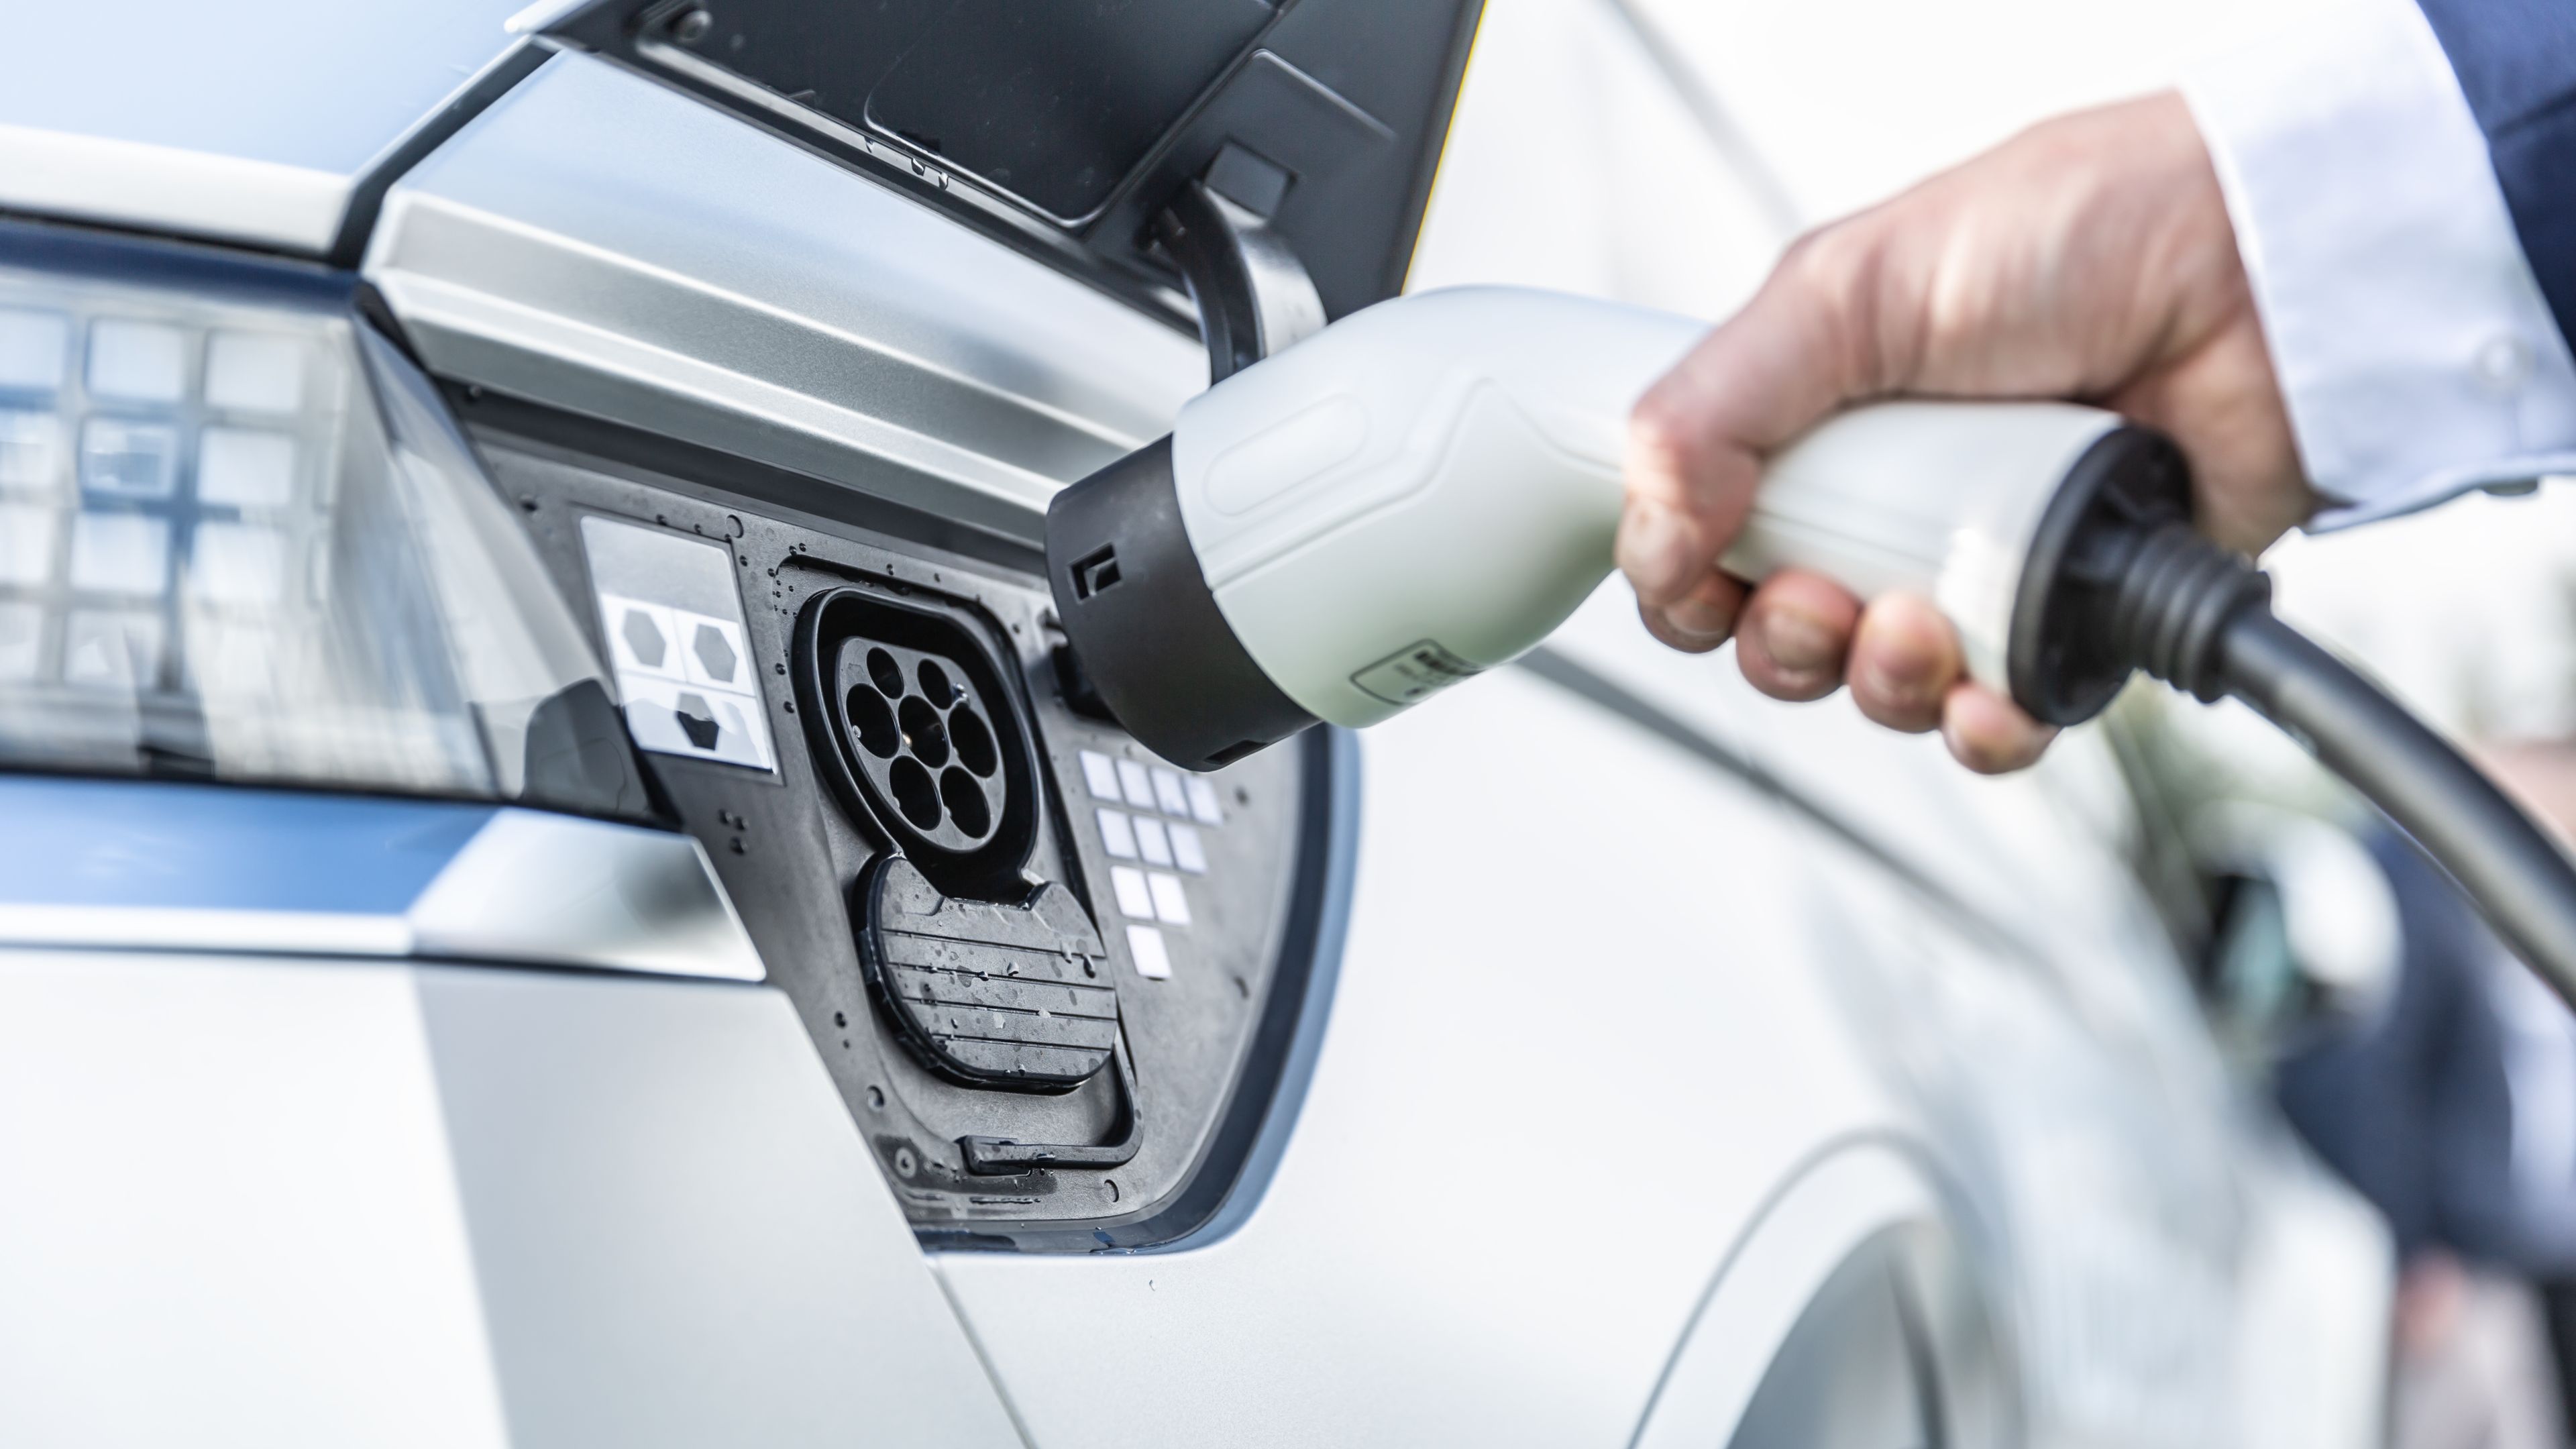
- Charging Port (Inlet): The physical connector on the vehicle where the charging cable plugs in. Different standards exist (e.g., J1772, CCS, CHAdeMO), so compatibility is crucial.
- Onboard Charger (OBC): This crucial component resides within the vehicle and converts the AC power from the EVSE into DC (Direct Current) power suitable for charging the battery. The OBC dictates the maximum AC charging rate the vehicle can accept.
- Battery Management System (BMS): The BMS monitors the battery's voltage, current, and temperature during charging, ensuring safe and efficient operation. It communicates with the OBC to control the charging process.
- Battery Pack: The heart of the EV, storing the electrical energy. Batteries are rated in kWh (kilowatt-hours) indicating their energy storage capacity.
- DC-DC Converter (part of the OBC): Some OBCs have a DC-DC converter to power the 12V auxiliary battery during charging.
Key Specs to Consider:
- Voltage (V): The electrical potential difference. Typical AC voltages are 120V and 240V. Battery pack voltages are typically much higher, often in the range of 300-400V DC.
- Current (A): The rate of flow of electrical charge. Charging current is measured in Amperes (Amps).
- Power (W or kW): The rate at which energy is transferred. Power is calculated as Voltage x Current. Charging power is often expressed in kilowatts (kW).
- Charging Level: Refers to the voltage and amperage of the electrical supply. Level 1 is 120V AC, Level 2 is 240V AC, and Level 3 (DC Fast Charging) is high-voltage DC.
- Charging Rate: Refers to the amount of range added per hour of charging. This depends on the charging level, the car's OBC, and the battery's acceptance rate.
Symbols Explained
Understanding the symbols in a charging diagram is essential for deciphering the flow of electricity. Here's a rundown:
- Solid Lines: Represent the flow of electrical current. Thicker lines usually indicate higher current capacity.
- Dashed Lines: Represent communication signals between components (e.g., between the EVSE and the vehicle, or between the BMS and the OBC).
- Ground Symbol (earth): Indicates a connection to ground, providing a safe path for fault currents.
- Resistors: Represented by a zigzag line, resistors limit current flow.
- Capacitors: Represented by two parallel lines, capacitors store electrical energy.
- Diodes: Represented by a triangle pointing to a line, diodes allow current to flow in one direction only.
- Switches: Represented by a break in a line with a lever. Switches control the flow of current.
- Connectors: Represented by interlocking shapes, connectors indicate points where electrical connections are made.
- Colors: Often, colors are used to indicate the type of current:
- Red or Black: Typically represents "hot" or live AC lines.
- Blue: Typically represents neutral AC lines.
- Green or Green with Yellow Stripe: Represents the ground wire.
- Orange: Typically represents high-voltage DC lines.
Important Note: Color coding standards can vary slightly depending on the region and specific manufacturer. Always consult the vehicle's service manual for accurate information.
How It Works: The Charging Process
The charging process can be broken down into these steps:
- Connection: You plug the charging cable into the EVSE and then into your vehicle's charging port.
- Communication: The EVSE communicates with the vehicle's OBC to establish a safe charging connection. This includes verifying that the connector is properly seated and that the ground connection is intact. The EVSE also signals the available current to the vehicle.
- AC to DC Conversion: The OBC converts the AC power from the EVSE into DC power. The OBC's conversion efficiency is a crucial factor in overall charging efficiency.
- Battery Charging: The DC power is then used to charge the battery pack. The BMS monitors the battery's state of charge, voltage, current, and temperature to optimize the charging process and prevent overcharging or overheating.
- Tapering: As the battery approaches full charge, the charging current is typically reduced (tapered) to prevent damage to the battery cells.
- Completion: Once the battery is fully charged, the OBC stops charging and the EVSE disconnects the power supply.
Crucial Point: The OBC dictates the maximum AC charging rate. Even if you have a high-powered EVSE, your car will only charge at the rate supported by its OBC.
Real-World Use: Basic Troubleshooting Tips
Here are a few basic troubleshooting steps you can take if you encounter charging issues:
- Check the Connections: Ensure that the charging cable is securely plugged into both the EVSE and the vehicle's charging port.
- Inspect the Cable: Look for any signs of damage to the charging cable, such as cuts, fraying, or bent pins.
- Check the EVSE: Verify that the EVSE is powered on and functioning correctly. Look for any error messages or indicator lights.
- Restart the Vehicle: Sometimes, a simple restart of the vehicle can resolve charging issues.
- Try a Different Charging Station: If possible, try charging at a different EVSE to rule out a problem with the charging station itself.
- Consult the Owner's Manual: Refer to your vehicle's owner's manual for specific troubleshooting steps and error codes.
If these basic steps don't resolve the issue, it's best to consult a qualified EV technician. Avoid attempting any repairs that you are not comfortable with, especially when dealing with high-voltage components.
Safety: High-Risk Components
Working with EV charging systems involves high voltages and currents, which can be extremely dangerous. Here's what to watch out for:
- High-Voltage Battery Pack: The battery pack contains a significant amount of energy and can deliver a lethal shock. Never attempt to disassemble or repair the battery pack yourself.
- Onboard Charger (OBC): The OBC converts AC to DC voltage, and can output deadly high voltages during charging. Never open or tamper with the OBC unless you are a qualified technician and have the proper safety equipment.
- Capacitors: Large capacitors within the OBC and other components can store a dangerous electrical charge even after the power is disconnected. Always discharge capacitors properly before working on any electrical components.
Always observe the following safety precautions:
- Disconnect the Power: Always disconnect the EVSE from the power source before performing any work on the charging system.
- Wear Appropriate PPE: Wear insulated gloves, safety glasses, and other appropriate personal protective equipment (PPE).
- Use Insulated Tools: Use tools that are specifically designed for working with high-voltage electrical systems.
- Work in a Dry Environment: Never work on the charging system in wet or damp conditions.
- Consult a Qualified Technician: If you are not comfortable working with high-voltage electrical systems, consult a qualified EV technician.
By understanding the charging process, you're empowering yourself to better maintain, troubleshoot, and appreciate your EV. Remember to always prioritize safety and consult qualified professionals when necessary.
We have a detailed EV charging diagram available for download. It provides a visual representation of the components and connections discussed in this article. Feel free to reach out, and we'll send it your way!