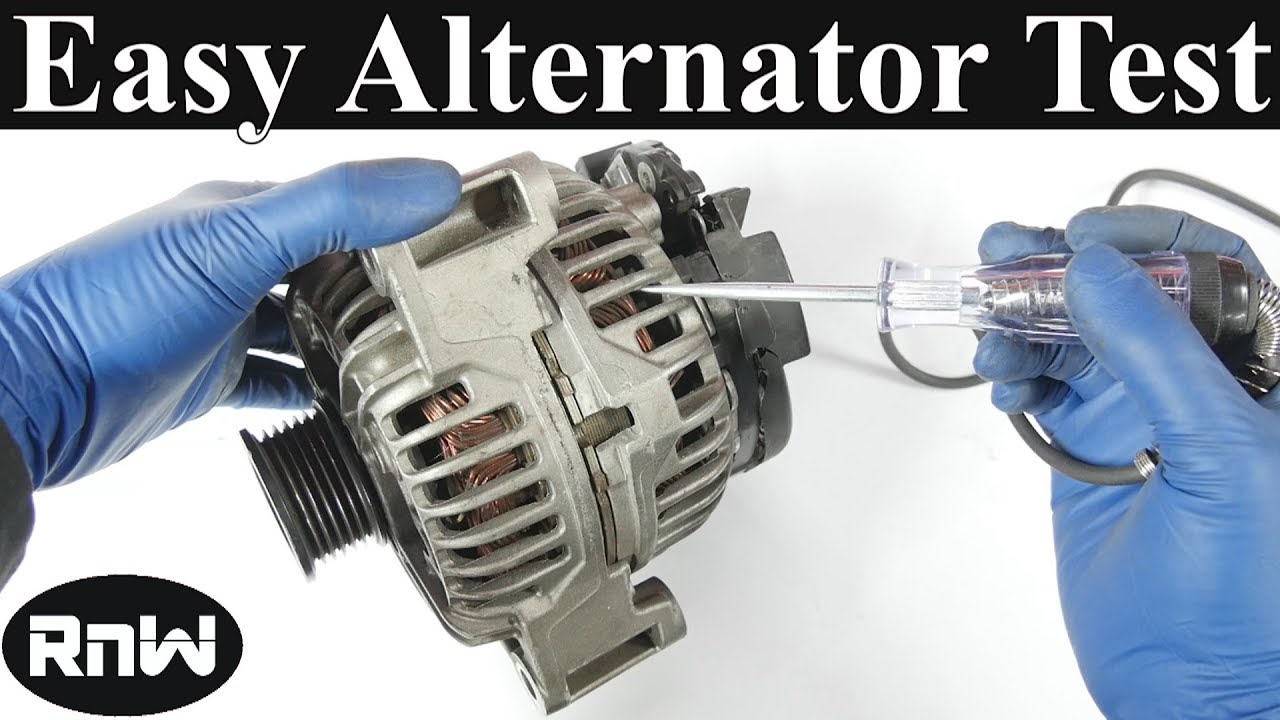
How Do You Check An Alternator
Understanding your vehicle's charging system is crucial for keeping it running reliably. The alternator, in particular, is the heart of this system, responsible for providing electrical power while the engine is running and recharging the battery. Knowing how to diagnose alternator issues can save you money and prevent unexpected breakdowns. This guide will walk you through the process of checking your alternator, covering essential components, troubleshooting techniques, and safety considerations. We'll assume you have a basic understanding of automotive electrical systems and are comfortable using tools like a multimeter.
Purpose
This guide aims to equip you with the knowledge to effectively diagnose alternator problems. Whether you suspect a faulty alternator, are performing preventative maintenance, or simply want to understand your vehicle's electrical system better, this information will be invaluable. A methodical approach to checking the alternator can help you determine if it needs replacement or if the issue lies elsewhere, such as a loose connection, a bad battery, or a faulty regulator.
Key Specs and Main Parts
Before diving into testing, it's important to familiarize yourself with the key components of an alternator and the specs you'll be looking for.
Main Parts:
- Rotor (or Armature): The rotating part of the alternator, containing a coil of wire that creates a magnetic field when energized.
- Stator: A stationary set of windings around the rotor. As the rotor spins, its magnetic field induces an AC voltage in the stator windings.
- Diodes (Rectifier): These convert the AC voltage produced by the stator into DC voltage, which is what your car's electrical system uses. A set of diodes is called a rectifier bridge.
- Voltage Regulator: This component maintains a constant output voltage (typically around 13.5-14.5V) by controlling the amount of current supplied to the rotor.
- Brushes: These conductive components make contact with slip rings on the rotor to supply current to the rotor windings.
- Pulley: Connected to the engine via a belt, the pulley drives the rotor.
- Housing: The outer casing that protects the internal components.
Key Specs:
- Voltage Output: The most critical specification. A healthy alternator should output between 13.5 and 14.5 volts with the engine running and a load applied (e.g., headlights on).
- Amperage Output: This indicates the alternator's current-producing capacity. Consult your vehicle's service manual for the specific amperage rating of your alternator. This is usually stamped on the alternator's housing.
- Diode Ripple: A measure of the AC voltage present in the DC output. Excessive ripple indicates a failing diode. This requires an oscilloscope to measure accurately.
How It Works
The alternator's function is based on the principle of electromagnetic induction. Here's a simplified explanation:
- The engine turns the alternator's pulley, which spins the rotor.
- A small amount of current (provided initially by the battery) is fed to the rotor windings through the brushes and slip rings, creating a magnetic field.
- As the rotor spins, its magnetic field sweeps across the stator windings, inducing an alternating current (AC) voltage in the stator.
- The rectifier diodes convert this AC voltage into DC voltage.
- The voltage regulator monitors the output voltage and adjusts the current supplied to the rotor to maintain a stable voltage (around 14 volts) for charging the battery and powering the car's electrical accessories.
Real-World Use – Basic Troubleshooting Tips
Here are a few common scenarios and troubleshooting steps:
- Battery Light On: This is often the first sign of an alternator problem. Use a multimeter to check the voltage at the battery terminals with the engine running. If it's below 13.5V or above 14.5V, the alternator or voltage regulator may be faulty.
- Dimming Headlights: If your headlights dim when you turn on other electrical accessories (e.g., A/C, radio), the alternator may not be providing enough current.
- Dead Battery: A faulty alternator may not be charging the battery properly, leading to a dead battery. However, a dead battery can also be caused by other issues, such as leaving the lights on or a parasitic draw. Rule out other possibilities before assuming the alternator is the culprit.
- Noisy Alternator: Grinding, whining, or rattling noises from the alternator area can indicate worn bearings or a damaged pulley.
Testing Procedures:
- Visual Inspection: Check for loose wires, corroded connections, and a loose or worn serpentine belt. Ensure the belt tension is correct.
- Voltage Test (No Load): With the engine running, measure the voltage at the battery terminals. It should be between 13.5V and 14.5V.
- Voltage Test (With Load): Turn on the headlights, A/C, and radio. Measure the voltage again. A significant drop in voltage (below 13V) indicates a weak alternator.
- Continuity Test (Diode Test): Disconnect the alternator from the vehicle's electrical system. Use a multimeter in diode test mode to check each diode in the rectifier bridge. A bad diode will show either a short circuit or an open circuit. Consult your vehicle's service manual for specific test procedures and acceptable values.
Safety
Working on automotive electrical systems can be dangerous. Here are some important safety precautions:
- Disconnect the Battery: Always disconnect the negative battery cable before working on any electrical components. This will prevent short circuits and potential electrical shocks.
- Wear Safety Glasses: Protect your eyes from sparks, debris, and battery acid.
- Use Insulated Tools: Use tools with insulated handles to prevent electrical shocks.
- Avoid Working on a Hot Engine: Allow the engine to cool down completely before working on the alternator.
- Handle Battery Acid with Care: Battery acid is corrosive and can cause burns. Wear gloves and eye protection when handling batteries.
Warning: The alternator's electrical components can store a dangerous amount of energy, even after the battery is disconnected. Exercise extreme caution when handling the alternator, especially the terminals and wiring.
Conclusion
By following the steps outlined in this guide, you can effectively check your alternator and diagnose potential problems. Remember to always prioritize safety and consult your vehicle's service manual for specific instructions and specifications. With a little knowledge and the right tools, you can keep your charging system in top condition and avoid costly repairs down the road. Keep in mind that some alternator testing requires specialized equipment. For example, load testing requires a carbon pile tester. Testing the diode ripple requires an oscilloscope. If you're unsure about any step, consult a qualified mechanic.
We hope this article has been helpful. We have a detailed diagram of a typical alternator, including its internal components, wiring, and testing points. It can be downloaded for reference.