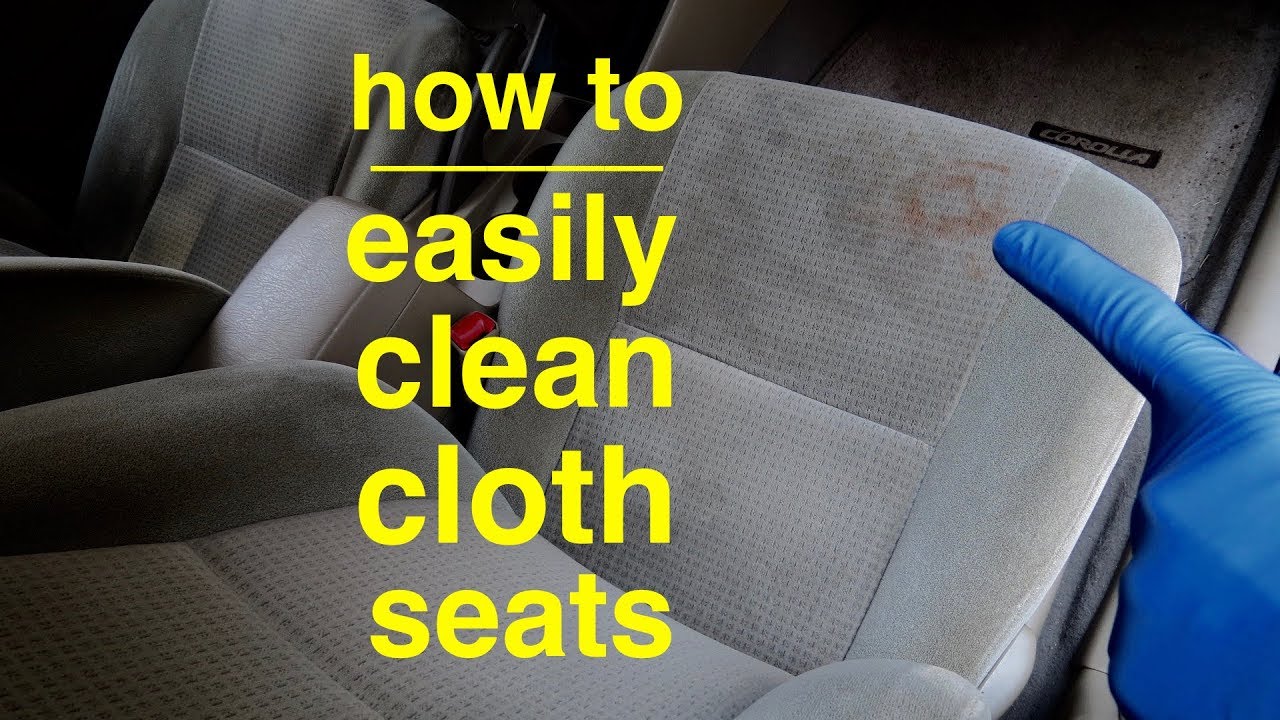
How Do You Clean Cloth Car Seats
Maintaining a clean car interior, especially the upholstery, significantly impacts not only aesthetics but also the overall value and longevity of your vehicle. Cloth car seats, while comfortable and generally more affordable than leather, are notorious for trapping dirt, spills, and odors. Regular cleaning is crucial to prevent permanent stains, allergen buildup, and premature wear. This article provides a detailed guide on effectively cleaning cloth car seats, offering techniques and tips suitable for experienced DIY enthusiasts.
Understanding Cloth Upholstery and Its Cleaning Needs
Before diving into the cleaning process, it’s important to understand the composition and characteristics of cloth car seats. Most modern vehicles utilize synthetic fabrics like polyester, nylon, or a blend. These materials are chosen for their durability, stain resistance, and cost-effectiveness. However, they still possess porous structures that can absorb liquids and trap particulate matter. The specific weave and treatment (e.g., stain-resistant coating) of the fabric will influence the best cleaning approach. Identifying the fabric type can often be found in your vehicle's owner manual or sometimes on a tag attached to the seat itself.
Key Specs and Main Parts (Seat Anatomy)
When cleaning, it's helpful to visualize the seat's components:
- Seat Cushion: The main seating area where most spills and dirt accumulate.
- Seat Back: The vertical portion providing back support.
- Headrest: Offers head and neck support; often removable for separate cleaning.
- Side Bolsters: Raised sections on the sides of the seat, providing lateral support during cornering. These areas often experience higher wear and tear.
- Seams and Crevices: The areas where different sections of fabric are stitched together; these are notorious for trapping dirt and debris.
Tools and Materials
Here's a breakdown of the essential tools and cleaning agents you'll need:
- Vacuum Cleaner with Upholstery Attachment: A powerful vacuum is crucial for removing loose dirt and debris. An upholstery attachment (brush or crevice tool) will help you reach tight spaces and avoid damaging the fabric. Look for a vacuum with a HEPA (High-Efficiency Particulate Air) filter to trap allergens.
- Soft-Bristled Brush: For gently agitating dirt and loosening stains. A dedicated upholstery brush is ideal, but a soft toothbrush can work for smaller areas.
- Microfiber Cloths: Highly absorbent and non-abrasive, ideal for wiping surfaces and blotting stains. Avoid using paper towels, as they can leave lint behind.
- Spray Bottle: For applying cleaning solutions.
- Bucket: For mixing cleaning solutions.
- Cleaning Solutions: Choose a cleaner specifically designed for automotive upholstery. Options include:
- Enzyme Cleaners: Excellent for breaking down organic stains like food, blood, and pet messes.
- Upholstery Shampoos: Provide a deep clean and often contain optical brighteners to enhance the fabric's appearance.
- DIY Solutions: A mixture of warm water and mild dish soap (a few drops per gallon) can be effective for general cleaning. A solution of white vinegar and water (1:1 ratio) can help deodorize and remove some stains. Always test DIY solutions in an inconspicuous area first to ensure they don't damage or discolor the fabric.
- Optional: Steam Cleaner: A handheld steam cleaner can be used to sanitize and deodorize the seats. Use caution, as excessive heat can damage some fabrics.
- Optional: Wet/Dry Vacuum: For extracting cleaning solutions and excess moisture. This is particularly helpful for deep cleaning and preventing mildew growth.
Step-by-Step Cleaning Process
- Vacuum Thoroughly: Begin by vacuuming the entire seating area, including the seat cushions, seat back, headrest, side bolsters, and seams. Use the crevice tool to reach tight spaces and remove as much loose dirt and debris as possible. Pay extra attention to areas where dirt is visibly accumulated.
- Pre-Treat Stains: Identify any stains and pre-treat them with an appropriate cleaning solution. For enzyme cleaners, follow the manufacturer's instructions. For other cleaners, spray a small amount directly onto the stain and let it sit for a few minutes to allow the solution to penetrate.
- Agitate the Stain: Gently agitate the stain with a soft-bristled brush. Avoid scrubbing too hard, as this can damage the fabric or spread the stain. Work in a circular motion, starting from the outside of the stain and working your way towards the center.
- Apply Cleaning Solution: Mix your chosen cleaning solution according to the manufacturer's instructions (or your DIY recipe). Lightly spray the solution onto a microfiber cloth (not directly onto the seat) and gently blot the affected area. Avoid oversaturating the fabric.
- Clean the Entire Surface: Once you've addressed the stains, clean the entire surface of the seat cushion and seat back. This will help ensure a uniform appearance and prevent water rings. Work in sections, overlapping each area to avoid leaving streaks.
- Extract Excess Moisture (Optional): If you're using a wet/dry vacuum, use it to extract excess cleaning solution and moisture from the fabric. This will significantly reduce drying time and prevent mildew growth.
- Dry the Seats: Allow the seats to air dry completely. This can take several hours or even overnight, depending on the humidity and the amount of moisture absorbed. Open the car windows or use a fan to improve air circulation. Avoid using the car until the seats are completely dry.
- Vacuum Again: Once the seats are completely dry, vacuum them again to remove any remaining residue or loosened dirt.
Real-World Use – Basic Troubleshooting Tips
- Water Rings: If you notice water rings after cleaning, try dampening the entire affected area with a clean, damp cloth and then blotting it dry. This will help even out the moisture and prevent the rings from reappearing.
- Stubborn Stains: For stubborn stains, repeat the cleaning process several times. You may also need to try a different cleaning solution. Consider consulting a professional detailer for heavily soiled or difficult-to-remove stains.
- Odor Removal: For lingering odors, sprinkle baking soda on the seats and let it sit for several hours or overnight. Then, vacuum it up. Baking soda is a natural deodorizer and can help absorb unpleasant smells.
- Preventative Measures: To prevent future stains and dirt buildup, consider using seat covers or applying a fabric protector spray. Regularly vacuuming the seats will also help keep them clean and prevent stains from setting in.
Safety Considerations
When working with cleaning chemicals, always wear gloves and eye protection to avoid skin and eye irritation. Work in a well-ventilated area to avoid inhaling fumes. Never mix different cleaning chemicals, as this can create hazardous reactions. Dispose of cleaning products and materials properly according to local regulations. Be especially careful when dealing with wiring under the seats. Disconnect the car battery before messing with anything electrical.
Using too much water or cleaning solution can lead to mildew growth inside the seat foam. Ensure the seats are thoroughly dried after cleaning. In rare cases, some cleaning solutions can discolor or damage fabric. Always test in an inconspicuous location first.
Download the Diagram (Seat Anatomy and Cleaning Flowchart)
To further assist in the cleaning process, we have a downloadable diagram illustrating seat anatomy and a cleaning flowchart outlining the steps described above. This visual aid can be a valuable resource for both beginners and experienced DIYers.
Click here to download the Cloth Car Seat Cleaning Diagram.