How Do You Clean Cloth Seats
So, you're tackling the notoriously grimy task of cleaning your car's cloth seats. Excellent! It's a job often overlooked, but a clean interior significantly enhances the driving experience and can even improve resale value. Think of it as giving your car's backside a much-needed spa day. This isn't just about aesthetics, though; embedded dirt and allergens can impact air quality and exacerbate allergies. We're going to dive deep into the techniques and best practices for a professional-level clean, all within the reach of a determined DIYer like yourself.
Understanding Cloth Seat Construction & Common Soil Types
Before you go spraying and scrubbing, it's crucial to understand what you're dealing with. Cloth seats aren't just a single piece of fabric; they're often multi-layered constructions. Typically, you'll find:
- Surface Fabric: This is the visible layer, usually a woven or knitted textile made from materials like polyester, nylon, or blends. The weave tightness impacts stain resistance.
- Foam Padding: Located beneath the surface fabric, this provides cushioning and support. It's highly porous and prone to absorbing spills.
- Support Structure: This could be a mesh backing or a combination of springs and wires, providing the structural integrity of the seat.
The types of soil you'll encounter are varied, from organic stains (food, drinks, bodily fluids) to inorganic grime (dirt, dust, road salt). Understanding the soil type is critical for selecting the right cleaning method. For example, an enzymatic cleaner is ideal for breaking down organic stains, while a degreaser is better for oily residues.
Key Cleaning Tools and Chemicals
Here’s your arsenal checklist. Don't skimp on quality; better tools yield better results and last longer.
- Vacuum Cleaner with Upholstery Attachment: A powerful vacuum is essential for removing loose dirt and debris. Opt for a model with strong suction and a brush attachment specifically designed for upholstery. A wet/dry vac is even better for extracting liquids.
- Spray Bottles: You'll need these for applying cleaning solutions. Make sure they produce a fine mist rather than a stream.
- Microfiber Towels: These are your best friends for wiping surfaces and absorbing excess moisture. Use different colors to avoid cross-contamination (one for cleaning, one for drying).
- Upholstery Brush: A soft-bristled brush is crucial for agitating stains without damaging the fabric. A horsehair brush is a premium option.
- Steam Cleaner (Optional): A steam cleaner can be a game-changer for sanitizing and deep-cleaning cloth seats. The high heat helps to loosen dirt and kill bacteria.
- Cleaning Solutions: This is where careful selection is key. Consider these options:
- All-Purpose Cleaner (APC): A diluted APC can be effective for general cleaning. Test on an inconspicuous area first to check for colorfastness.
- Upholstery Cleaner: These are specifically formulated for cloth seats and often contain surfactants (surface-active agents) to lift dirt and stains.
- Enzyme Cleaner: Ideal for organic stains like blood, vomit, or urine. The enzymes break down the organic matter.
- Leather Cleaner (Avoid Unless You Have Leather Trim): These can damage cloth, stick to cleaners designed for cloth materials.
- Spot Stain Removers: For stubborn stains that require targeted treatment.
The Cleaning Process: Step-by-Step
Follow these steps for a thorough and effective cleaning:
1. Vacuum Thoroughly
This is the foundation of the entire process. Use the upholstery attachment to vacuum every nook and cranny of the seats, including the seams, crevices, and under the headrests. Overlap your strokes to ensure complete coverage. This removes loose debris that would otherwise turn into mud when wetted.
2. Spot Treat Stains
Identify any visible stains and pre-treat them with a spot stain remover. Follow the product instructions carefully. Apply the cleaner directly to the stain, let it dwell for the recommended time, and then blot gently with a clean microfiber towel. Avoid rubbing, as this can spread the stain or damage the fabric. For stubborn stains, you might need to repeat the process.
3. Apply Cleaning Solution
Dilute your chosen cleaning solution according to the manufacturer's instructions. Lightly mist the entire seat surface with the solution. Avoid oversaturating the fabric, as this can lead to mildew growth. The goal is to dampen the surface, not soak it.
4. Agitate with a Brush
Use the upholstery brush to gently agitate the cleaning solution. Work in small sections, using circular motions to loosen dirt and grime. Don't apply excessive pressure, as this can damage the fabric. Pay particular attention to areas that are heavily soiled.
5. Extract with a Wet/Dry Vacuum or Blot with Microfiber Towels
If you have a wet/dry vacuum, use it to extract the dirty cleaning solution from the fabric. This is the most effective way to remove embedded dirt and moisture. If you don't have a wet/dry vacuum, use clean microfiber towels to blot the surface, absorbing as much moisture as possible. Change the towels frequently as they become soiled.
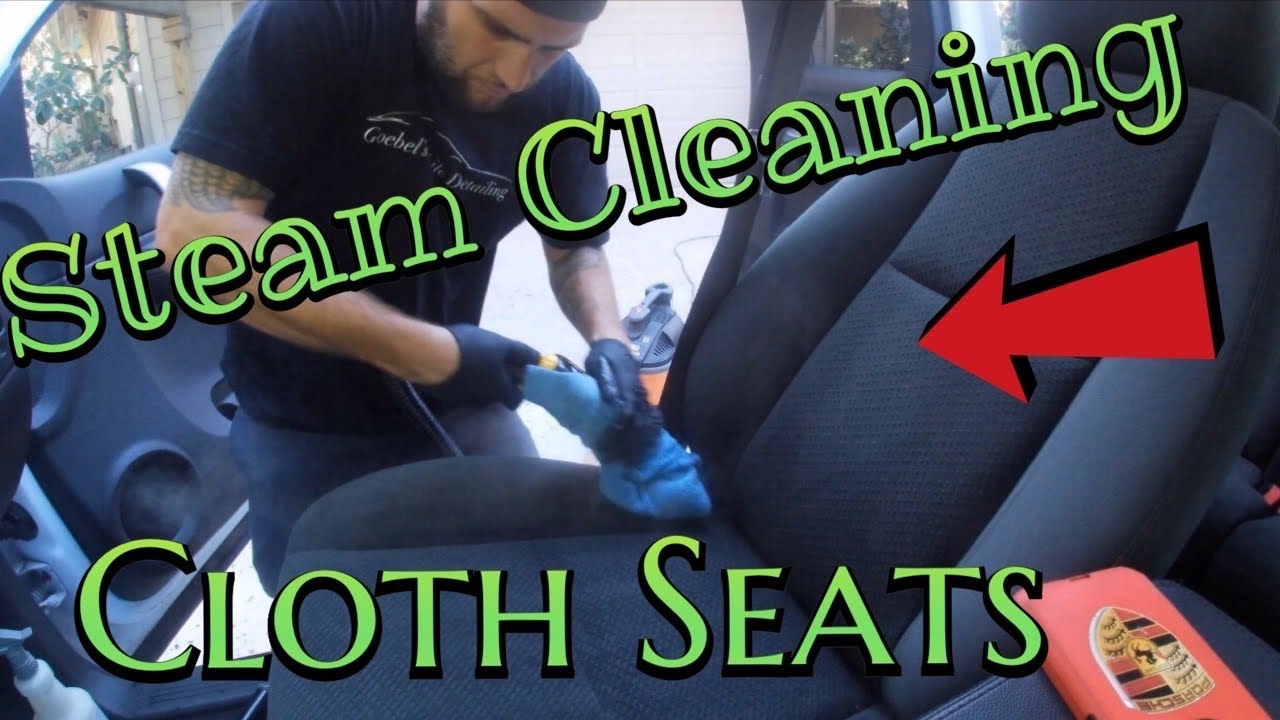
6. Steam Clean (Optional)
If you have a steam cleaner, use it to steam the seats after extracting the cleaning solution. The steam will help to sanitize the fabric and further loosen any remaining dirt. Move the steam cleaner slowly and evenly over the surface, keeping the nozzle a few inches away from the fabric. This helps to kill bacteria and remove any deep stains.
7. Dry Thoroughly
This is crucial to prevent mildew growth and musty odors. Open the car doors and windows to allow for ventilation. You can also use fans to circulate air inside the car. Consider using a dehumidifier to further reduce moisture levels. The drying process can take several hours, depending on the humidity and temperature.
Real-World Use: Troubleshooting Tips
- Water Stains: If you notice water stains after cleaning, try misting the entire seat surface with distilled water and then blotting it dry. This can help to even out the appearance.
- Lingering Odors: If odors persist after cleaning, try sprinkling baking soda on the seats and letting it sit for several hours before vacuuming it up. Baking soda is a natural odor absorber.
- Discoloration: If you notice any discoloration after cleaning, it could be a sign of colorfastness issues. In this case, consult a professional upholstery cleaner.
- Sticky Residue: Some cleaning products can leave behind a sticky residue. To remove it, try wiping the surface with a clean microfiber towel dampened with distilled water.
Safety Considerations
While cleaning car seats is generally safe, it's essential to take some precautions:
- Ventilation: Always work in a well-ventilated area to avoid inhaling harmful fumes from cleaning chemicals.
- Protective Gear: Wear gloves to protect your hands from irritation. Eye protection is also recommended, especially when using spray cleaners.
- Flammable Materials: Keep cleaning solutions away from open flames or heat sources. Some solvents are highly flammable.
- Electrical Safety: When using a wet/dry vacuum or steam cleaner, make sure the power cord is in good condition and that you're using a grounded outlet. Avoid getting water on electrical components.
- Airbags: Be extremely careful when cleaning around airbags. Avoid spraying cleaning solutions directly onto airbag covers, as this could damage the sensors. Consult your car's owner's manual for specific cleaning instructions for airbags.
Cleaning your car's cloth seats is a rewarding task that can significantly improve the interior appearance and overall driving experience. By following these steps and taking the necessary precautions, you can achieve professional-level results without breaking the bank. Remember to always test cleaning solutions on an inconspicuous area first and to allow the seats to dry thoroughly before using the car. Now get out there and make those seats shine!