How Do You Do A Oil Change
Alright, let's talk about something every car owner should at least understand, if not be able to do: the oil change. You might think it's just draining and refilling, but there's a little more finesse involved if you want to do it right and avoid damaging your engine. This article will walk you through the process like I'm explaining it in my shop, using diagrams and technical details so you can tackle this job with confidence.
The Importance of the Oil Change Diagram
Before we even get our hands dirty, let's understand why having a diagram, even a simplified one, is beneficial. It’s not just about knowing where the drain plug is. A good oil change diagram, specific to your car's make and model, serves multiple purposes:
- Preventative Maintenance: It serves as a visual aid during the entire process, ensuring you don’t forget a step or misplace a part.
- Parts Identification: Quickly locate and identify the oil filter, drain plug, and related components. Different engines might have slightly different setups.
- Torque Specifications: It may indicate torque values for the drain plug and oil filter, preventing over-tightening (which can strip threads) or under-tightening (leading to leaks).
- Troubleshooting: It helps in diagnosing issues related to the oil system, like identifying potential leak sources.
- Learning Resource: Even if you’re not actively working on the car, studying the diagram helps you understand the oiling system's layout.
Key Specs and Main Parts
Every oil change revolves around a few core components. Knowing these intimately is crucial.
- Engine Oil: The lifeblood of your engine. It lubricates moving parts, reduces friction, cools components, and removes contaminants. Using the correct type and viscosity (e.g., 5W-30, 10W-40) specified in your owner's manual is critical.
- Oil Filter: This filters out dirt, debris, and contaminants from the oil, keeping it clean and effective. There are spin-on filters and cartridge filters, each requiring a different removal/installation procedure.
- Oil Drain Plug: Located at the bottom of the oil pan, this plug is removed to drain the old oil. They commonly use crush washers to seal properly.
- Oil Pan: The reservoir that holds the engine oil. Located at the bottom of the engine block.
- Oil Fill Cap: The location where you add new oil after draining the old. Typically located on the valve cover.
- Dipstick: Used to measure the oil level in the engine.
- Crush Washer: Usually made of aluminum or copper, this washer deforms upon tightening the drain plug to create a tight seal. Always use a new one.
Understanding Diagram Symbols
Oil change diagrams can use various symbols and conventions. While they may seem cryptic at first, they're relatively straightforward once you understand the basics.
- Lines: Solid lines typically represent physical components, like the oil pan or filter. Dashed lines might indicate oil flow paths.
- Arrows: Indicate the direction of oil flow.
- Circles/Ovals: Often represent round components like the oil filter or drain plug.
- Shading/Color Coding: Some diagrams might use shading or color to distinguish between different materials or components. For example, the oil filter might be shaded a darker color.
- Icons: Icons might represent tools (wrench, socket), torque values (Nm or lb-ft), or specific actions (tighten, loosen).
How It Works: The Oil Change Process
Now for the meat of the matter. This is the sequence of steps, with explanations to help you understand the why behind each action.
- Preparation: Gather your tools (wrench for drain plug, oil filter wrench, drain pan, funnel, new oil, new oil filter, new crush washer, gloves, rags). Warm the engine for a few minutes (this thins the oil for easier draining). Don't let it get too hot, or you risk burning yourself.
- Locate and Access: Position the drain pan under the oil drain plug. You may need to lift the vehicle using ramps or jack stands. Safety first! Use wheel chocks and ensure the vehicle is stable.
- Drain the Old Oil: Using the correct size wrench, carefully loosen and remove the drain plug. Be prepared for the hot oil to gush out. Let the oil drain completely (15-30 minutes).
- Remove and Replace the Oil Filter: While the oil is draining, loosen and remove the old oil filter. Pro Tip: Pre-fill the new oil filter with fresh oil before installing it. This helps reduce engine wear on startup. Lightly lubricate the oil filter's rubber gasket with fresh oil before installing. Screw the new filter on hand-tight, then tighten it another 1/2 to 3/4 turn as specified on the filter.
- Replace the Drain Plug: Clean the drain plug and install a new crush washer. Thread the drain plug back into the oil pan and tighten it to the manufacturer's specified torque. Over-tightening is a common mistake that can damage the threads.
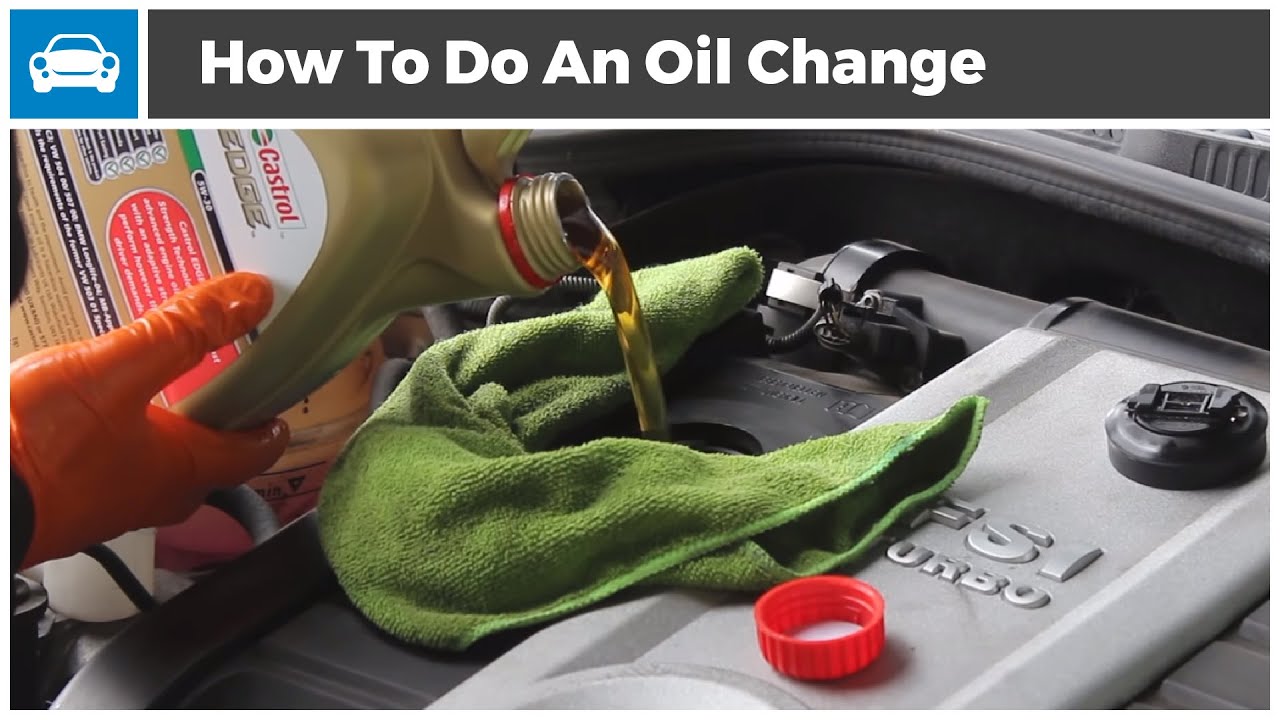
- Add New Oil: Locate the oil fill cap and remove it. Using a funnel, pour the correct amount of new oil into the engine. Refer to your owner's manual for the correct oil capacity.
- Check the Oil Level: Replace the oil fill cap. Start the engine and let it run for a minute or two. Check for leaks around the drain plug and oil filter. Turn off the engine and let it sit for a few minutes. Then, use the dipstick to check the oil level. Add more oil if needed to reach the "full" mark.
- Dispose of Old Oil Properly: Take the used oil and filter to a recycling center or auto parts store for proper disposal.
Real-World Use & Basic Troubleshooting
Even with the best instructions, things can go wrong. Here are some common issues and how to handle them:
- Stripped Drain Plug Threads: This is a nightmare. If you've stripped the threads, you might be able to use a self-tapping drain plug or have the threads repaired professionally. Prevention: use the correct torque and don't over-tighten.
- Oil Filter Leaks: Usually caused by improper installation (over-tightening, under-tightening, or a damaged gasket). Re-tighten the filter, or replace it with a new one.
- Drain Plug Leaks: Usually caused by a damaged or missing crush washer, or insufficient tightening torque. Replace the crush washer and tighten to the correct torque.
- Difficulty Removing Oil Filter: Oil filter wrenches come in handy for stubborn filters. If that doesn’t work, consider puncturing the filter with a long screwdriver and using it for leverage. This is messy, so be careful.
- Wrong Oil Type: Using the wrong oil viscosity can lead to engine damage. Always consult your owner’s manual.
Safety First!
Working on cars involves risks. Pay close attention to these safety precautions:
- Hot Oil: Extremely hot. Wear gloves and be careful to avoid burns.
- Jacking and Support: Never work under a vehicle supported only by a jack. Use jack stands rated for the vehicle's weight.
- Proper Ventilation: Work in a well-ventilated area to avoid breathing fumes.
- Proper Disposal: Used oil is an environmental hazard. Dispose of it properly.
- Electrical Components: While rare during an oil change, be aware of nearby electrical components and avoid contact with them while your hands are oily.
Remember, this is a general guide. Always consult your vehicle's repair manual for specific instructions and torque specifications. With practice and patience, you'll become comfortable and confident performing your own oil changes. Good luck!