How Do You Fix Windshield Wipers
Windshield wipers are often overlooked until they fail, usually at the worst possible moment – during a downpour. Understanding how they work and being able to troubleshoot common problems can save you money and keep you safe on the road. This article provides a comprehensive guide to diagnosing and fixing windshield wiper issues, assuming you have some familiarity with automotive maintenance.
Why This Knowledge Matters
Having a working knowledge of windshield wiper systems empowers you to perform your own repairs, saving on potentially expensive mechanic visits. This knowledge is also invaluable for modifying or upgrading your wiper system, or simply understanding how to maintain it properly. Furthermore, a strong understanding helps diagnose related electrical faults and prevents you from making mistakes that could lead to further damage.
Key Specs and Main Parts
A typical windshield wiper system consists of the following key components:
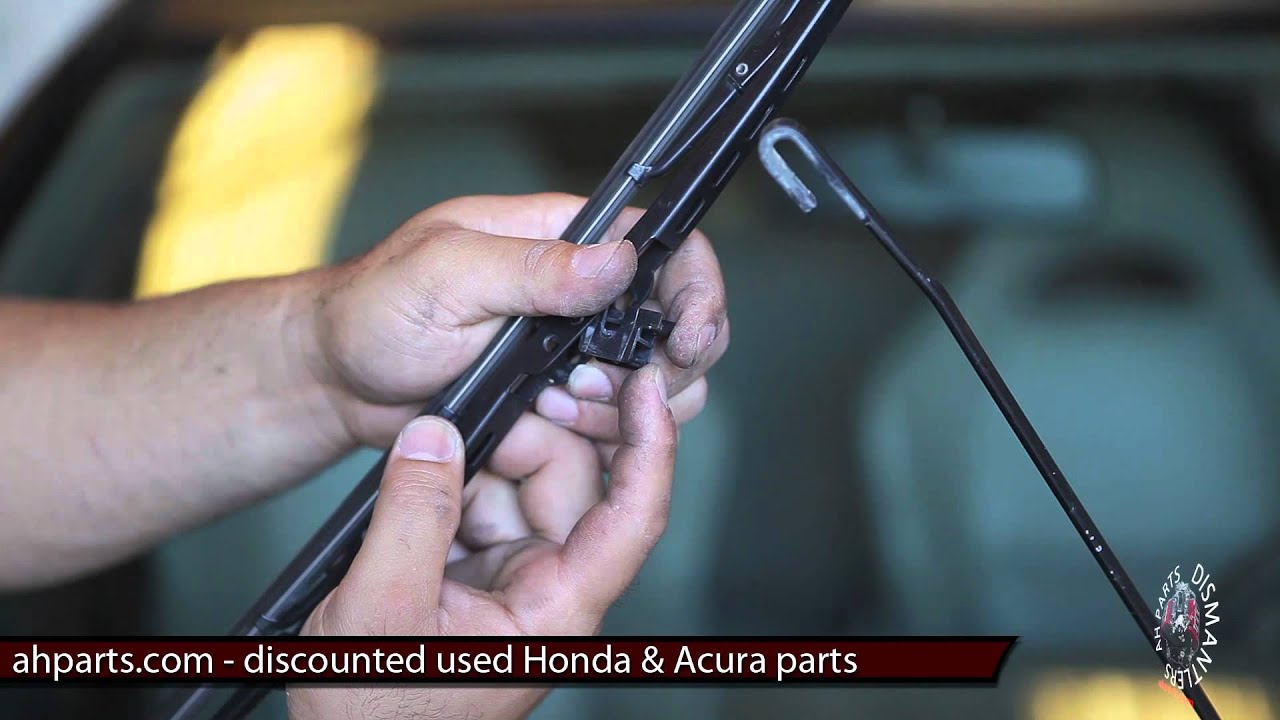
- Wiper Blades: The rubber squeegees that directly contact the windshield. These wear down over time and need to be replaced periodically.
- Wiper Arms: Metal arms that hold the wiper blades and apply pressure to the windshield.
- Wiper Motor: An electric motor that drives the entire wiper system. This is usually a small DC motor.
- Wiper Linkage: A series of connecting rods and pivots that translate the rotary motion of the motor into the back-and-forth motion of the wiper arms. The linkage uses leverage to accomplish this.
- Wiper Transmission: This gearbox reduces the high speed of the wiper motor and converts it to a slower speed suitable for wiper operation. It's often integrated with the motor assembly.
- Wiper Switch: Located on the steering column, this switch controls the wiper motor speed and sometimes includes a mist function and washer pump activation.
- Washer Pump: An electric pump that sprays washer fluid onto the windshield.
- Washer Fluid Reservoir: Holds the washer fluid.
- Wiring Harness: Provides electrical connections to all components.
- Fuse: A protective device that prevents electrical overloads from damaging the system.
- Relay: An electrically operated switch that controls the power supply to the wiper motor. Using a relay allows a smaller switch (on the steering column) to control a larger current draw.
Typical Voltage: Most automotive systems operate on 12V DC.
Motor Current Draw: Varies depending on the vehicle, but typically ranges from 3 to 10 amps.
Wiper Speed: Measured in cycles per minute (CPM). Typically, low speed is around 20-30 CPM, and high speed is around 40-60 CPM.
Understanding Wiring Diagram Symbols
Reading a wiring diagram is crucial for troubleshooting. Here's a breakdown of common symbols:
- Solid Lines: Represent wires. The thickness of the line doesn't typically indicate wire gauge unless otherwise specified.
- Dashed Lines: Often indicate shielding or grounding connections.
- Circles: Typically represent connectors. Look for labels inside or near the circle to identify the connector.
- Rectangles: Represent components like switches, relays, and motors.
- Ground Symbol (looks like an inverted pyramid): Indicates a connection to the vehicle's chassis ground. A good, clean ground is essential for proper operation.
- Fuse Symbol (looks like a squiggly line inside a rectangle): Represents a fuse. The amperage rating is usually marked near the symbol.
- Resistor Symbol (a zig-zag line): Represents a resistor.
- Capacitor Symbol (two parallel lines): Represents a capacitor.
- Color Codes: Wires are often identified by color codes, such as "BLU" for blue, "GRN" for green, "BLK" for black, and so on. Check your vehicle's repair manual for a complete list.
It's important to note that wiring diagram conventions can vary slightly between manufacturers. Always refer to the specific diagram for your vehicle.
How It Works: A Deep Dive
The windshield wiper system operates on a relatively simple principle. When you activate the wiper switch, it sends a signal to the wiper motor relay. The relay then closes, allowing power to flow to the wiper motor. The motor's rotation is converted into reciprocating (back-and-forth) motion by the wiper transmission and linkage. The linkage transmits this motion to the wiper arms, which sweep across the windshield. The speed of the wipers is controlled by varying the voltage supplied to the wiper motor, often achieved through resistors or pulse-width modulation (PWM) in newer vehicles. The washer pump is activated by a separate circuit on the wiper switch, spraying washer fluid onto the windshield to aid cleaning.
The dwell setting, found on many wiper switches, uses a timing circuit (often built into the wiper motor or a separate control module) to activate the wipers intermittently. This interval is usually adjustable.
Real-World Use: Basic Troubleshooting
Here are some common wiper problems and troubleshooting tips:
- Wipers Don't Work At All: Check the fuse first. A blown fuse is the most common cause. If the fuse is good, check the wiper motor relay. You can often test the relay by swapping it with a known good relay (like the horn relay). If the wipers still don't work, use a multimeter to check for voltage at the wiper motor connector. If there's no voltage, trace the wiring back to the switch and relay, looking for breaks or loose connections. If there is voltage at the motor, the motor itself is likely faulty.
- Wipers Work Only on One Speed: This often indicates a problem with the wiper switch or the resistor network that controls the wiper speed. Use a multimeter to check the continuity of the switch in each position.
- Wipers Move Slowly: Could be a weak motor, a binding linkage, or a low battery. Check the battery voltage while the wipers are running. If the voltage drops significantly, the battery might be weak. Inspect the linkage for corrosion or binding. Lubricate the linkage pivots with a suitable lubricant.
- Wipers Don't Return to Park Position: The park switch is usually integrated into the wiper motor. If the wipers don't return to the park position, the park switch is likely faulty, requiring replacement of the motor assembly.
- Wipers Squeak or Chatter: Replace the wiper blades. Ensure the wiper arms are applying even pressure to the windshield. If the windshield is dirty, clean it thoroughly. Consider using a rain repellent product.
- Washer Fluid Doesn't Spray: Check the washer fluid reservoir level. If the reservoir is full, check the washer pump fuse. If the fuse is good, listen for the pump to run when you activate the washer switch. If the pump doesn't run, check for voltage at the pump connector. If there's no voltage, trace the wiring back to the switch. If there is voltage, the pump is likely faulty. Also, check for clogged washer nozzles. You can often clear them with a pin or needle.
Safety Considerations
Working on electrical systems can be dangerous. Always disconnect the negative battery terminal before working on the wiper system. The wiper motor can generate significant torque, so be careful when testing it. Avoid touching the wiper linkage while the motor is running. Washer fluid can be irritating to the skin and eyes, so wear appropriate protective gear. If you suspect a short circuit, immediately disconnect the battery and investigate the cause before reconnecting it. Never work under a vehicle supported only by a jack; always use jack stands.
Risky Components
The wiper motor and its associated wiring harness are the riskiest components. Short circuits in the wiring can lead to electrical fires. Mishandling the motor can cause injury due to its torque and rotating parts.
With the information presented in this guide, along with access to vehicle-specific wiring diagrams and repair manuals, you should be well-equipped to diagnose and repair most windshield wiper problems.
We have a sample windshield wiper wiring diagram available for download. Please note that this is a generic diagram and may not perfectly match your vehicle's wiring. Always consult the specific wiring diagram for your vehicle before performing any repairs.