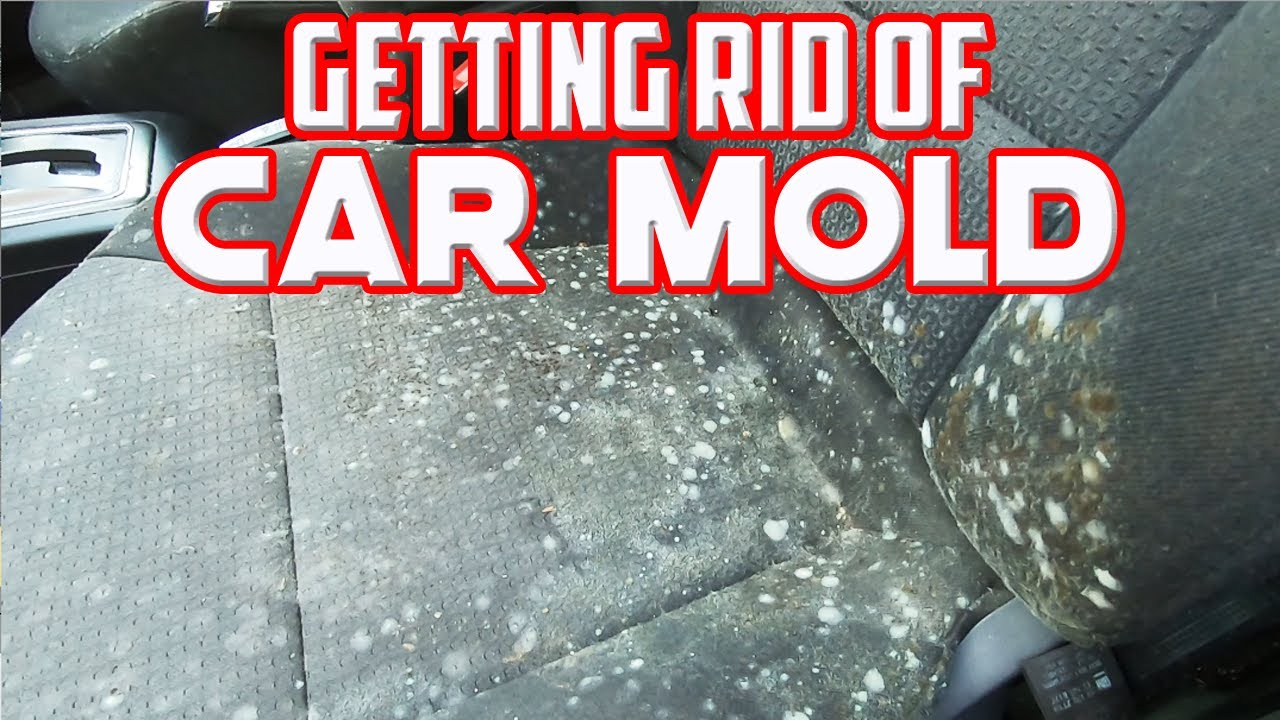
How Do You Get Mold Out Of A Car
Mold in your car isn't just an aesthetic problem; it's a health hazard and can lead to some pretty nasty smells. As someone who's spent years wrenching on cars, I've seen my fair share of mold infestations. Getting rid of it properly requires more than just a quick wipe down. This guide walks you through the process, assuming you're comfortable with basic car cleaning and maintenance.
Understanding the Enemy: Mold and Your Car
Before we dive into the cleanup, it's crucial to understand what mold is and why it's thriving in your vehicle. Mold is a type of fungus that grows in damp, dark environments. Inside a car, common culprits include:
- Leaky seals: Around windows, sunroofs, or doors.
- Spilled liquids: Drinks, food, or even cleaning solutions that haven't dried properly.
- Humid conditions: Especially if the car is parked outside for extended periods.
- Clogged drainage systems: Sunroof drains and AC condensation drains.
Mold spores are everywhere, but they only become a problem when they find moisture and a food source (like fabric, carpet, or even dust). Ignoring mold can lead to respiratory issues, allergic reactions, and damage to your car's interior.
Preparing for Battle: Tools and Materials
You'll need the right equipment to effectively combat mold. Here's a list of essentials:
- Personal Protective Equipment (PPE):
- Respirator or N95 mask: To protect your lungs from mold spores.
- Gloves: To prevent skin contact.
- Eye protection: Safety glasses or goggles.
- Cleaning Solutions:
- Mold-killing solution: A commercial mold remover specifically designed for automotive use (look for products containing benzalkonium chloride or similar biocides). Avoid bleach on colored fabrics as it can cause fading.
- Vinegar solution: A diluted solution of white vinegar and water (1:1 ratio) can be effective on some surfaces.
- Mild detergent: For general cleaning.
- Cleaning Tools:
- Vacuum cleaner with HEPA filter: This is crucial to trap mold spores. A standard vacuum will just redistribute them.
- Stiff-bristled brushes: For scrubbing carpets and upholstery.
- Microfiber cloths: For wiping down surfaces.
- Spray bottles: For applying cleaning solutions.
- Detail brushes: For getting into crevices.
- Drying Equipment:
- Wet/dry vacuum: To remove excess moisture after cleaning.
- Fans or a dehumidifier: To thoroughly dry the interior.
- Optional Tools:
- Steam cleaner: For deep cleaning and sanitizing.
- Ozone generator: Use with extreme caution and only after thorough cleaning. Ozone can be harmful to your lungs and can damage certain materials in the car. Ensure proper ventilation after use.
The Battle Plan: Step-by-Step Mold Removal
Follow these steps carefully to eradicate mold from your car:
1. Identify the Source of Moisture
This is crucial. If you don't fix the leak or moisture problem, the mold will return. Check for:
- Water stains on the headliner, carpets, or seats.
- Dampness in the footwells.
- Clogged sunroof drains (usually located in the corners of the sunroof frame).
- Leaking door or window seals.
- A musty smell, especially after rain.
Address the source of the moisture before you start cleaning.
2. Thorough Vacuuming
Use the HEPA-filtered vacuum to remove as much mold and debris as possible. Pay close attention to:
- Carpets and floor mats.
- Upholstery (seats, headliner, door panels).
- Air vents.
- Crevices and seams.
Vacuum in overlapping strokes to ensure you cover the entire area.
3. Cleaning with Mold-Killing Solution
Spray the affected areas with your chosen mold-killing solution. Follow the manufacturer's instructions carefully. Let the solution dwell for the recommended time (usually 5-10 minutes). Then, scrub the areas with a stiff-bristled brush. For delicate surfaces like the headliner, use a gentler touch and a microfiber cloth. Always test the solution in an inconspicuous area first to ensure it doesn't damage the material.
4. Removing Excess Moisture
Use the wet/dry vacuum to remove as much of the cleaning solution and remaining moisture as possible. This step is critical to prevent mold from returning.
5. Thorough Drying
This is arguably the most important step. Mold thrives in damp environments. Place fans or a dehumidifier inside the car and let it run for several hours, or even overnight. Open the doors and windows (if weather permits) to improve ventilation. Consider using silica gel desiccant packs in areas prone to moisture retention.
6. Disinfecting and Odor Removal
After the area is completely dry, you can use a disinfectant spray to kill any remaining mold spores and eliminate odors. Consider using an automotive-specific air freshener or odor eliminator.
7. Re-evaluation and Prevention
Monitor the cleaned area for any signs of mold regrowth. If the mold returns, repeat the cleaning process and investigate the source of the moisture more thoroughly. Consider applying a mold-resistant sealant to areas prone to leaks.
Real-World Use: Basic Troubleshooting Tips
- Persistent Mold: If the mold infestation is severe, or you can't identify the source of the moisture, consider taking your car to a professional detailing service that specializes in mold removal.
- Stubborn Stains: For tough stains, try using a steam cleaner. The high temperature can help to loosen the stain and kill mold spores.
- Smelly Air Vents: Mold can grow in your car's ventilation system. Use a specialized AC vent cleaner to disinfect the vents and eliminate odors.
Safety: Handling Hazardous Materials
Mold, cleaning chemicals, and electrical equipment can all pose risks. Remember these safety precautions:
- Always wear PPE when handling mold and cleaning solutions.
- Work in a well-ventilated area to avoid inhaling fumes.
- Never mix different cleaning chemicals, as this can create hazardous gases.
- Disconnect the car battery before using electrical cleaning equipment like steam cleaners near sensitive components.
- Dispose of contaminated materials (like cleaning cloths and vacuum bags) properly in sealed bags.
- Ozone Generators: As stated previously, these require extreme caution. Never occupy the vehicle during ozone treatment and ensure thorough ventilation afterwards.
By following these steps, you can effectively remove mold from your car and restore it to a clean, healthy environment. Remember, prevention is key. Regularly inspect your car for leaks and moisture, and address any problems promptly.
We have a detailed diagram illustrating common mold locations and cleaning techniques available for download. This visual aid can further assist you in identifying problem areas and applying the correct cleaning methods.