How Do You Make A Cardboard Car
Alright, let's talk about fabricating a cardboard car. Not a scale model, but a human-scale, drivable... thing. Before you dismiss this as pure whimsy, understand this is a fantastic exercise in structural design, weight distribution, and creative problem-solving. While it might not replace your daily driver, understanding the principles involved can be incredibly valuable for anyone interested in car modification, DIY mechanics, or even just understanding basic engineering concepts.
Purpose – Why would anyone do this? Well, beyond the sheer fun and bragging rights, building a cardboard car offers a unique learning experience. It forces you to think about load bearing, material properties (even of something as seemingly simple as cardboard), and how to translate a mental image into a physical reality. It’s a great way to test your fabrication skills, experiment with design, and learn from your mistakes in a low-stakes environment. Consider it a scaled-up version of building a model airplane, but with much more impressive results (and the potential for actual movement!).
Key Specs and Main Parts
The "specs" here are highly variable depending on your goals and materials, but let's break down the core components and considerations:
Chassis/Frame
This is the foundation of your cardboard car. It needs to be strong enough to support the weight of the driver and any other components. The key here is to understand that cardboard is strongest in compression. Therefore, you’ll want to design a structure that utilizes folds, gussets, and strategic layering to distribute weight and prevent buckling. Think in terms of triangles and arches – these are inherently stable shapes. Corrugated cardboard (the kind with the wavy layer inside) is your best bet for this.
Key Specs:
- Material: Corrugated cardboard (double or triple wall preferred for higher strength)
- Design Considerations: Load bearing capacity, weight distribution, structural integrity
- Fasteners: Strong packing tape, glue (construction adhesive), staples (use with caution)
Wheels and Axles
This is where things get tricky. Cardboard wheels alone are unlikely to be durable enough for any significant distance or weight. You'll likely need to reinforce them significantly. Common solutions include:
- Using pre-made wheels: Bicycle wheels or even smaller caster wheels can be integrated into the design.
- Reinforcing cardboard wheels: Layers of cardboard glued together, potentially with a wooden or metal core for the axle.
The axles themselves can be made from wood dowels, metal rods, or even thick, tightly rolled cardboard tubes. The attachment of the wheels to the axles, and the axles to the chassis, is critical for stability and functionality.
Key Specs:
- Wheel Material: (Ideally) Bicycle wheels, caster wheels, or heavily reinforced cardboard.
- Axle Material: Wood dowel, metal rod, reinforced cardboard tube.
- Bearing System: Simple bushings (cardboard rubbing against cardboard) or proper bearings for smoother rotation.
Drive System (Optional)
If you want to make your cardboard car move under its own power, you have a few options, ranging from simple to complex:
- Pedal power: A simple crank and pedal system can drive the rear axle. This requires careful design to ensure proper gearing and leverage.
- Electric motor: A small electric motor (e.g., from a scooter or electric toy) can be used to power the wheels. This will require a battery and a control system.
- Gravity (downhill only!): Let's be realistic.
Key Specs:
- Motor Power: (If applicable) Dependent on desired speed and weight.
- Gearing: (If applicable) Gear ratio to optimize torque and speed.
- Power Source: (If applicable) Battery voltage and capacity.
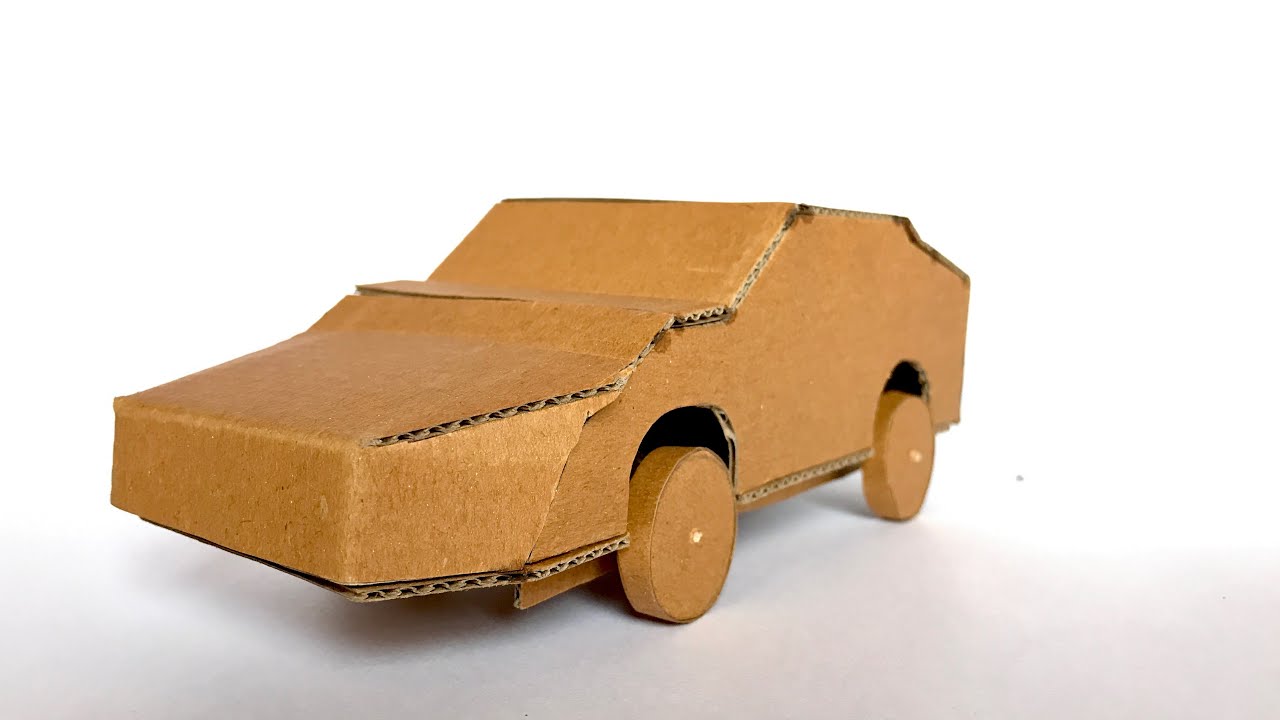
Body Panels
This is where you can get creative with the aesthetics of your car. Cardboard body panels can be shaped and attached to the chassis to create the desired look. Consider using templates and accurate measurements to ensure a consistent and professional finish.
Key Specs:
- Material: Single-layer cardboard (easier to shape and cut).
- Attachment: Tape, glue, or staples.
- Design: Aerodynamics (if you're ambitious!), aesthetics, visibility.
Symbols and Notations
While there isn't a standardized set of symbols for cardboard car construction diagrams, here are some common notations you might encounter or want to use when planning your build:
- Solid Lines: Represent cut lines.
- Dashed Lines: Represent fold lines.
- Hatching (Cross-hatching): Indicates areas to be reinforced or layered.
- Arrows: Show the direction of force or weight distribution.
- Circles: Indicate the location of holes for axles or fasteners.
- Color Coding: Can be used to differentiate between different materials or components. For example, blue for cardboard, red for wood, green for metal.
How It Works
The basic principle is simple: create a strong and stable frame, attach wheels that can rotate freely, and then add a body to make it look like a car. The challenge lies in the details:
- Structural Integrity: The chassis must be able to withstand the weight of the driver and any stresses imposed during movement. This requires careful design and reinforcement.
- Weight Distribution: Even weight distribution is crucial for stability and handling. Avoid placing heavy components (like the battery, if using an electric motor) too high up or too far to one side.
- Rolling Resistance: Minimize friction in the wheel bearings to allow for smooth and efficient movement.
- Fastener Strength: Ensure that all fasteners (tape, glue, staples) are strong enough to hold the components together under stress.
Real-World Use – Basic Troubleshooting Tips
So, you've built your cardboard car, and it's… not quite working as expected. Here are some common problems and potential solutions:
- Chassis Flexing or Buckling: Add more reinforcement to the affected areas. Consider using gussets or additional layers of cardboard.
- Wheels Not Rotating Smoothly: Check for obstructions or excessive friction in the wheel bearings. Lubricate the bearings (if possible) or adjust the axle alignment.
- Car Tipping Over: Redistribute the weight to lower the center of gravity. Widen the wheelbase if necessary.
- Fasteners Failing: Use stronger tape, glue, or staples. Consider using mechanical fasteners (screws or bolts) where possible.
Safety – Highlight Risky Components
Building a cardboard car might seem harmless, but there are a few safety considerations to keep in mind:
- Sharp Edges: Cardboard can have sharp edges. Use caution when cutting and handling cardboard, and consider covering exposed edges with tape.
- Structural Failure: A poorly designed or constructed cardboard car can collapse, potentially causing injury. Test the structure thoroughly before putting it into use.
- Electrical Components: If using an electric motor, be careful when working with batteries and wiring. Ensure that all connections are secure and that the electrical system is properly insulated. Water and electricity DON'T MIX!
- Eye Protection: Wear safety glasses when cutting, drilling, or sanding cardboard.
- Supervision: Children should be supervised at all times when building or operating a cardboard car.
This whole exercise is about experimentation and learning. Don't be afraid to try new things, make mistakes, and learn from them. The most important thing is to have fun and be creative!
We have a basic diagram file available for you to download to get started. This diagram outlines a simple chassis design that you can adapt to your specific needs. Contact us, and we'll happily provide it.