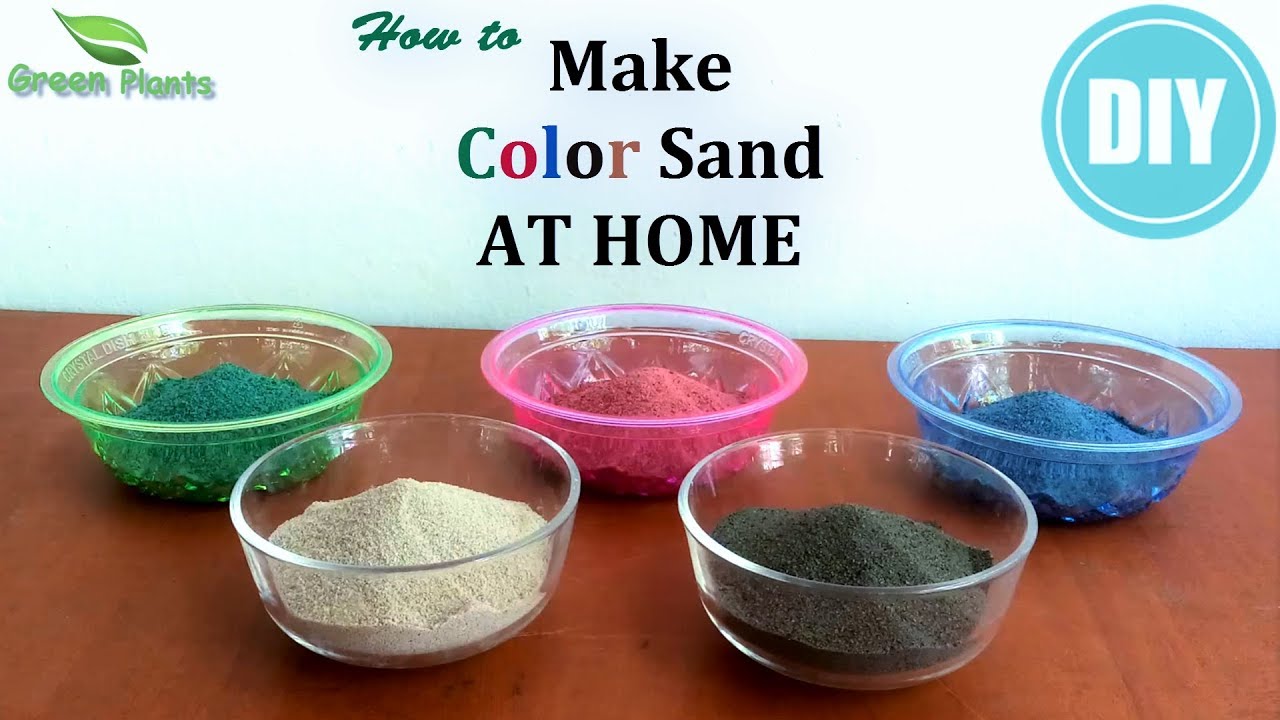
How Do You Make Coloured Sand
So, you're looking to create some colored sand? Whether it's for crafting, landscaping, or even a custom automotive paint project involving textures and finishes, understanding the process of coloring sand is key to achieving consistent and vibrant results. Think of this as modifying the raw material – just like prepping metal for a new coat of paint on your classic car.
Purpose: Why Color Your Own Sand?
Commercially available colored sand can be expensive and often comes in limited color selections. Learning to make your own gives you several advantages. First, you gain complete control over the color and intensity of the sand. You can match specific hues for art projects, create custom blends for terrariums, or even develop a unique textured finish for certain automotive applications. Secondly, it can be a more cost-effective approach, especially if you need a large quantity of colored sand. Finally, it allows you to experiment with different types of sand and dyes to achieve unique visual effects. Think of it like mixing your own custom paint blends; you have unparalleled control over the final product.
Key Specs and Main Parts (Ingredients and Equipment)
The process is relatively straightforward, but understanding the key components is crucial:
- Sand: This is your base material. The type of sand matters. Fine-grained play sand is suitable for many crafts, while coarser sand might be better for decorative purposes. Ensure the sand is clean and dry before you start. Contaminants can interfere with the dyeing process. Just like you wouldn't paint over rust on your car, you wouldn't dye dirty sand.
- Dye or Pigment: The heart of the process. Common options include:
- Powdered Pigments: These provide excellent color saturation and are generally lightfast (resistant to fading). Consider using pigments designed for concrete or masonry as they're formulated for durability and UV resistance. They're akin to the pigments used in automotive paints.
- Liquid Dyes: Fabric dyes or even food coloring can be used, but they may not be as lightfast as powdered pigments. They often require a binder to ensure the color adheres properly to the sand.
- Acrylic Paints: Diluted acrylic paints can work for smaller batches. However, they can create a less natural, slightly plastic-like finish.
- Binder (Optional): A binder helps the dye adhere to the sand particles, especially when using liquid dyes. Options include:
- Acrylic Medium: A clear acrylic medium is a good choice as it dries clear and provides a durable finish.
- White Glue (PVA): Diluted white glue can also be used, but it may affect the final texture of the sand, making it slightly stickier.
- Containers: For mixing and drying the sand. Plastic containers or trays work well.
- Mixing Tools: Spoons, spatulas, or even a small shovel for larger batches.
- Protective Gear: Gloves and a dust mask are essential, especially when working with powdered pigments. You don't want to inhale these powders.
How It Works: The Coloring Process
The core principle involves distributing the dye evenly over the sand particles and then ensuring it adheres properly. Here's a step-by-step breakdown:
- Preparation: Ensure your sand is clean and completely dry. This is critical for even color distribution. Spread the sand in a thin layer on a tray or container.
- Mixing the Dye:
- Powdered Pigments: If using powdered pigments, pre-mix the pigment with a small amount of water or a binder (like acrylic medium) to form a paste. This helps prevent clumping and ensures even distribution. The consistency should be similar to a thick cream.
- Liquid Dyes: If using liquid dyes, dilute the dye with water according to the dye manufacturer's instructions. You might need to add a binder to the dye solution.
- Acrylic Paints: Dilute the paint with water until it has a thin, milky consistency. Add a small amount of acrylic medium for better adhesion.
- Applying the Dye: Gradually add the dye mixture to the sand, mixing thoroughly as you go. Use a spoon or spatula to ensure all the sand particles are coated. The key is to add the dye gradually to avoid creating clumps of highly saturated sand. Think of it like applying primer before painting; you want an even, consistent base.
- Mixing and Drying: Continue mixing until the sand is evenly colored. Once the sand is thoroughly mixed, spread it out in a thin layer on a clean tray or container to dry. Allow the sand to dry completely before using it. This can take several hours or even overnight, depending on the humidity and the amount of dye used. You can speed up the drying process by placing the tray in a warm, well-ventilated area or using a low-heat oven (around 200°F/93°C) for a short period, but keep a close eye on it to prevent burning or clumping.
- Finishing (Optional): Once the sand is dry, you can sift it through a fine-mesh sieve to remove any clumps and ensure a uniform texture.
Real-World Use: Basic Troubleshooting Tips
- Uneven Color: This usually indicates that the dye wasn't mixed thoroughly enough or that the sand wasn't completely dry to begin with. Ensure thorough mixing and completely dry sand.
- Color Fading: This can occur if you're using dyes that are not lightfast or if the sand is exposed to direct sunlight for prolonged periods. Use pigments designed for outdoor use and consider adding a UV protectant to the dye mixture.
- Clumping: Clumping can be caused by using too much liquid dye or by not allowing the sand to dry completely. Use a minimal amount of liquid and ensure thorough drying. Sifting the sand after drying can also help break up clumps.
- Weak Color Intensity: If the color isn't vibrant enough, you may need to use a higher concentration of dye or pigment. Experiment with different dye-to-sand ratios to achieve the desired intensity.
Safety: Important Considerations
Working with pigments and dyes can present some hazards. Always wear gloves and a dust mask to prevent skin irritation and inhalation of harmful particles. Work in a well-ventilated area. Certain pigments may contain heavy metals or other toxic substances, so always read the product labels and follow the manufacturer's instructions. When using a heat source to dry the sand, exercise caution to avoid burns. Keep children and pets away from the work area.
Just as you’d consult a diagram before tackling a complex engine repair, understanding these steps and safety precautions is essential for successfully creating colored sand. Experimentation is key, so don’t be afraid to try different dyes and techniques to achieve your desired results.
We have a detailed, printable guide and a color mixing chart available for download. It provides a more visual representation of the process and includes common color combinations. Consider it your "workshop manual" for colored sand creation.