How Do You Make The Color Beige
Alright folks, let's dive into the surprisingly complex world of creating the color beige. You might think it's just "light brown," but like any good custom car paint job, the devil is in the details. We're going to explore the color science behind achieving that perfect beige, focusing on the subtractive color model used in mixing paints, just like you'd mix tints to get that custom shade on your ride.
Purpose: The Art and Science of Beige
Why are we tackling this? Well, besides sheer curiosity, understanding color mixing is invaluable for several reasons. Imagine needing to touch up a beige interior on a classic car. Knowing the underlying principles lets you precisely match the original shade, avoiding that jarring "close, but no cigar" effect. Or perhaps you're going for a vintage aesthetic and want to create a custom beige exterior. More generally, grasping the basics of color mixing empowers you to experiment with different shades and tones, allowing for personalized customization.
This understanding also translates to other areas. Say you're reupholstering seats and need to dye the fabric. Or you’re mixing epoxy to repair body panels, and you need to tint it to match the existing paint. The principles we'll cover are universally applicable to any situation where you need to create a specific color from a base palette.
Key Specs and Main Parts: Breaking Down the Color Wheel
Unlike an engine diagram, we're dealing with the color wheel. However, just like an engine has its key components, so does color mixing. Let's start with the fundamentals:
- Primary Colors: These are the base colors – red, yellow, and blue – that cannot be created by mixing other colors. They are the foundation of our beige creation.
- Secondary Colors: These are created by mixing two primary colors:
- Red + Yellow = Orange
- Yellow + Blue = Green
- Blue + Red = Violet
- Tertiary Colors: These are created by mixing a primary color with a neighboring secondary color. Examples include red-violet, blue-green, and yellow-orange.
- Hue: This refers to the pure color itself (e.g., red, blue, green).
- Saturation (or Chroma): This describes the intensity or purity of a color. A highly saturated color is vivid and intense, while a low saturation color is dull or muted.
- Value (or Brightness): This refers to how light or dark a color is. It's determined by the amount of white or black added to the hue.
- Tints: These are created by adding white to a hue. This increases the value and makes the color lighter.
- Shades: These are created by adding black to a hue. This decreases the value and makes the color darker.
- Tones: These are created by adding gray (a mixture of black and white) to a hue. This desaturates the color and makes it more muted.
For beige, we'll primarily be working with tints and tones of brown, which itself is essentially a darkened shade of orange or yellow.
How It Works: The Beige Recipe
Creating beige is all about carefully manipulating the saturation and value of your base colors. Here's a step-by-step approach:
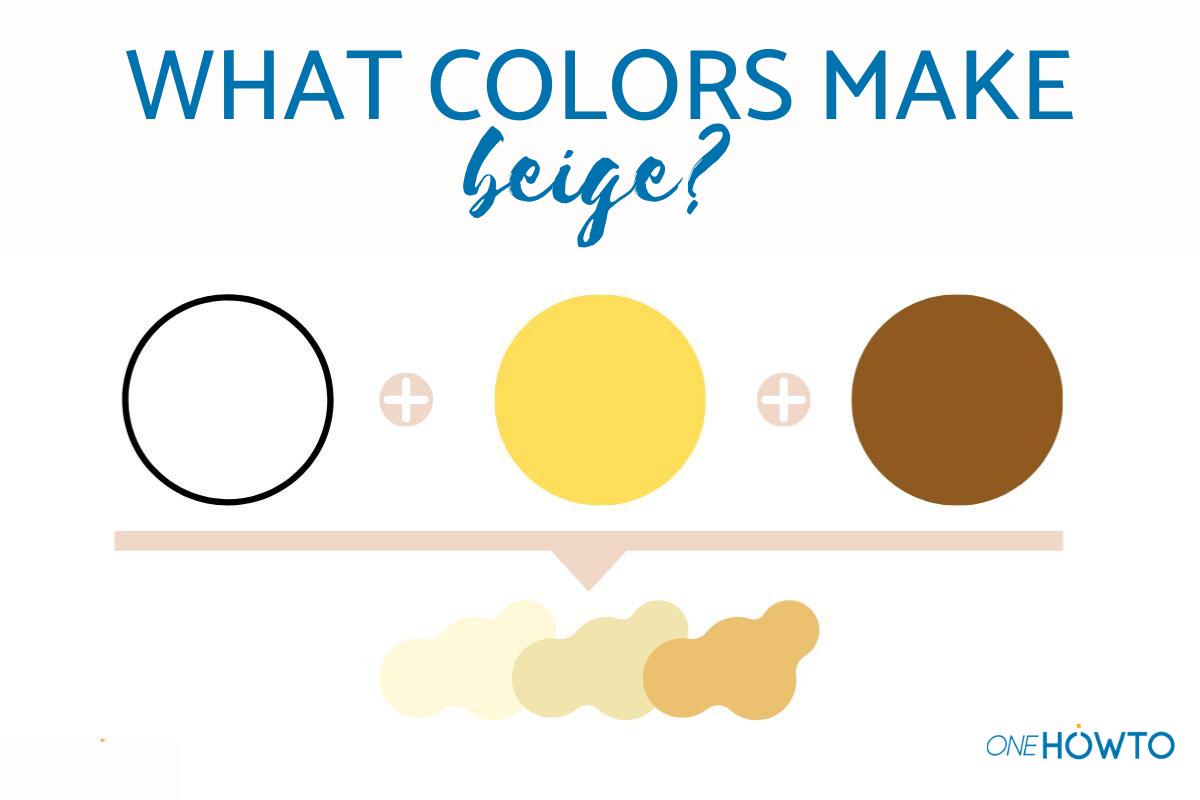
- Start with Yellow: Yellow is the foundation. Think of it as the engine block in our color mixing analogy.
- Add a Touch of Red: Introduce a small amount of red to create an orange hue. Remember, we're aiming for brown, which is a darker version of orange, so control the red carefully.
- Introduce Blue (Sparingly!): This is where the magic happens. Blue is the complementary color of orange, meaning it sits directly opposite on the color wheel. Adding a *tiny* amount of blue neutralizes the orange, pushing it towards brown. Too much blue, and you'll end up with a muddy mess. Think of it like adjusting the fuel/air mixture – too much of either, and the engine sputters.
- Adjust with White: Now that you have a brown base, add white to create a tint. This will lighten the color and move it closer to beige. Add white incrementally, mixing thoroughly between each addition.
- Fine-Tune with Gray (Optional): If the beige is too vibrant, add a tiny amount of gray to tone it down and desaturate it. This is like adjusting the timing – a little tweak can make all the difference.
Important Note: The exact proportions will depend on the specific pigments in your paints. Different brands and even different batches within the same brand can vary slightly. Always test the color on a separate surface before applying it to your project.
Real-World Use: Troubleshooting Beige
Here are some common issues you might encounter and how to troubleshoot them:
- Too Brown: Add more white.
- Too Orange: Add a *very* small amount of blue or gray.
- Too Yellow: Add a small amount of red, followed by a touch of blue or gray.
- Too Gray/Muddy: You've likely added too much blue or black. Unfortunately, the only real solution is to start over, being more cautious with the blue/black additions.
- Not Opaque Enough: This is a problem with the paint itself, not the color. Use a higher-quality paint with better pigment concentration or apply multiple thin coats.
Remember to keep a detailed log of the colors you use and the proportions. This is like keeping a maintenance log for your car – it helps you reproduce the results in the future.
Safety: Pigment Handling
While mixing paint isn't as dangerous as working on your car's brakes, there are still safety considerations:
- Wear Gloves: Pigments can stain your skin.
- Work in a Well-Ventilated Area: Some paints contain volatile organic compounds (VOCs) that can be harmful to breathe.
- Dispose of Waste Properly: Don't pour paint down the drain. Follow local regulations for hazardous waste disposal.
- Avoid Ingesting Paint: This should be obvious, but it's worth mentioning.
- Certain pigments may be toxic. Always read and follow the manufacturer's safety data sheet (SDS) for each paint you use.
Pay special attention when working with paints containing lead or other heavy metals. These are less common now but can still be found in older paints. Always wear a respirator and take precautions to avoid inhaling or ingesting the dust.
Downloadable Color Guide
To help you visualize the color mixing process and experiment with different beige variations, we've compiled a detailed color guide. This guide includes a color wheel, examples of different beige shades, and recipes for achieving them. You can download the guide using the link below.
Now get out there and start mixing! With a little practice, you'll be a beige-mixing master in no time, creating custom colors that perfectly match your vision. And remember, just like tuning an engine, patience and precision are key!