How Do You Make The Color Tan
Alright, let's talk about a subject that might seem simple on the surface but gets surprisingly complex when you dive in: crafting the perfect tan. We're not talking about sunbathing here; we're talking about achieving the precise tan color you need for interior trim, touch-up paint, or custom mods on your vehicle. Whether you're restoring a classic car, customizing your dashboard, or just trying to match a faded panel, understanding color mixing is crucial. Think of this as automotive art, but with a practical, repair-oriented purpose.
The Purpose of Understanding Tan Color Mixing
The reason you need to grasp this isn't just about aesthetics; it's about repair and restoration. Imagine needing to replace a cracked dashboard component. Sourcing an exact match is rare, especially for older vehicles. You'll likely need to paint or dye the replacement part. Learning to mix the specific shade of tan you require will save you time, money, and the headache of mismatched interior pieces. Furthermore, understanding color theory applies across many aspects of vehicle modification, from custom paint jobs to creating unique textures and effects.
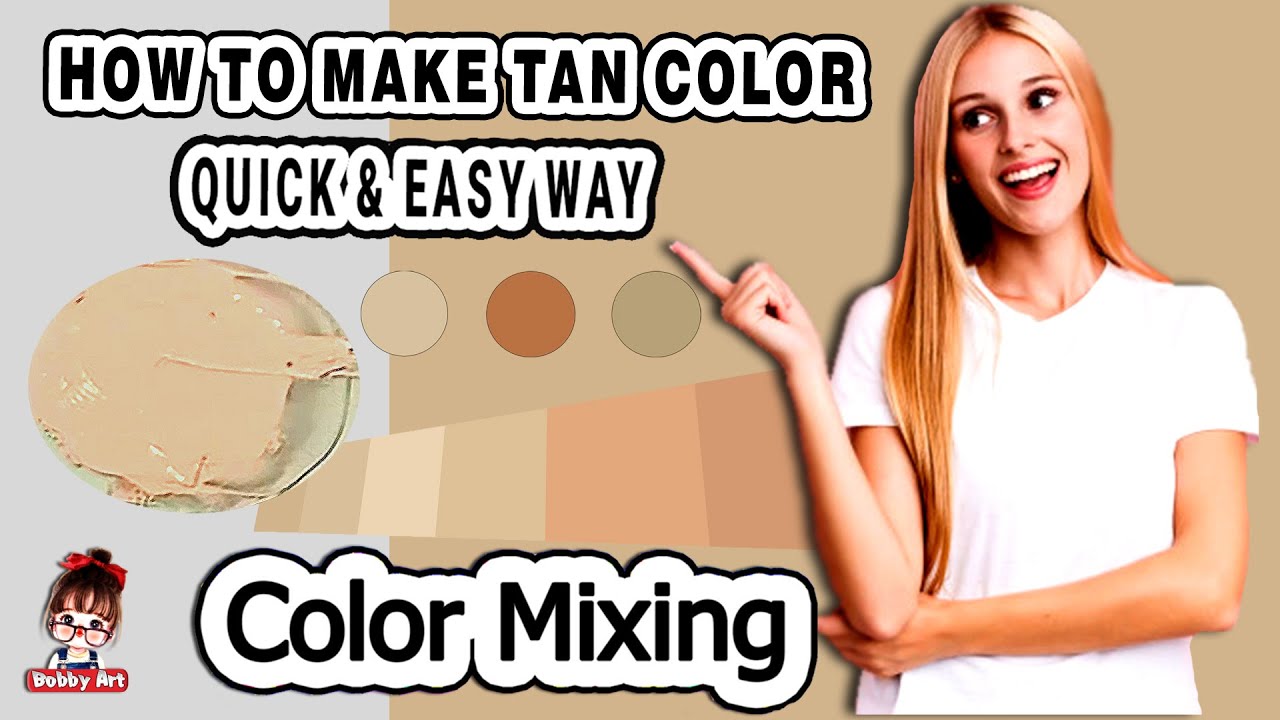
Key Specs and Main Parts: Your Color Palette
Think of your paint as having a limited palette of primary and secondary colors. To create tan, we'll be working primarily with these "ingredients":
- White: The foundation for lightening any color. Titanium white is a common and effective choice for automotive applications.
- Brown: Provides the base hue for tan. Raw Umber is a good starting point, offering a natural, earthy tone.
- Yellow: Adds warmth and brightness. Yellow Ochre is often preferred for its muted, earthier tone compared to brighter yellows.
- Black: Used sparingly, to darken and mute the color. Lamp Black is a standard choice.
- Red: A touch of red can add depth and richness to your tan. Use a red oxide carefully, as it can overpower the mix if used in excess.
These aren’t the only options, but they are a great starting point. The specific pigments used in each paint are what ultimately define the color. Look for paints labeled with their pigment information (e.g., "PW6" for Titanium White).
Beyond the colors themselves, you'll need:
- A Mixing Palette: Avoid contamination by using a clean, dedicated palette.
- Mixing Sticks: Wooden sticks or spatulas are ideal.
- Measuring Tools: Syringes or graduated cups ensure accurate ratios.
- Test Surfaces: Scraps of the material you intend to paint. Color looks different on different surfaces.
Decoding the Color Mixing Diagram: Symbols and Conventions
While there isn’t a single, universal "diagram" for mixing tan, we can create a conceptual roadmap. Think of it as a flowchart:
- Boxes: Represent individual colors (e.g., "White," "Brown," "Yellow").
- Arrows: Indicate the direction of mixing – adding one color to another.
- Percentages (or Ratios): Show the approximate proportions of each color. A label "50%" means that you want to add 50% of the color to the mixture.
- Text Descriptions: Annotations describing the effect of adding a particular color (e.g., "Adds Warmth," "Darkens").
Since color mixing is subjective, you’ll refine the ratios to get to the right color. This is an iterative process.
How It Works: The Art and Science of Tan
The process of mixing tan involves understanding how primary colors interact and how adding them affects the overall hue. Remember the basic principles of color theory:
- Mixing White: Lightens the color and increases its value (makes it closer to white).
- Mixing Black: Darkens the color and decreases its value (makes it closer to black).
- Mixing Complementary Colors: Mutes the color, making it less vibrant (e.g., adding a tiny bit of blue to orange).
Here's a general approach to mixing a basic tan:
- Start with White: A large portion of your mixture will be white, as tan is a light color. Begin with a quantity appropriate for the size of your project.
- Add Brown Incrementally: Introduce small amounts of brown (Raw Umber) to the white. Mix thoroughly after each addition. Observe the color change. You're aiming for a light brown or beige base.
- Introduce Yellow: Yellow Ochre adds the necessary warmth. Again, add it sparingly, mixing well after each addition. Watch for the color to shift from a cool beige to a warmer, more yellowish tone.
- Fine-Tune with Red and/or Black: If the tan is too cool or muted, add a *tiny* amount of Red Oxide. If it's too bright, add a *tiny* amount of Lamp Black. Black is powerful, so use it with extreme caution.
- Test and Adjust: This is crucial. Apply a small amount of the mixture to a test surface (preferably a piece of the material you’re painting). Allow it to dry completely. Colors often shift as they dry. Compare the dried sample to your target color and adjust the mixture accordingly.
- Repeat: Continue this process of testing and adjusting until you achieve a perfect match. Document the final ratios you used; this will be invaluable if you need to mix more paint later.
Important Tip: Always mix more paint than you think you'll need. It's incredibly difficult to perfectly replicate a color mixture later. It is better to have extra than not enough!
Real-World Use: Basic Troubleshooting Tips
Even with careful planning, problems can arise. Here's some common troubleshooting advice:
- Too Light: Add more brown and/or yellow.
- Too Dark: Add more white.
- Too Cool/Gray: Add yellow and/or red.
- Too Warm/Orange: Add a tiny bit of black or blue. (Remember complements dull.)
- Color Doesn’t Match After Drying: This is common. Account for this shift during your initial mixing. Experiment and learn how your chosen paints behave.
- Paint is Uneven: The issue may not be the color but the paint type. Ensure that you are applying multiple thin layers of paint and allowing it to dry between coats. Also, remember to clean and prepare the surface prior to paint application.
Safety: Handling Automotive Paints
Automotive paints often contain volatile organic compounds (VOCs) and other hazardous materials. Always prioritize safety:
- Ventilation: Work in a well-ventilated area to avoid inhaling fumes. Open doors and windows, or use a ventilation fan.
- Respiratory Protection: Wear a respirator or mask rated for organic vapors, especially when spraying paint.
- Skin Protection: Wear gloves to prevent skin contact. Some paints can cause irritation or allergic reactions.
- Eye Protection: Wear safety glasses or goggles to protect your eyes from splashes and fumes.
- Disposal: Dispose of paint waste properly, according to local regulations. Do not pour paint down the drain.
Warning: Some older automotive paints contain lead. If you are working with paints from older vehicles, take extra precautions to avoid exposure. Get lead testing supplies and test your work area frequently.
Mastering color mixing takes practice, but with the right understanding and precautions, you can achieve professional-quality results for your automotive projects. Remember to document your formulas and use them for future projects, and remember to be safe.
We have a basic tan color mixing guide with starting ratios and some additional tips available for download. Click here to download the guide (link to file).