How Do You Replace A Key Fob
So, you're looking to replace a key fob, huh? Whether it's because you've lost the original, the buttons are worn out, or you just want a spare, you've come to the right place. This isn't rocket science, but it does involve some specific steps and, depending on your car, a little bit of know-how regarding vehicle security systems. We'll break down the process in a way that's both technically accurate and easy to understand, even if you're not a professional mechanic. We're assuming you've already got a replacement fob; if not, make sure you're buying one that's compatible with your car's make, model, and year.
Why Bother Replacing It Yourself?
The dealership will happily sell you a new key fob and program it for a hefty price. The purpose of doing this yourself is simple: save money. Furthermore, understanding the process gives you greater control over your vehicle's security and allows you to diagnose and potentially fix related issues down the road. We’ll also discuss how the electronic diagram can assist you.
Key Fob Anatomy & Specs
Let's start with the basics. A key fob, at its core, is a miniature radio transmitter. Its main components include:
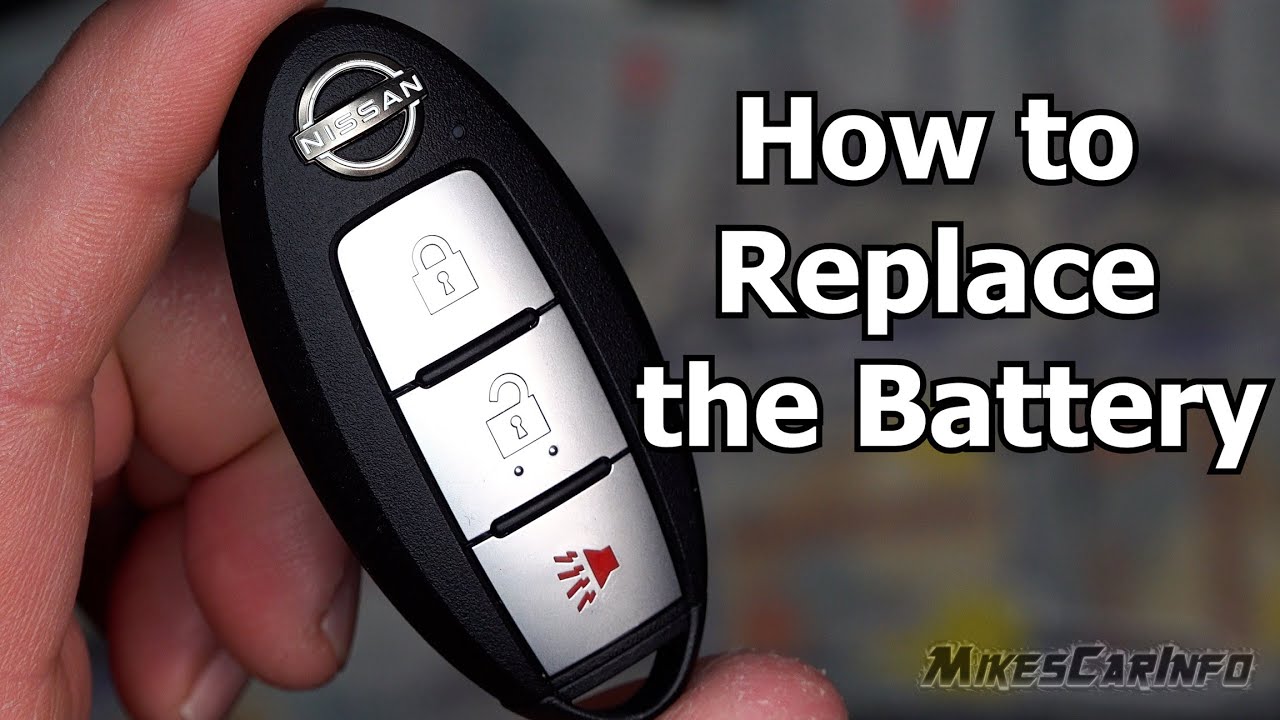
- Battery: Usually a coin cell battery (CR2032, CR2025, etc.). Check the original fob or the replacement's documentation to identify the correct type.
- Microcontroller: The brain of the fob. It stores the car's immobilizer code and controls the radio transmitter.
- Radio Transmitter: Sends the signal to your car's receiver. Frequency varies depending on the car manufacturer (typically 315 MHz or 433 MHz in North America, 433.92 MHz or 868 MHz in Europe).
- Buttons: Activates specific functions like locking/unlocking doors, opening the trunk, or activating the panic alarm.
- Circuit Board: Connects all the components.
- Housing: The plastic case that protects the internal components.
Key specs to consider when replacing a fob:
- FCC ID: Found on the original fob or in your car's owner's manual. This is crucial for ensuring compatibility.
- Frequency: As mentioned above, different regions and manufacturers use different frequencies.
- Immobilizer Chip: Some fobs contain a separate immobilizer chip that needs to be programmed in addition to the remote functions.
Deciphering the Electronic Diagram
The electronic diagram accompanying this article outlines the internal circuitry of a typical key fob. Let's break down the common elements:
Symbols
- Solid Lines: Represent electrical connections. A thicker line indicates a higher current carrying capacity.
- Dotted Lines: Often indicate a wireless connection or a communication path within the microcontroller that isn't a direct electrical circuit.
- Resistors (Zig-zag lines): Limit the flow of current. Values are typically indicated in Ohms (Ω).
- Capacitors (Two parallel lines): Store electrical energy. Values are typically indicated in Farads (F), microfarads (µF), or picofarads (pF).
- Inductors (Coiled lines): Store energy in a magnetic field. Values are typically indicated in Henries (H).
- Transistors (Various symbols): Act as switches or amplifiers. Different types exist (BJT, MOSFET), each with its own symbol.
- Microcontroller (IC block): Represented as a rectangle with pins. Pin numbers and functions are usually labeled.
- Ground (Downward pointing arrows): Represents the zero-potential reference point.
- VCC/VDD (Plus sign): Represents the positive voltage supply.
Colors (If Applicable)
While not always present in simplified diagrams, color-coding can be used to indicate voltage levels or signal types. For example:
- Red: Positive voltage supply.
- Black: Ground.
- Blue/Green: Signal lines.
How the Diagram Helps
This diagram is beneficial for several reasons. Firstly, repairing damaged key fobs. If a button malfunctions or a trace on the board is broken, the diagram can aid in identifying the faulty component and the necessary repair. Secondly, understanding the functionality of the fob. By tracing the circuit, you can see how each component contributes to the fob's overall operation. Lastly, reverse engineering. If you're interested in customizing or modifying the fob, the diagram provides a starting point for understanding its inner workings.
How It Works: From Button Press to Car Door Open
When you press a button on the key fob, the following happens:
- The button press completes a circuit, signaling the microcontroller.
- The microcontroller reads the button input and activates the corresponding function.
- The microcontroller retrieves the car's immobilizer code from its memory.
- The microcontroller modulates (encodes) the immobilizer code and the function request (e.g., unlock doors) onto a radio frequency carrier wave. Modulation can be Amplitude Shift Keying (ASK) or Frequency Shift Keying (FSK), for example.
- The radio transmitter amplifies and transmits the modulated signal.
- Your car's receiver picks up the signal.
- The car's receiver demodulates (decodes) the signal.
- The car's computer verifies the immobilizer code.
- If the code matches, the car executes the requested function (e.g., unlocks the doors).
Replacing the Fob: The Programming Process
This is the most crucial part, and it varies greatly depending on the car manufacturer. There are generally two methods:
- On-Board Programming: Some cars allow you to program the key fob yourself using a specific sequence of actions involving the ignition key, door locks, and other controls. This process is usually outlined in your car's owner's manual. Search online for "[Your Car Make] [Your Car Model] Key Fob Programming" to find specific instructions.
- OBDII Programming: Most modern cars require programming through the On-Board Diagnostics II (OBDII) port using a specialized programming tool. These tools can be purchased online or borrowed from some auto parts stores. These tools connect to the OBDII port and communicate with the car's computer to program the key fob.
If you're using an OBDII programmer:
- Plug the programmer into the OBDII port (usually located under the dashboard on the driver's side).
- Follow the programmer's on-screen instructions. This typically involves entering the car's VIN (Vehicle Identification Number) and selecting the "Key Fob Programming" function.
- The programmer will guide you through the process of pressing buttons on the new key fob to synchronize it with the car.
Real-World Troubleshooting
- Fob Not Working at All: Check the battery. A weak battery is the most common cause.
- Fob Works Intermittently: Could be a weak battery, a faulty button, or interference from other radio sources. Try replacing the battery and testing the fob in different locations.
- Car Doesn't Recognize the Fob After Programming: Double-check the programming procedure. Make sure you're following the correct steps for your car model. Also, ensure the replacement fob is compatible with your car.
- Damaged Circuit Board: If you see visible damage to the circuit board, such as cracked traces or burnt components, the fob may be irreparable. However, armed with the diagram, you might be able to solder small breaks or replace small components.
Safety First
While working on a key fob is generally safe, there are a few precautions to keep in mind:
- ESD (Electrostatic Discharge): The electronic components inside the fob are sensitive to static electricity. Ground yourself before handling the circuit board to prevent damage.
- Battery Handling: Coin cell batteries can be a choking hazard for small children and pets. Dispose of them properly.
- OBDII Port Access: Be careful when accessing the OBDII port under the dashboard. Avoid damaging any wires or connectors.
Important Note: Tampering with your car's security system can have serious consequences. If you're not comfortable with the process, it's best to consult a professional. Improper programming can disable your car's immobilizer system, leaving it vulnerable to theft.
Replacing a key fob can seem daunting, but with a bit of knowledge and the right tools, it's a manageable task for experienced DIYers. Use this guide as a starting point, but always refer to your car's owner's manual and online resources for specific instructions tailored to your vehicle. Remember to be patient, methodical, and prioritize safety throughout the process. We have the electronic diagram, and you can download it to further understand the key fob circuitry.