How Do You Turn Off Onstar
Alright folks, let's talk about OnStar, specifically how to disable it. Maybe you're concerned about privacy, you're doing some serious electrical modification on your vehicle, or you simply don't want to pay for the service anymore. Whatever the reason, knowing how to safely and effectively disable OnStar is a useful skill for any intermediate car owner or DIY mechanic. This article aims to arm you with the knowledge to do just that. We're going to focus on a general approach, recognizing that specific model year implementations can vary; always consult your vehicle's service manual for the most accurate information.
Purpose
Understanding the OnStar system and how to disable it isn't just about canceling a subscription. It's about gaining a deeper understanding of your vehicle's electrical architecture. This knowledge is crucial for several reasons:
- Repairs: Troubleshooting electrical issues often requires isolating specific circuits. Knowing which module controls what function helps you narrow down the problem area.
- Modifications: Adding aftermarket electronics, like remote starters or aftermarket security systems, can interact with the OnStar system. Understanding these potential conflicts is vital to avoid electrical problems.
- Learning: Disabling OnStar provides a hands-on learning opportunity to trace wiring, identify modules, and understand how different vehicle systems are interconnected.
- Privacy: For some, disabling OnStar is a matter of privacy. While OnStar offers valuable services, concerns about data collection are legitimate.
Key Specs and Main Parts
The OnStar system consists of several interconnected components. These components communicate with each other over the vehicle's Controller Area Network (CAN) bus. Here are the key components:
- Telematics Communication Interface Control Module (TCIM): This is the "brain" of the OnStar system. It handles cellular communication, GPS location tracking, and data transmission to OnStar's service center. This is the primary target for disabling the system.
- Global Positioning System (GPS) Antenna: Receives signals from GPS satellites to determine the vehicle's location. Usually located on the roof or integrated into the vehicle's antenna mast.
- Cellular Antenna: Facilitates communication with cellular networks for voice calls and data transmission. Often combined with the GPS antenna.
- Microphone(s): Used for voice communication with OnStar advisors. Typically located in the headliner or rearview mirror.
- Speaker(s): Used for voice communication. Usually integrated into the vehicle's audio system.
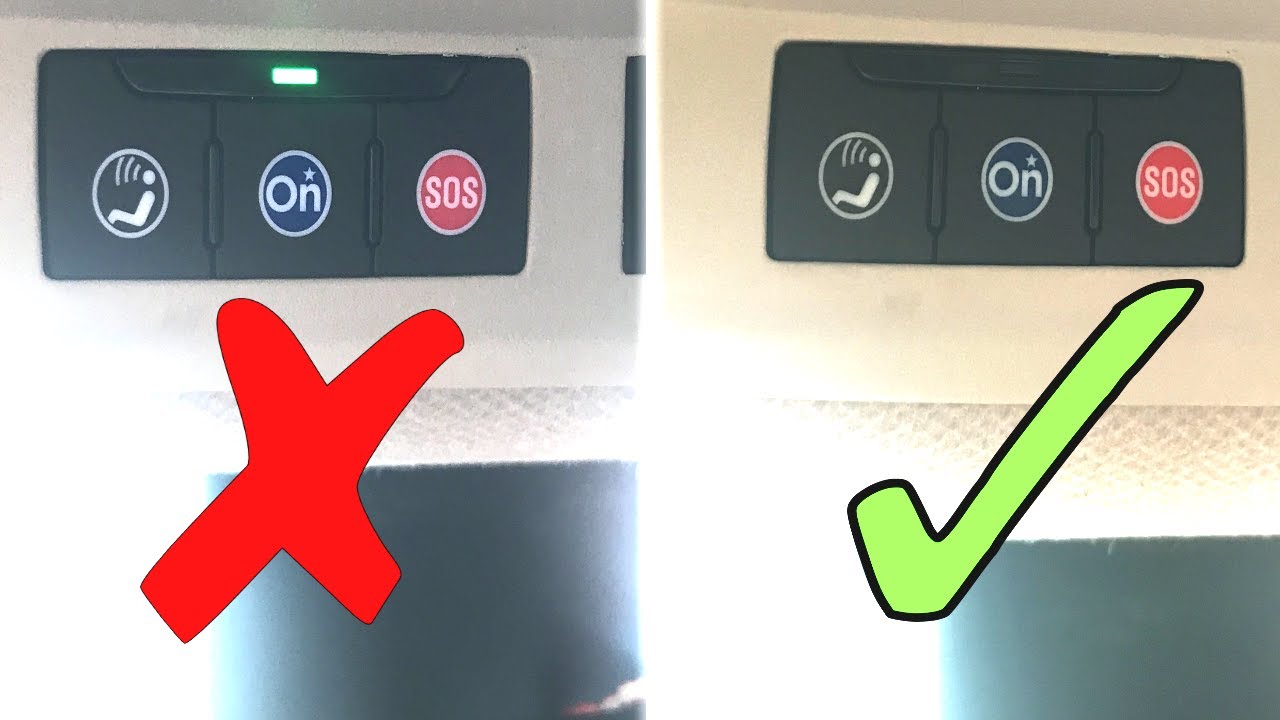
- OnStar Button(s): Allows the driver to initiate contact with OnStar. Typically located on the rearview mirror or overhead console.
- Vehicle Communication Bus (CAN bus): The network that allows the OnStar module to communicate with other vehicle systems, such as the engine control unit (ECU), body control module (BCM), and airbag control module (ACM).
Key Specs: The system operates on the vehicle's 12V DC electrical system. Data communication speeds on the CAN bus vary, but are typically in the range of 500 kbps. The TCIM module has specific input/output (I/O) requirements depending on the model and year.
How It Works
The OnStar system is integrated deeply into the vehicle's electrical system. When you press the OnStar button, the TCIM module initiates a cellular connection to the OnStar call center. The module transmits vehicle data, including location, speed, and diagnostic information, to the advisor. In the event of a crash, the TCIM automatically detects the impact through the ACM (airbag control module) and attempts to contact OnStar, even if you are unable to. This data transmission happens over the CAN bus.
The system uses GPS data for location services, which is crucial for emergency assistance and stolen vehicle tracking. The cellular connection provides voice communication and data transfer. The system's integration with other vehicle modules allows OnStar to provide services such as remote door unlocking, vehicle diagnostics, and turn-by-turn navigation.
Disabling OnStar: Methods and Considerations
There are several ways to disable OnStar, ranging from simple to more complex. Always start with the least invasive method and proceed cautiously.
- Subscription Cancellation: The simplest method is to cancel your OnStar subscription. This will prevent the system from actively transmitting data or initiating emergency calls. However, the module will still be powered on and potentially collecting data.
- Fuse Removal: Locating and removing the fuse that powers the OnStar module is a common method. Consult your vehicle's owner's manual or service manual to identify the correct fuse. Removing the fuse will cut power to the module, effectively disabling it. However, this can sometimes trigger error codes in other vehicle systems.
- Antenna Disconnection: Disconnecting the GPS and/or cellular antenna can prevent the system from transmitting location data and communicating with the OnStar service center. The antennas are typically located on the roof of the vehicle. However, disconnecting the antenna alone may not completely disable the system. The TCIM may continue to attempt to connect, potentially draining the battery.
- Module Disconnection: The most effective method is to physically disconnect the TCIM module. This involves locating the module (typically under the seat, in the trunk, or behind the dashboard), disconnecting its wiring harness, and potentially removing the module entirely. This is the most complex method and requires careful attention to avoid damaging wiring or triggering error codes.
Real-World Use – Basic Troubleshooting Tips
Disabling OnStar can sometimes lead to unexpected issues. Here are some common problems and troubleshooting tips:
- Error Codes: Removing the fuse or disconnecting the module can trigger error codes in other vehicle systems. A diagnostic scan tool can be used to read and clear these codes.
- Battery Drain: If the OnStar module continues to attempt to connect to the network after being disabled, it can drain the battery. Ensure the module is completely powered off.
- Loss of Other Functions: In some vehicles, the OnStar module is integrated with other functions, such as the Bluetooth hands-free system or the vehicle's audio system. Disabling OnStar may result in the loss of these functions.
- Airbag System Warnings: Rarely, disabling OnStar may affect the airbag system, as the TCIM might communicate with the ACM. Always double-check the wiring and consult the service manual if you encounter airbag-related warnings.
Symbols and Conventions (Referencing a Hypothetical Diagram)
Let's imagine we have a wiring diagram in front of us. While we don't have a physical diagram here, I can describe common symbols and conventions you would encounter:
- Solid Lines: Represent wires carrying electrical current. Thicker lines typically indicate wires with higher current capacity.
- Dashed Lines: Often represent shielded wires or communication lines (like the CAN bus).
- Different Colors: Indicate the wire's function. For example, red might be power, black might be ground, and yellow might be a signal wire. Always consult the wiring diagram's legend to understand the color codes.
- Ground Symbols: Represent connection points to the vehicle's chassis ground. These can be shown as a stack of horizontal lines, a triangle, or other similar symbols.
- Connector Symbols: Show where wires connect to modules or other components. These are usually drawn as rectangular shapes with pins or terminals.
- Module Symbols: Represent the electronic control modules, like the TCIM, ECU, BCM, etc. These are usually drawn as rectangular shapes with labels indicating their function.
- Resistors: Zigzag lines.
- Capacitors: Two parallel lines.
- Diodes: Triangle pointing to a line.
Understanding these symbols is crucial for interpreting the wiring diagram and tracing circuits. Remember to always refer to the legend or key on the diagram to confirm the meaning of each symbol.
Safety – Highlight Risky Components
Working with automotive electrical systems can be dangerous. Here are some safety precautions to keep in mind:
- Disconnect the Battery: Always disconnect the negative terminal of the battery before working on any electrical system. This will prevent accidental shorts and electrical shocks.
- Use Proper Tools: Use insulated tools designed for automotive electrical work.
- Avoid Damaging Wires: Be careful not to damage or cut wires when disconnecting connectors or removing modules.
- Consult the Service Manual: Always consult the vehicle's service manual for specific instructions and wiring diagrams.
- Be Aware of Airbag Systems: The airbag system is highly sensitive. Avoid working near airbag modules unless you are specifically trained to do so. Incorrect handling can cause the airbags to deploy, resulting in serious injury.
- Never cut into wiring harnesses unless you have a complete understanding of the circuit and the potential consequences. Doing so can cause significant damage to the vehicle's electrical system.
- If you are unsure about any step, consult a qualified mechanic.
Important Note: Disabling OnStar may void certain warranties or affect the vehicle's resale value. Consider these factors before proceeding.
We have a sample wiring diagram file specifically related to the OnStar system in a common vehicle model. Due to the limitations of this format, it's not embedded here, but you can access it through [Hypothetical Link to Diagram]. Always use that alongside your specific vehicle's service manual.