How Does Sirius Xm Work In Car
So, you're curious about how SiriusXM works in your car? Excellent! Whether you're facing reception issues, planning an aftermarket radio install, or just want to understand the technology humming along behind your dashboard, knowing the ins and outs of your car's satellite radio system is a worthwhile endeavor. This guide will break down the key components, signals, and processes, acting like a detailed system diagram that you can mentally reference. Consider it a peek under the hood of your SiriusXM experience.
Purpose of Understanding Your SiriusXM Setup
Why bother diving into the technical details? There are several compelling reasons:
- Troubleshooting: Knowing the signal path can help you diagnose problems like weak signals, intermittent dropouts, or complete failures. Is the antenna the culprit? Or is the issue within the receiver itself?
- Aftermarket Integration: Planning to upgrade your head unit? Understanding the SiriusXM connection allows for a smoother integration and avoids compatibility headaches.
- System Modification: Some DIYers might want to experiment with antenna placement or signal boosting. A solid understanding is crucial for safe and effective modifications.
- Pure Curiosity: Simply understanding how things work is rewarding in itself.
Key Specs and Main Parts of Your SiriusXM System
Let's identify the core components:
1. SiriusXM Antenna
This is where the magic begins. Typically located on the roof, trunk, or integrated into the car's rear window, the antenna captures the radio signals beamed down from satellites. Key specs include:
- Frequency Range: SiriusXM operates in the S-band, specifically around 2.320 – 2.345 GHz.
- Polarization: Usually right-hand circular polarization (RHCP). This polarization helps maintain signal integrity regardless of the antenna's orientation relative to the satellite.
- Gain: Measured in dBi (decibels relative to an isotropic radiator), this indicates the antenna's signal-amplifying capability. Higher gain generally means better reception.
- Connector Type: Typically an SMB or FAKRA connector to connect to the receiver module.
2. SiriusXM Receiver Module
This is the "brain" of the system. It receives the raw signal from the antenna, demodulates it (extracts the audio and data), and then outputs the audio signal to your car's audio system. Key aspects:
- Demodulation: The receiver uses complex signal processing algorithms to extract the audio and data from the received signal.
- Decoding: SiriusXM uses a proprietary audio codec (coding/decoding algorithm) to compress and transmit the audio. The receiver decodes this signal to produce audible sound.
- Conditional Access: The receiver verifies your subscription status and unlocks the audio channels you're authorized to receive. This uses an encryption key.
- Output Interface: Audio is usually output through a standard analog audio connection or a digital interface like I2S (Inter-IC Sound) or MOST (Media Oriented Systems Transport) bus in more modern vehicles.
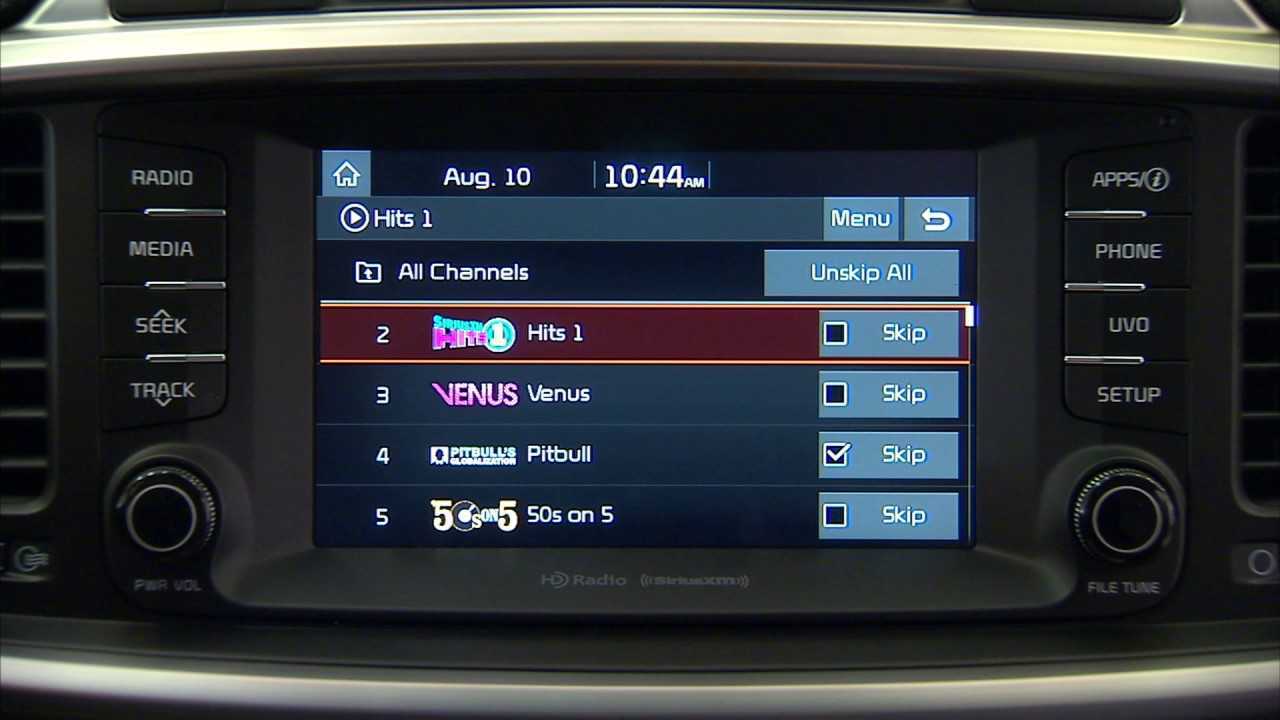
3. Head Unit/Infotainment System
This is the interface you interact with. It displays channel information, allows you to browse channels, and controls the audio output. This might be an integrated part of your car's dashboard or an aftermarket unit.
4. Cabling and Connectors
These ensure the signal travels cleanly between the antenna, receiver, and head unit. Use high-quality coax cables with proper shielding to minimize signal loss and interference.
How It Works: The Signal Path
The process unfolds as follows:
- Satellite Transmission: SiriusXM uses a constellation of geostationary satellites to broadcast its signal across North America. Geostationary means the satellites appear stationary in the sky, making them easy to track.
- Antenna Reception: Your car's antenna picks up the faint radio waves from the satellites.
- Signal Amplification (Optional): Some antennas have a built-in low-noise amplifier (LNA) to boost the weak satellite signal before it reaches the receiver.
- Receiver Demodulation and Decoding: The receiver processes the signal, extracting the audio and data. It also verifies your subscription status.
- Audio Output: The receiver sends the decoded audio signal to the head unit.
- Head Unit Presentation: The head unit displays channel information and plays the audio through your car's speakers.
Real-World Use: Basic Troubleshooting
Here are a few common issues and how to approach them:
- "No Signal" Message:
- Check the antenna connection: Ensure the cable is securely connected to both the antenna and the receiver.
- Check for obstructions: Buildings, trees, and tunnels can block the satellite signal. Try moving to a more open area.
- Antenna damage: Physically inspect the antenna for damage. Cracks or breaks can significantly reduce its effectiveness. A multimeter can be used to check continuity of the cable.
- Intermittent Dropouts:
- Check antenna placement: Relocating the antenna may improve signal reception.
- Check for interference: Other electronic devices in your car could be causing interference. Try turning them off one by one to see if the problem resolves.
- No Audio:
- Check the audio output connection: Make sure the audio cables are securely connected between the receiver and the head unit.
- Check the head unit settings: Ensure the correct audio source is selected.
- Verify subscription status: SiriusXM could be temporarily disabled if your subscription has lapsed.
Safety Considerations
Working with car electronics can be risky. Keep these points in mind:
- Disconnect the Battery: Before working on any electrical components, disconnect the negative terminal of your car battery to prevent short circuits. Always disconnect the negative terminal first.
- Airbag Systems: Be extremely cautious when working near airbags. Accidental deployment can cause serious injury. Consult your vehicle's service manual for proper airbag deactivation procedures.
- High-Frequency Signals: While the signal levels are low, prolonged exposure to high-frequency radio waves is generally not recommended. Limit your exposure during testing.
- Professional Help: If you're uncomfortable with any aspect of the repair, seek help from a qualified car audio technician.
Symbols and Conventions (General Car Electronics)
While a specific SiriusXM system diagram would be ideal, here's a general understanding of common symbols you might encounter in automotive electrical diagrams:
- Solid Lines: Represent wires carrying electrical signals or power. The thickness may indicate the gauge of the wire (thicker = higher current capacity).
- Dashed Lines: Often indicate shielded cables or grounding connections.
- Arrows: Show the direction of signal flow.
- Ground Symbol (┴): Indicates a connection to the vehicle's chassis, which serves as a common ground point.
- Resistor Symbol (Ω): Indicates a component that resists the flow of electrical current.
- Capacitor Symbol (||): Indicates a component that stores electrical energy.
- Connector Symbols: Represent the physical connectors that join wires and components. These are often depicted with multiple pins or terminals.
- Color Codes: Wires are often color-coded (e.g., red for power, black for ground) to aid in identification. Refer to your vehicle's wiring diagram for specific color assignments.
We have access to a detailed system diagram of a typical SiriusXM installation. Please contact us to request access to the file.