How Long To Charge A Nissan Leaf
So, you've got yourself a Nissan Leaf – excellent choice! You're enjoying the benefits of electric driving, but understanding the ins and outs of charging is crucial to maximizing your experience and potentially diagnosing issues down the line. This guide will break down everything you need to know about how long it takes to charge your Leaf, diving into the technical aspects in a way that's hopefully digestible for the experienced DIYer.
Purpose: Mastering the Leaf's Charging System
Why bother understanding the charging system? Several reasons! First, you'll be able to optimize your charging habits for battery health and longevity. Second, you'll be better equipped to troubleshoot charging problems, potentially saving you money on expensive mechanic visits. Finally, if you're into modifications or aftermarket upgrades (like range extenders, higher amperage chargers), a solid understanding of the system is essential for safe and effective implementation. This detailed guide covers charging times, components, and potential issues, and we even have a charging system diagram available for download.
Key Specs and Main Parts of the Leaf's Charging System
Let's start with the core components:
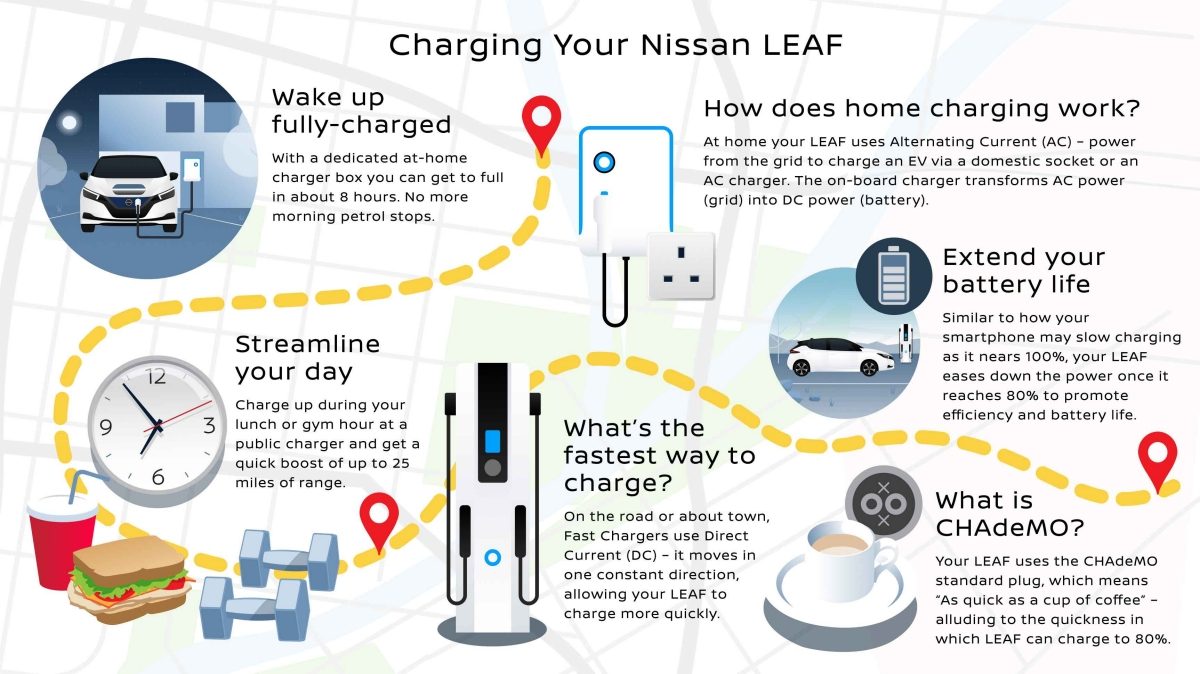
- Onboard Charger (OBC): This is the brain of the charging operation. It takes AC power from the charging source (wall outlet or charging station) and converts it into DC power that can be stored in the battery pack. The Leaf's OBC capacity varies depending on the model year and trim level, typically ranging from 3.6 kW to 6.6 kW. This kW rating directly affects your charging speed. A higher kW rating means a faster charge, assuming the charging source can supply enough amperage.
- Battery Pack: The heart of the Leaf. The battery pack stores the energy. Leaf battery packs are specified in kWh (kilowatt-hours). A 40 kWh battery pack will take roughly twice as long to charge as a 24 kWh battery pack, assuming the same charging rate.
- Charging Port (J1772 and CHAdeMO/CCS): The physical interface for connecting to charging stations. The J1772 port is used for Level 1 (120V) and Level 2 (240V) AC charging. CHAdeMO (older models) and CCS (newer models) ports are used for DC fast charging.
- Charging Cables: These cables connect the car to the power source. Level 1 charging uses a standard 120V household outlet. Level 2 charging uses a 240V outlet, often requiring professional installation of a charging station. DC fast charging uses specialized, high-voltage cables integrated into the charging station.
- Battery Management System (BMS): The BMS is the guardian of the battery pack. It monitors the voltage, current, and temperature of individual battery cells to ensure safe and efficient charging and discharging. It also protects the battery from overcharging, over-discharging, and overheating.
Key Specifications to Consider:
- Charging Level: Level 1, Level 2, and DC Fast Charging each have different voltage and current ratings, resulting in varying charging speeds.
- Battery Capacity (kWh): Directly impacts charging time.
- Onboard Charger Capacity (kW): Limits the maximum AC charging rate.
- Charging Efficiency: Some energy is lost during the AC-to-DC conversion process.
- State of Charge (SoC): Charging is slower at higher states of charge (e.g., 80% to 100%) to protect the battery.
Symbols in the Charging System Diagram
Electrical diagrams use standardized symbols to represent components and connections. Here's a quick rundown of common symbols you'll find:
- Solid Lines: Represent electrical conductors (wires). Thicker lines usually indicate higher current carrying capacity.
- Dashed Lines: Often represent communication or control signals (e.g., CAN bus communication between the BMS and OBC).
- Rectangles: Generally represent electronic components or modules, such as the OBC or BMS.
- Circles with Letters: Indicate connectors or terminals. The letters often denote the type of connector or the function of the terminal (e.g., "GND" for ground).
- Resistors: Zigzag lines representing resistance to current flow.
- Capacitors: Two parallel lines representing energy storage.
- Diodes: Triangles pointing to a line, representing current flow in one direction only.
- Fuses: A break in the line with a curved or zigzag element, representing a safety device that breaks the circuit if the current exceeds a certain level.
- Ground Symbols: Various symbols indicating a connection to ground (earth).
- Colors: While not always consistent across diagrams, colors often indicate the type of wire or the voltage level. Red typically indicates positive voltage, black usually indicates ground, and other colors may represent specific signals. Refer to the diagram's legend for clarification.
How It Works: The Charging Process
The charging process can be simplified into these steps:
- Connection: The charging cable is connected to the charging port on the Leaf.
- Communication: The charging station and the Leaf's onboard computer communicate to establish a safe charging protocol. This involves verifying voltage, current, and grounding.
- AC-to-DC Conversion (Level 1 and Level 2): For Level 1 and Level 2 charging, the OBC converts AC power from the grid to DC power.
- DC Power Flow: The DC power flows to the battery pack, where it's stored.
- BMS Monitoring: The BMS continuously monitors the battery's voltage, current, and temperature, adjusting the charging rate as needed to protect the battery. As the battery approaches full charge, the charging rate is typically reduced to prevent overcharging.
- Termination: Once the battery is fully charged (or reaches a pre-set limit), the charging process is terminated.
DC Fast Charging: DC fast charging bypasses the Leaf's onboard charger. Instead, the DC fast charger delivers DC power directly to the battery pack. This allows for much faster charging speeds, but it also generates more heat and can potentially degrade the battery faster if used excessively. The BMS plays a critical role in managing the charging process during DC fast charging to ensure battery safety.
Real-World Use and Troubleshooting
Here are some common charging problems and potential solutions:
- Leaf won't charge at all:
- Check the charging cable for damage.
- Try a different charging station or outlet.
- Ensure the car is properly grounded.
- Check the Leaf's charging port for debris or damage.
- Inspect the charger fuse for any breakage.
- Charging is very slow:
- Make sure you're using the correct charging level. Level 1 charging is significantly slower than Level 2 or DC fast charging.
- Check the OBC's charging rate. A damaged or failing OBC can reduce charging speed.
- The BMS might be reducing the charging rate due to high battery temperature.
- Verify that the amperage set for the EVSE matches what your circuit can supply, and what your car is set to accept.
- Error messages on the dashboard: Consult your owner's manual or a qualified technician for specific error codes.
Troubleshooting Tip: Always start with the simplest solutions first. Check the charging cable, the outlet, and the car's settings before assuming there's a major problem.
Safety First! High-Voltage Risks
Working on the Leaf's charging system involves high voltages and currents, which can be lethal. The battery pack itself can hold a significant charge even when the car is turned off. Never attempt to disassemble the battery pack or work on the high-voltage components without proper training and safety equipment, including high-voltage gloves and a multimeter rated for high-voltage DC. Shorting the battery terminals can cause a fire or explosion. Always disconnect the negative terminal of the 12V battery before working on any electrical components. If you're not comfortable working with high-voltage systems, leave it to a qualified technician.
The OBC, the DC fast charging inlet, and the battery pack are all high-risk areas. Treat them with extreme caution.
Understanding how long it takes to charge your Nissan Leaf is about more than just convenience – it's about understanding your car, optimizing its performance, and staying safe. Remember, if you’re unsure, always consult a trained professional.
We have a detailed charging system diagram available for download. It will help you visually connect the components we discussed. Happy wrenching!