How Many Seater Is Honda Pilot
Alright, let's dive into the seating capacity of the Honda Pilot. This might seem like a simple question, but understanding the nuances can be crucial, especially when you're considering modifications, repairs, or even just planning a family road trip. Knowing the configuration of your Pilot and how the seats work internally is valuable information for any seasoned DIYer or car enthusiast.
Why Understanding Seating Capacity Matters
The reason we're even discussing this goes beyond just knowing how many passengers you can fit. Understanding the seating arrangement is key for:
- Repairing or Replacing Seats: Knowing the specific configuration helps when ordering parts or understanding how to disassemble and reassemble seats properly.
- Modifying the Interior: Planning to install a custom sound system? Want to add under-seat storage? Understanding the seat structure is vital.
- Understanding Safety Features: Knowing where airbags and other safety components are located in relation to the seats is crucial for safety.
- Troubleshooting Issues: Seat not folding correctly? Headrest stuck? Knowing the mechanism behind it all helps diagnose problems.
- Knowing Your Vehicle's Capabilities: This impacts towing capacity, cargo space, and overall vehicle suitability for different needs.
Key Specs and Main Parts
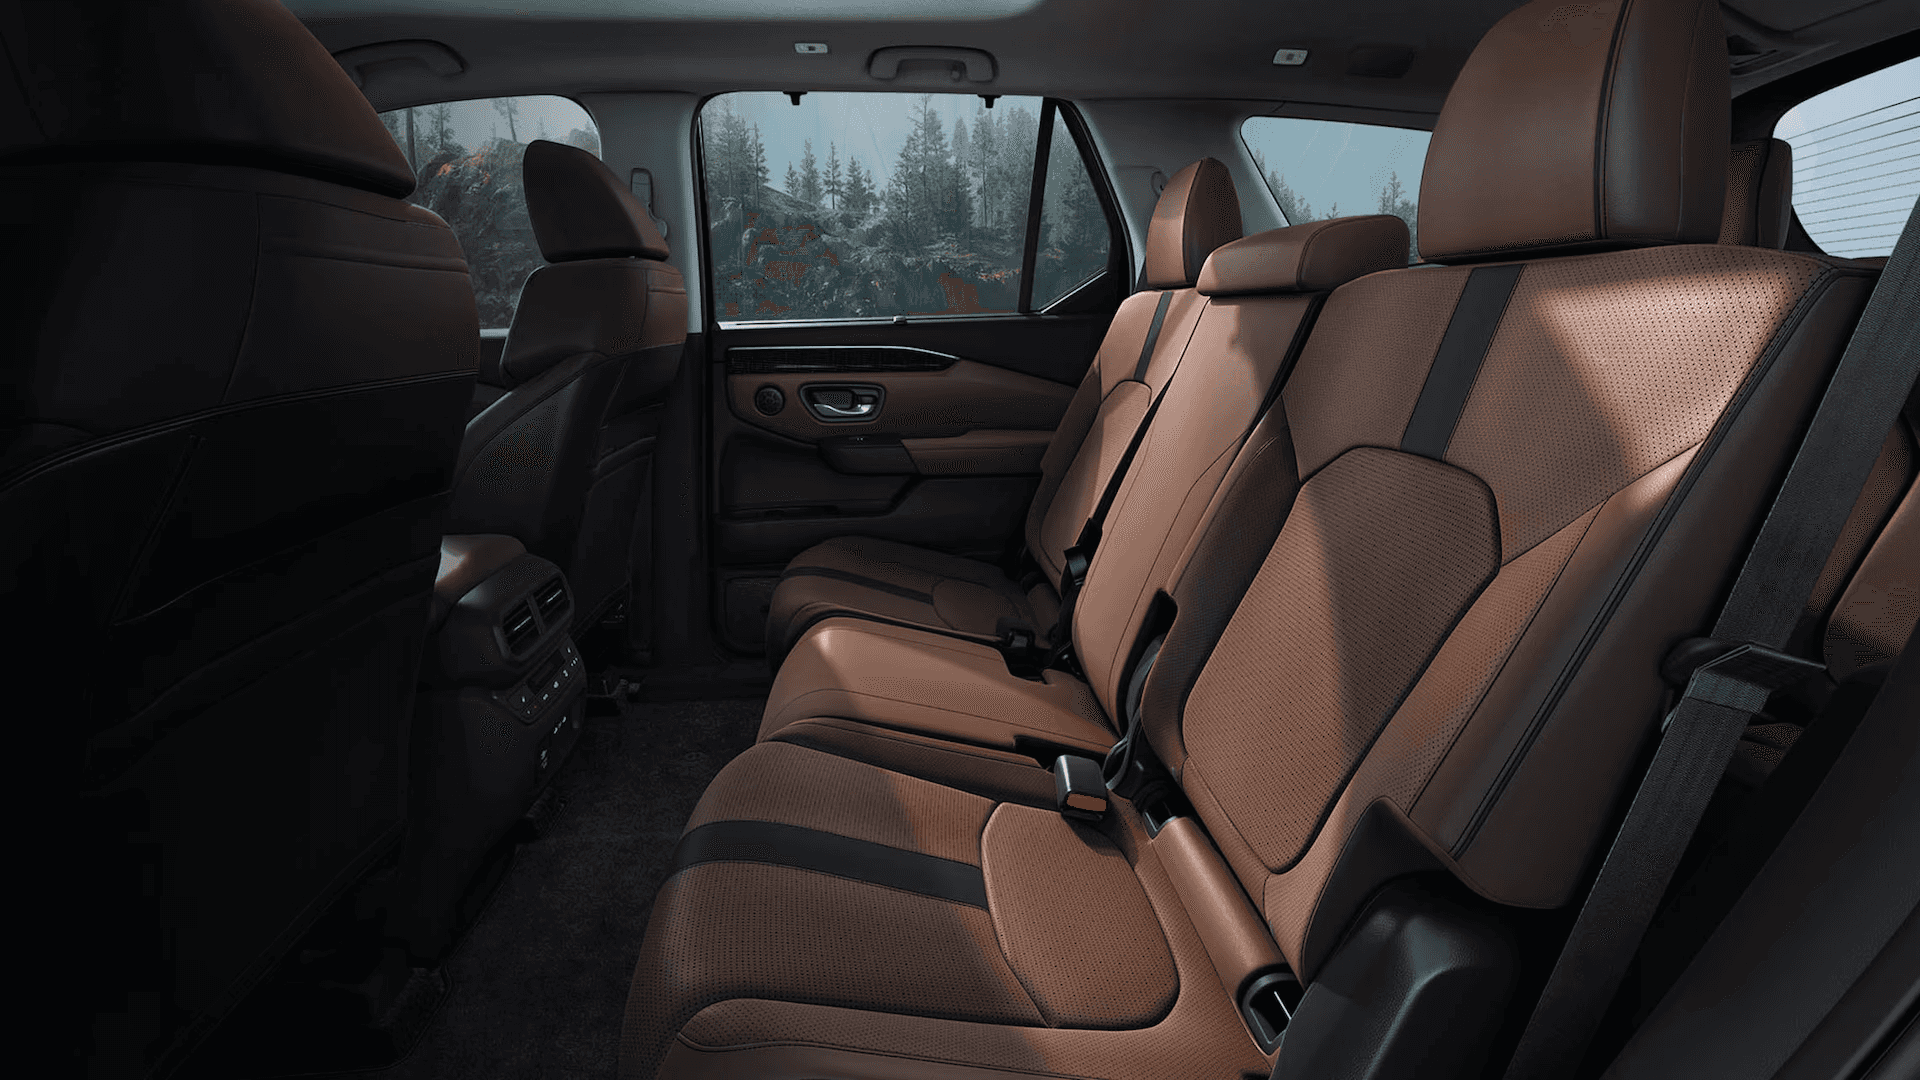
The Honda Pilot has historically offered two primary seating configurations, although the availability has varied across different model years:
- 7-Passenger Configuration: This typically involves two front bucket seats, two captain's chairs in the second row (individual seats with armrests), and a three-person bench seat in the third row.
- 8-Passenger Configuration: This usually consists of two front bucket seats, a three-person bench seat in the second row, and a three-person bench seat in the third row.
Here's a breakdown of the main parts relating to seating:
- Seat Frames: The structural skeleton of the seats, usually made of steel.
- Seat Cushions: Made of foam (various densities) and fabric or leather.
- Seat Upholstery: The outer covering of the seats (cloth, leather, etc.).
- Seat Tracks and Adjustment Mechanisms: Allow the seats to move forward and backward, and sometimes up and down. These use rails, levers, and sometimes electric motors.
- Seat Belts: Critical safety components attached to the seat frame and the vehicle's chassis. Different types exist, including lap belts, shoulder belts, and pretensioners.
- Headrests: Designed to protect against whiplash. Some are adjustable, and some are active (move forward during a collision).
- Folding Mechanisms: Allow the seats to fold down, creating more cargo space. These mechanisms involve latches, hinges, and cables.
- Airbag Sensors and Deployment Modules: Located in or near the seats to detect impacts and deploy airbags. These are electrically powered and can be dangerous if mishandled.
Understanding Seating Diagrams and Symbols
A typical seating diagram for a Honda Pilot will illustrate the arrangement of the seats, the location of seat belts, and often the placement of airbag sensors. Here's a breakdown of common symbols you might encounter:
- Solid Lines: Represent physical structures like seat frames, seat belts, and headrests.
- Dashed Lines: May indicate hidden components or the range of motion of adjustable parts. For example, a dashed line might show how far a seat can slide forward.
- Arrows: Indicate the direction of movement for seat adjustments, folding mechanisms, or headrest adjustments.
- Color Coding: Colors are often used to differentiate between different components or systems. For example, seat belt wiring might be color-coded to match the wiring harness diagram.
- Electrical Symbols: Represent airbag sensors, seat heaters, or electric seat adjustment motors. These symbols follow standard electrical engineering conventions.
- Icons: Small icons may indicate the location of specific features, such as child seat anchors (LATCH system) or seat belt pretensioners.
How It Works: The Mechanics of Seating
The seating system in a Honda Pilot is a carefully engineered combination of mechanical and (in some models) electrical components. Let's break down some key aspects:
- Seat Adjustment: Manual seats use levers and rails to adjust the seat's position. Electric seats use motors and gears to achieve the same result. The seat tracks are designed to withstand significant forces during a collision.
- Folding Mechanisms: A series of levers, cables, and latches allows the seats to fold down. These mechanisms are designed to be easy to use but also secure to prevent accidental folding while occupied. Pay close attention to the condition of the cables, as they can stretch or break over time.
- Seat Belts: Seat belts are designed to restrain occupants during a collision. Pretensioners tighten the seat belt in the event of a sudden stop or impact, reducing the risk of injury. The inertia reel allows the belt to extend and retract freely during normal use.
- Airbags: Airbag sensors detect impacts and trigger the deployment of airbags. Side airbags are often integrated into the seat structure. The deployment process is rapid and forceful.
Real-World Use: Basic Troubleshooting Tips
Here are some common issues and basic troubleshooting steps you might encounter:
- Seat Won't Adjust: Check for obstructions in the seat tracks. If it's an electric seat, check the fuse and the wiring harness. Listen for any motor activity when you try to adjust the seat.
- Seat Won't Fold Down: Check the release lever and the cable connecting it to the latch. Make sure nothing is obstructing the folding mechanism. Sometimes, a simple application of lubricant can help.
- Seat Belt Won't Retract: Check for kinks or twists in the belt. Clean the belt and the surrounding area to remove dirt and debris. If the problem persists, the inertia reel may need to be replaced.
- Headrest Stuck: Look for the release button, typically located on the side of the seat back where the headrest posts insert. It might be sticky or jammed. A small amount of WD-40 might help.
Safety: Handle with Care
Working on seating systems, especially those with airbags, requires extreme caution:
- Airbags: Airbags are explosive devices. Disconnect the battery and wait at least 10 minutes before working on any part of the seating system that involves airbags. This allows the capacitors in the airbag system to discharge, reducing the risk of accidental deployment. Never probe airbag connectors with a multimeter unless you are specifically instructed to do so by a service manual.
- Seat Belt Pretensioners: These also contain explosive charges. Follow the same precautions as with airbags.
- Electrical Wiring: Always disconnect the battery before working on any electrical components. Use a multimeter to check for voltage before touching any wires.
- Sharp Edges: Seat frames and mechanisms can have sharp edges. Wear gloves to protect your hands.
- Proper Support: When removing seats, make sure to have a stable surface to place them on to avoid damage.
By understanding the seating system in your Honda Pilot, you can tackle basic repairs, plan modifications, and ensure the safety of yourself and your passengers. Remember to always consult your vehicle's service manual for specific instructions and warnings.
To help you further, we have a detailed seating diagram file available for download. This diagram provides a comprehensive overview of the seating configuration in various Honda Pilot models. It includes detailed illustrations of the seat frames, adjustment mechanisms, seat belts, and airbag sensors.